Old carvings restoration, part I
I started working on a very interesting project and it made a good excuse to create the very first blog post on our website. I was approached by a man who lives just about a 30 minutes drive from us. His name is George Mason and he wanted to have old wood carvings, created by his wife Beverly over several decades, restored and preserved as family heirlooms, not for sale. Beverly Mason is a victim of Alzheimer's Disease and has been unable to do anything more with her work for many years.
The pieces I was shown over the email were of a great quality and even more stunning to see. All the carvings are of various human characters, all done in various hard woods and all something I could never create myself - I am very happy to at least preserve these pieces for the future.
As far as I know the pieces are untitled so I will refer to each with my own working title.
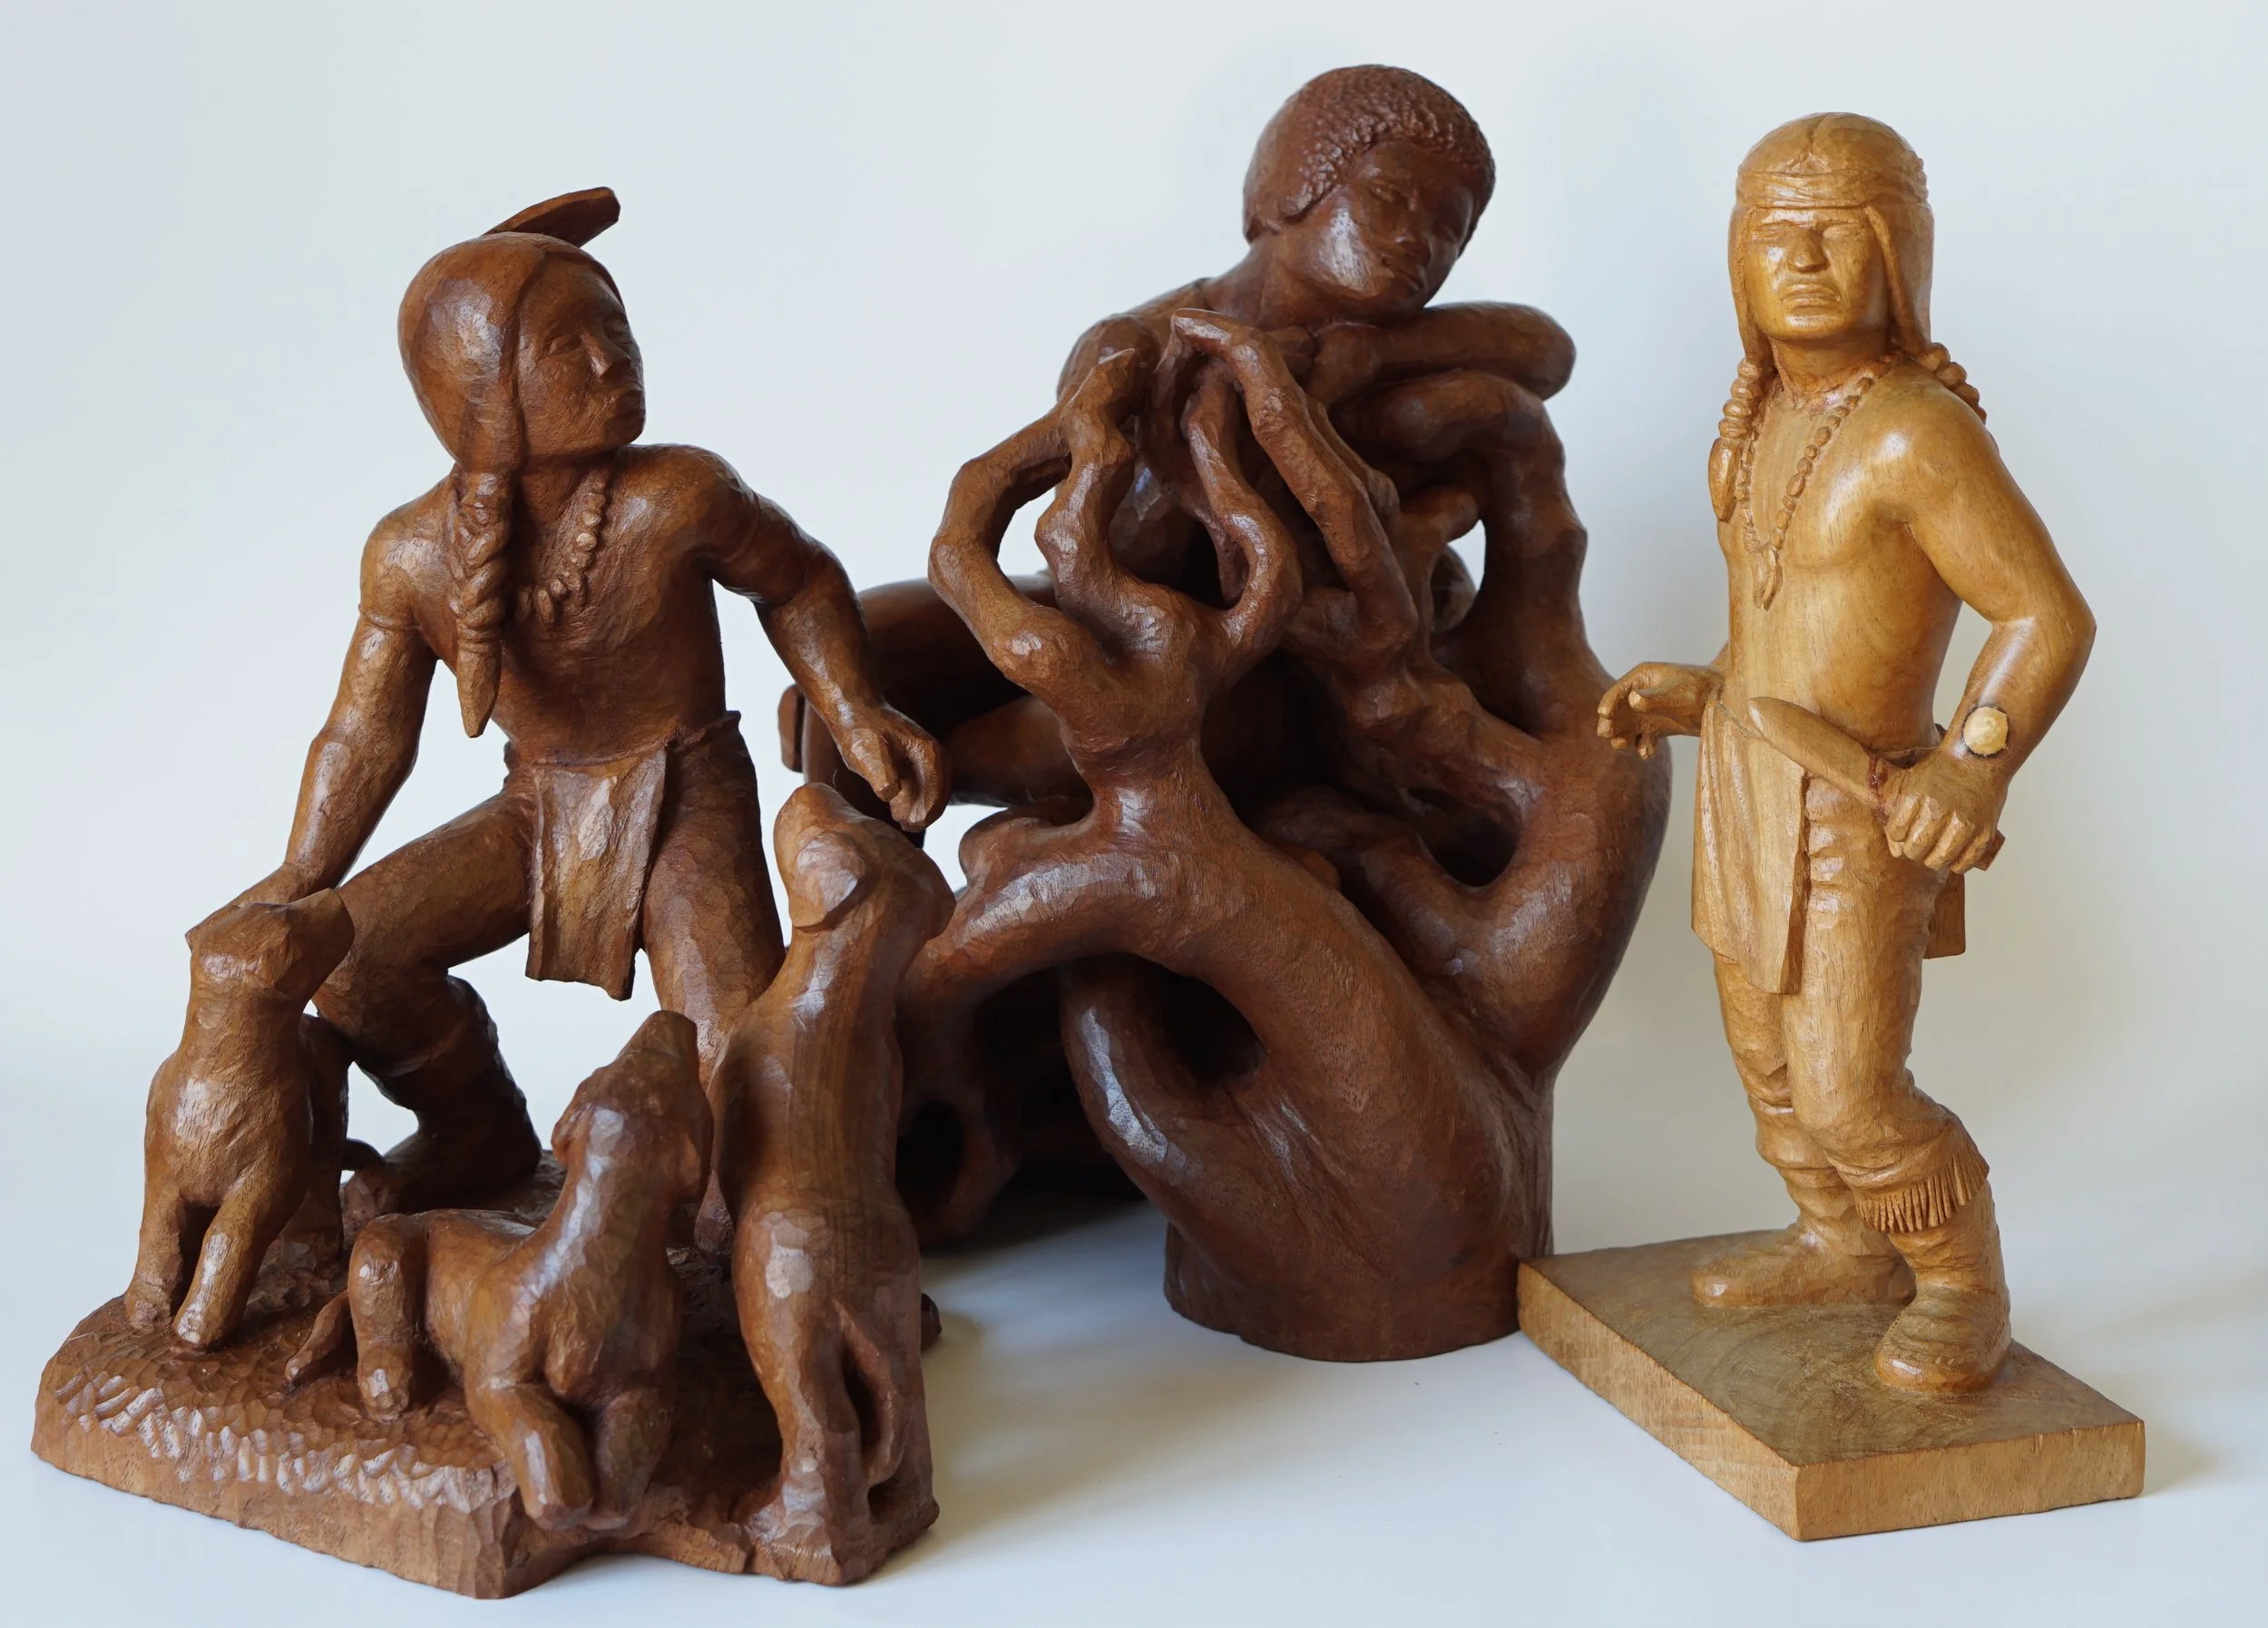
The first three pieces I worked on, carved by Beverly Mason, fully restored at this point.
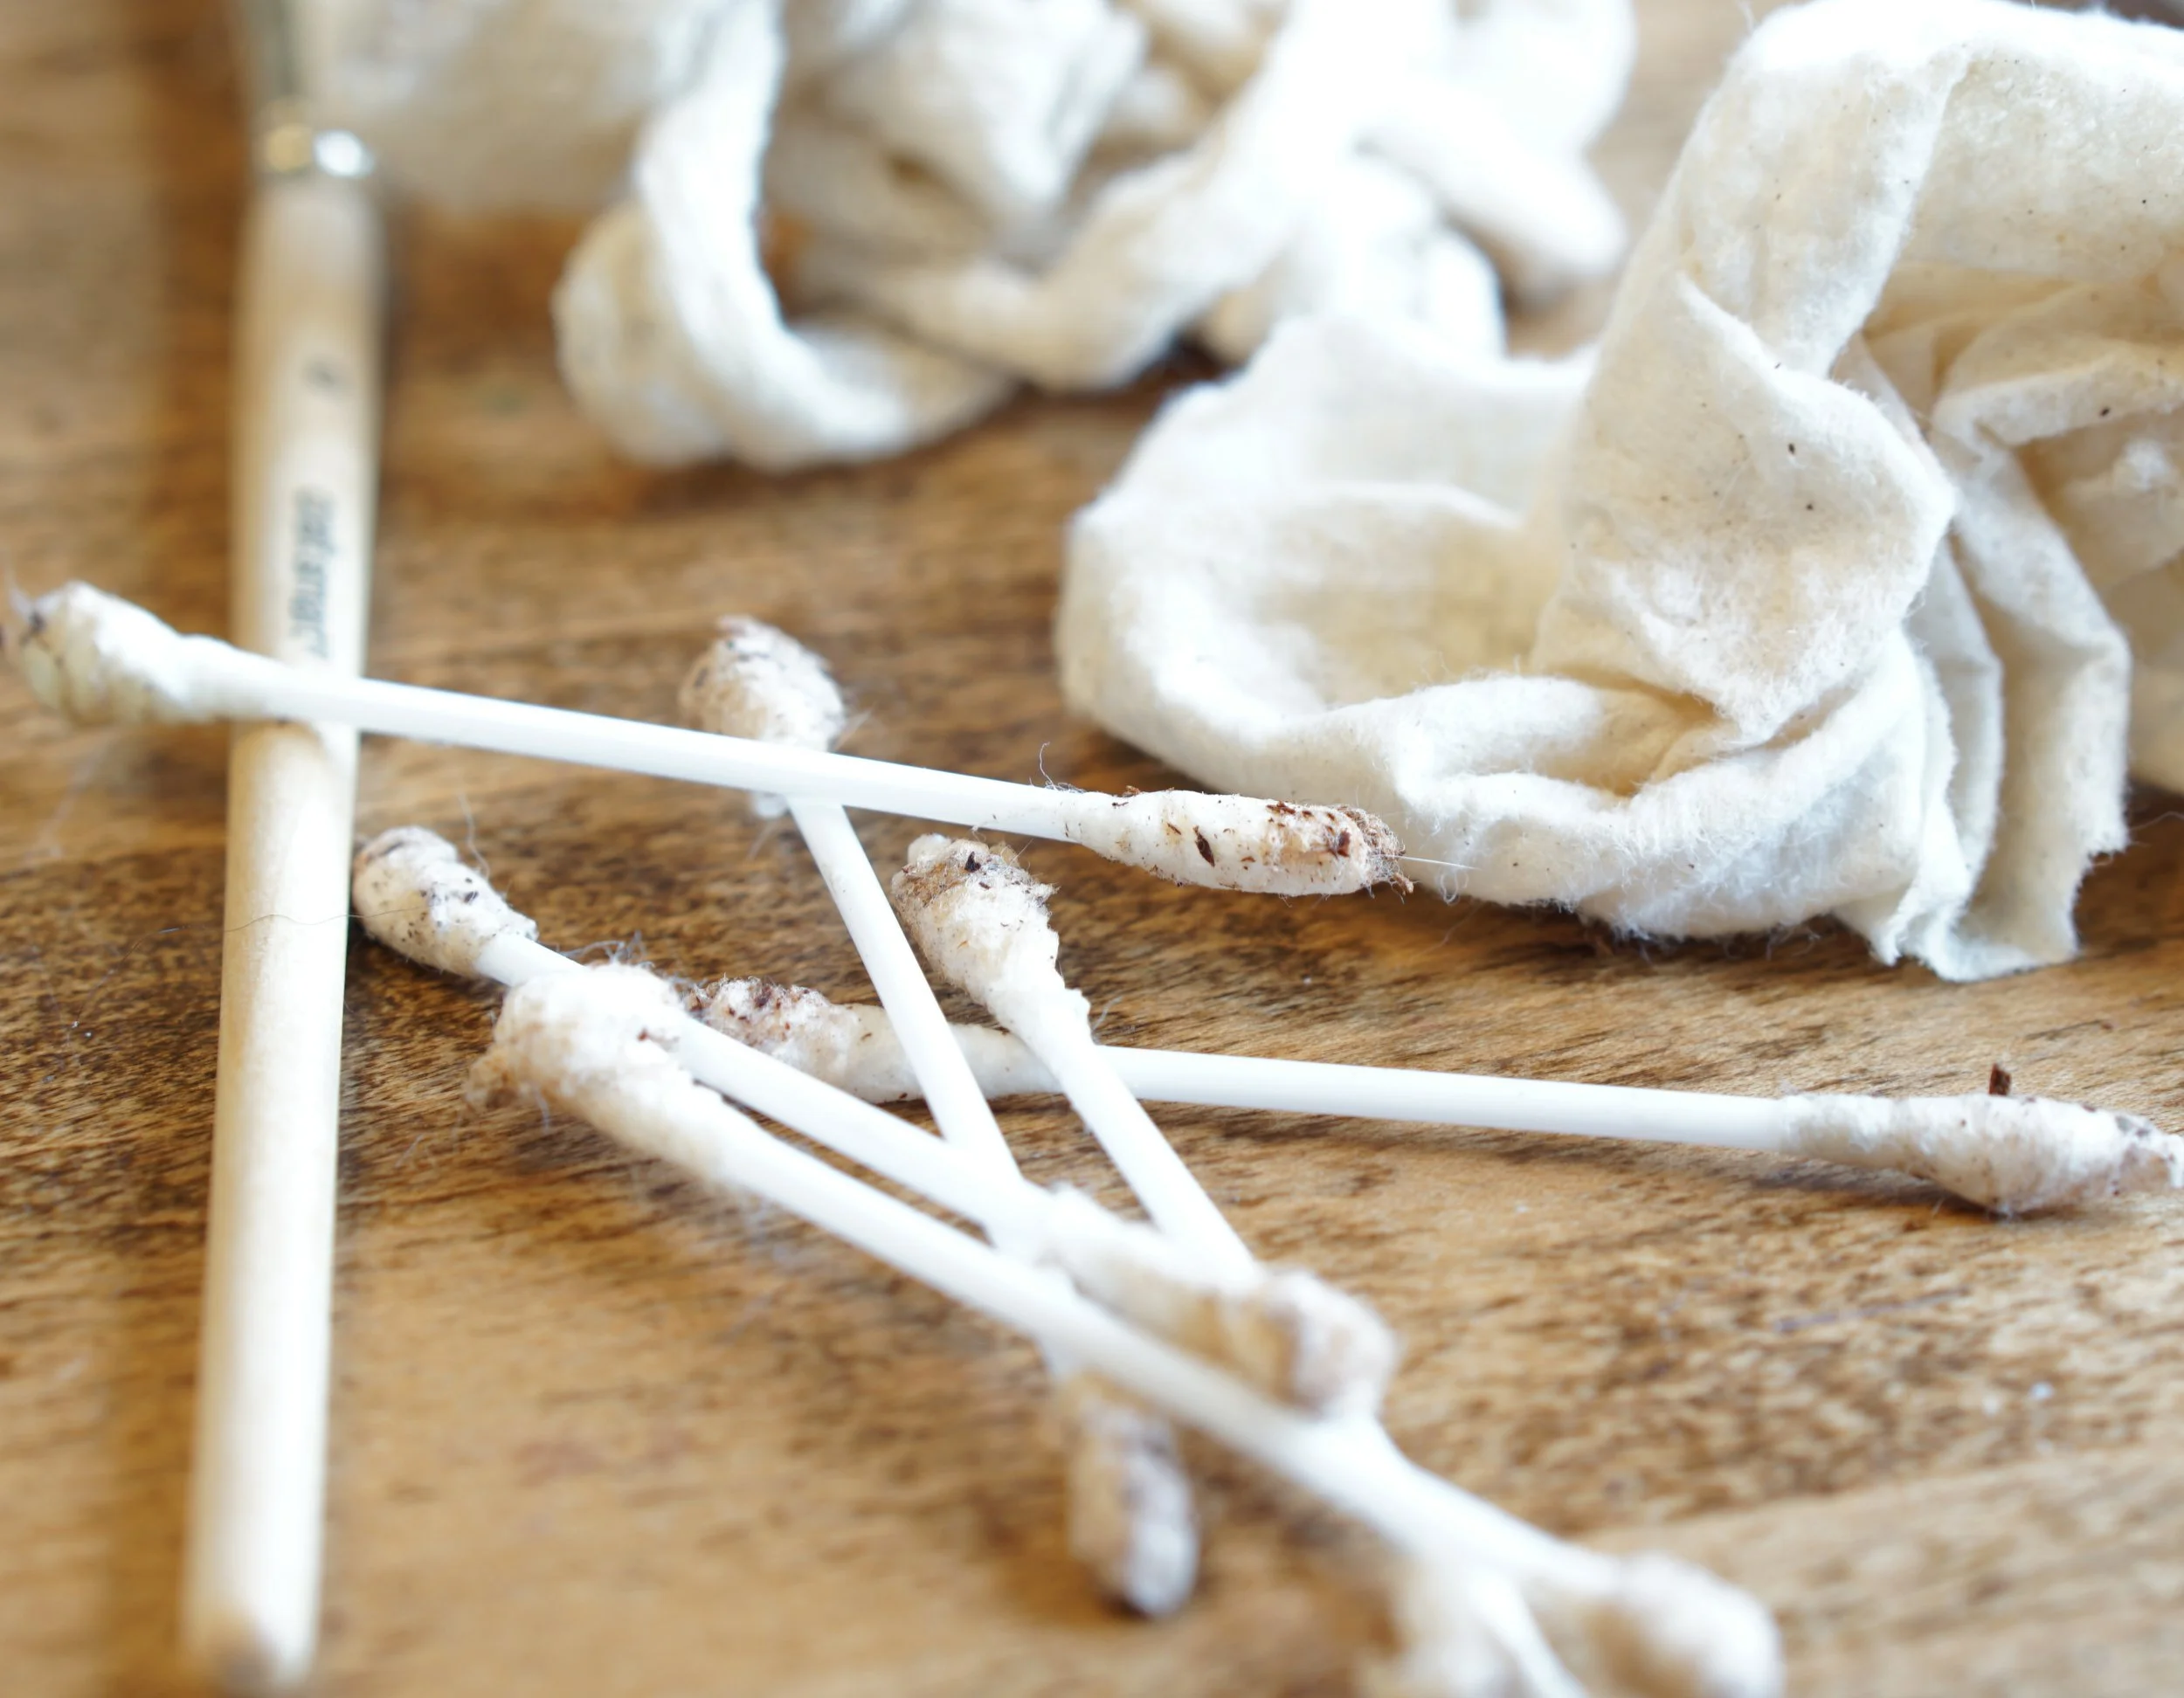
I spent some time looking around the Internet for some advice on how to clean older and dried carvings and generally found people cleaning these up by brushing off any dust (which is I guess very obvious) and then by gently washing the carvings with mild detergent, using cloth and cotton swabs.
For the finishing process I found beeswax made by Gilboy’s in the UK which seemed to fit perfectly for the kind of work I needed to do. They had three different shades of wax which was great to fit to all the carvings and at the same time they offered little ‘‘scratch repair cubes’’ again in three different shades. I thought I could use these to repair the more damaged pieces to fill up small cracks that were on some carvings from either drying out or from poorly applied glue on broken parts.
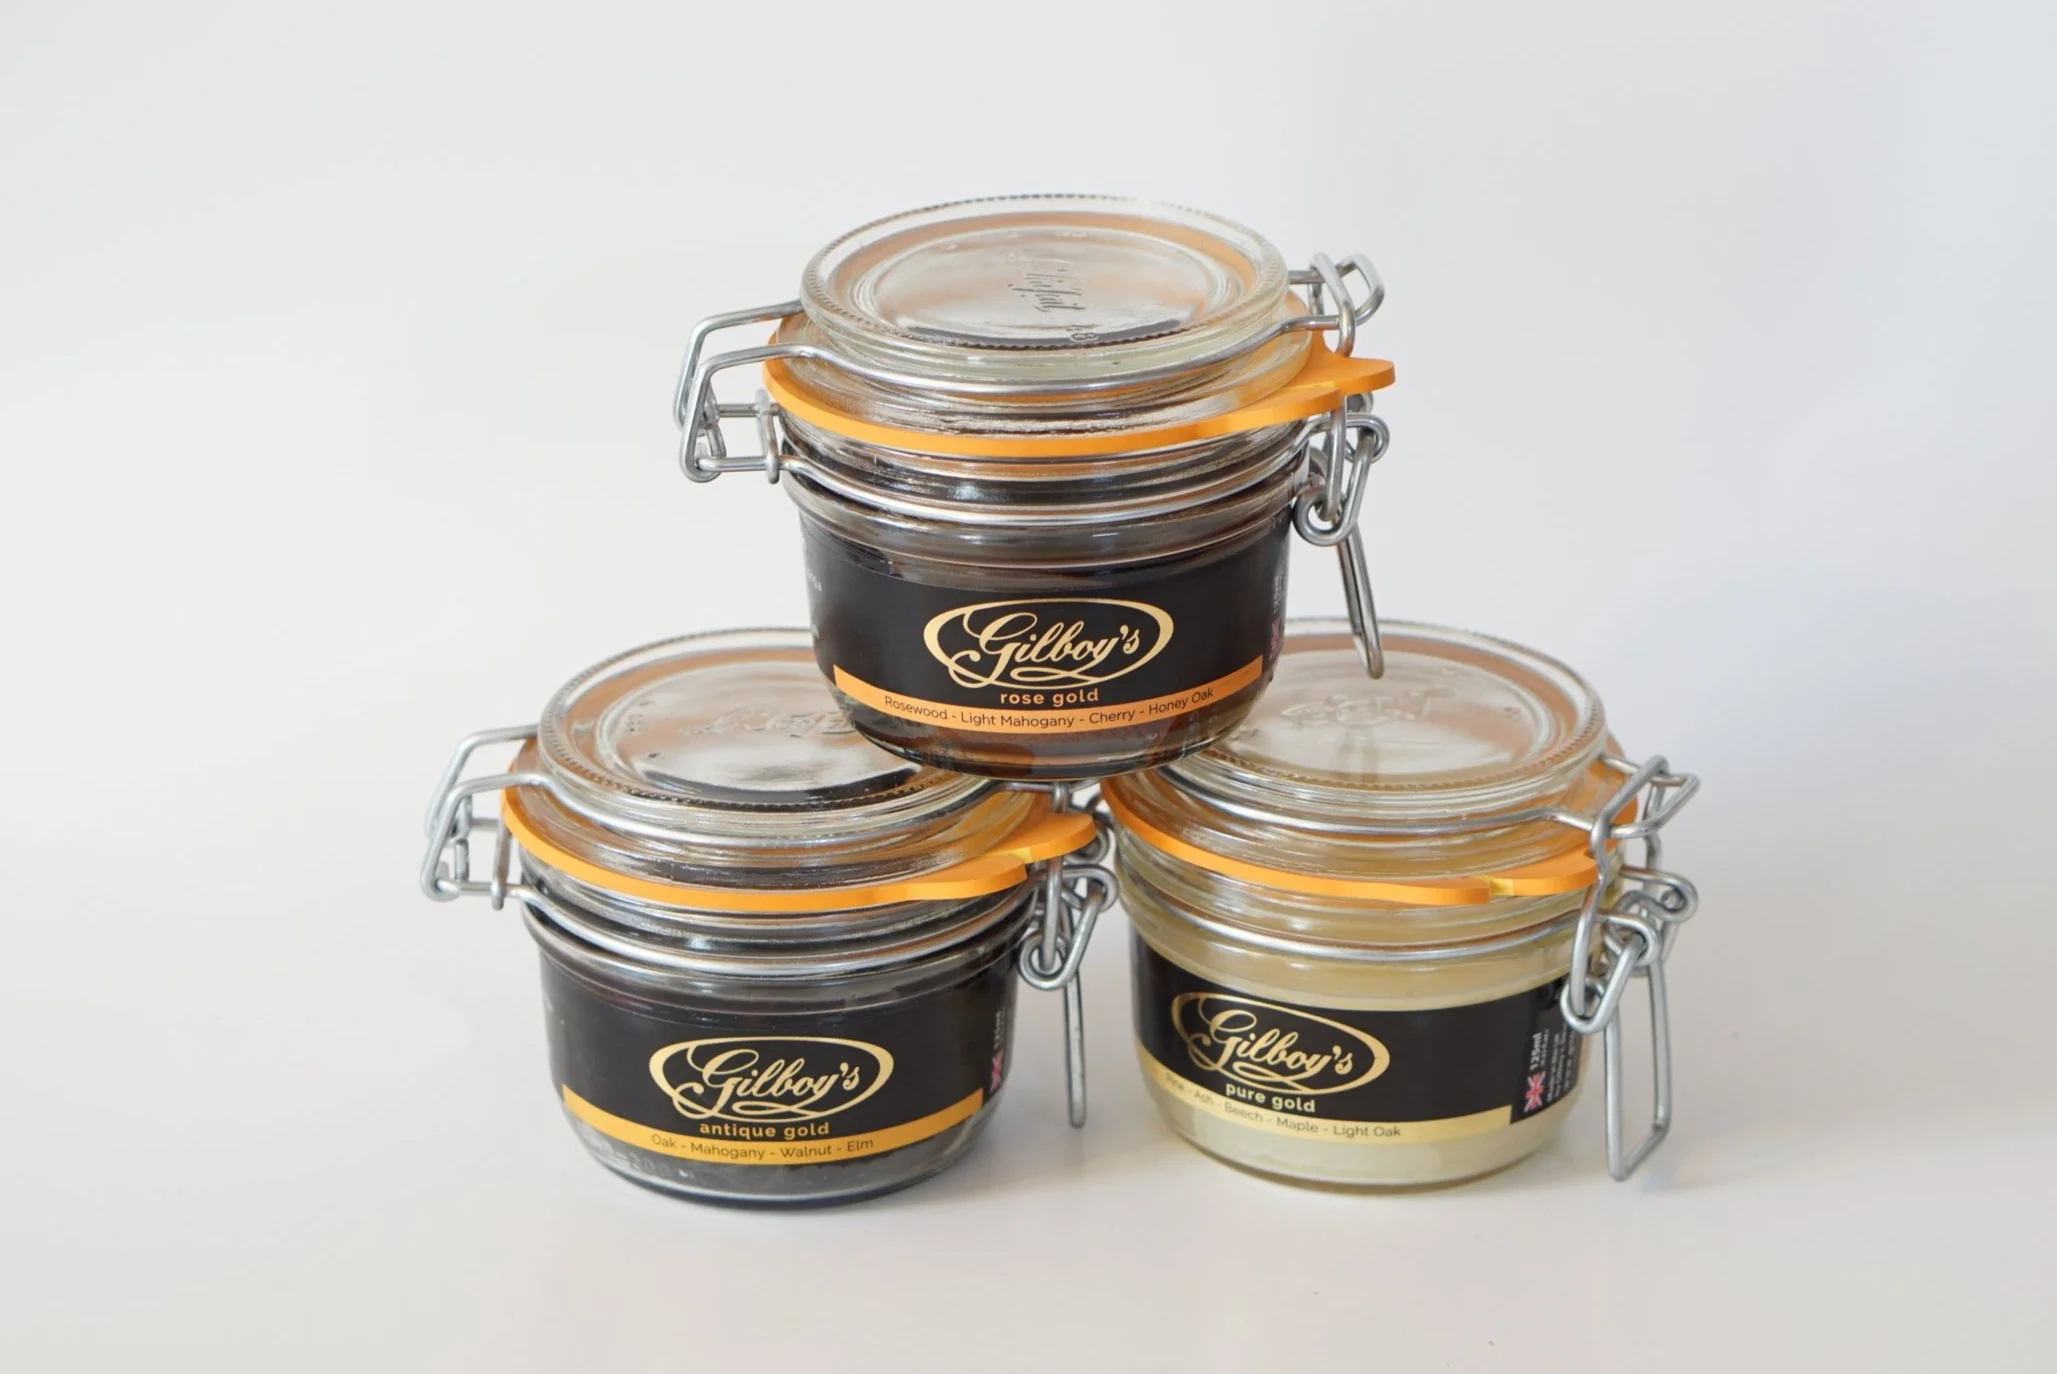
I kept looking for some other products from North America but at that point I was too impressed with the Gilboy’s products and their care to their customers. They have detailed videos on YouTube showing how their wax is used for old furniture restoration, then I saw photos of restored wood carvings on their Instagram page and the deal was made. I ordered the basic kit and asked George to bring me the first three carvings for a trial. I started cleaning these pieces while waiting for the Gilboy’s wax arrival.
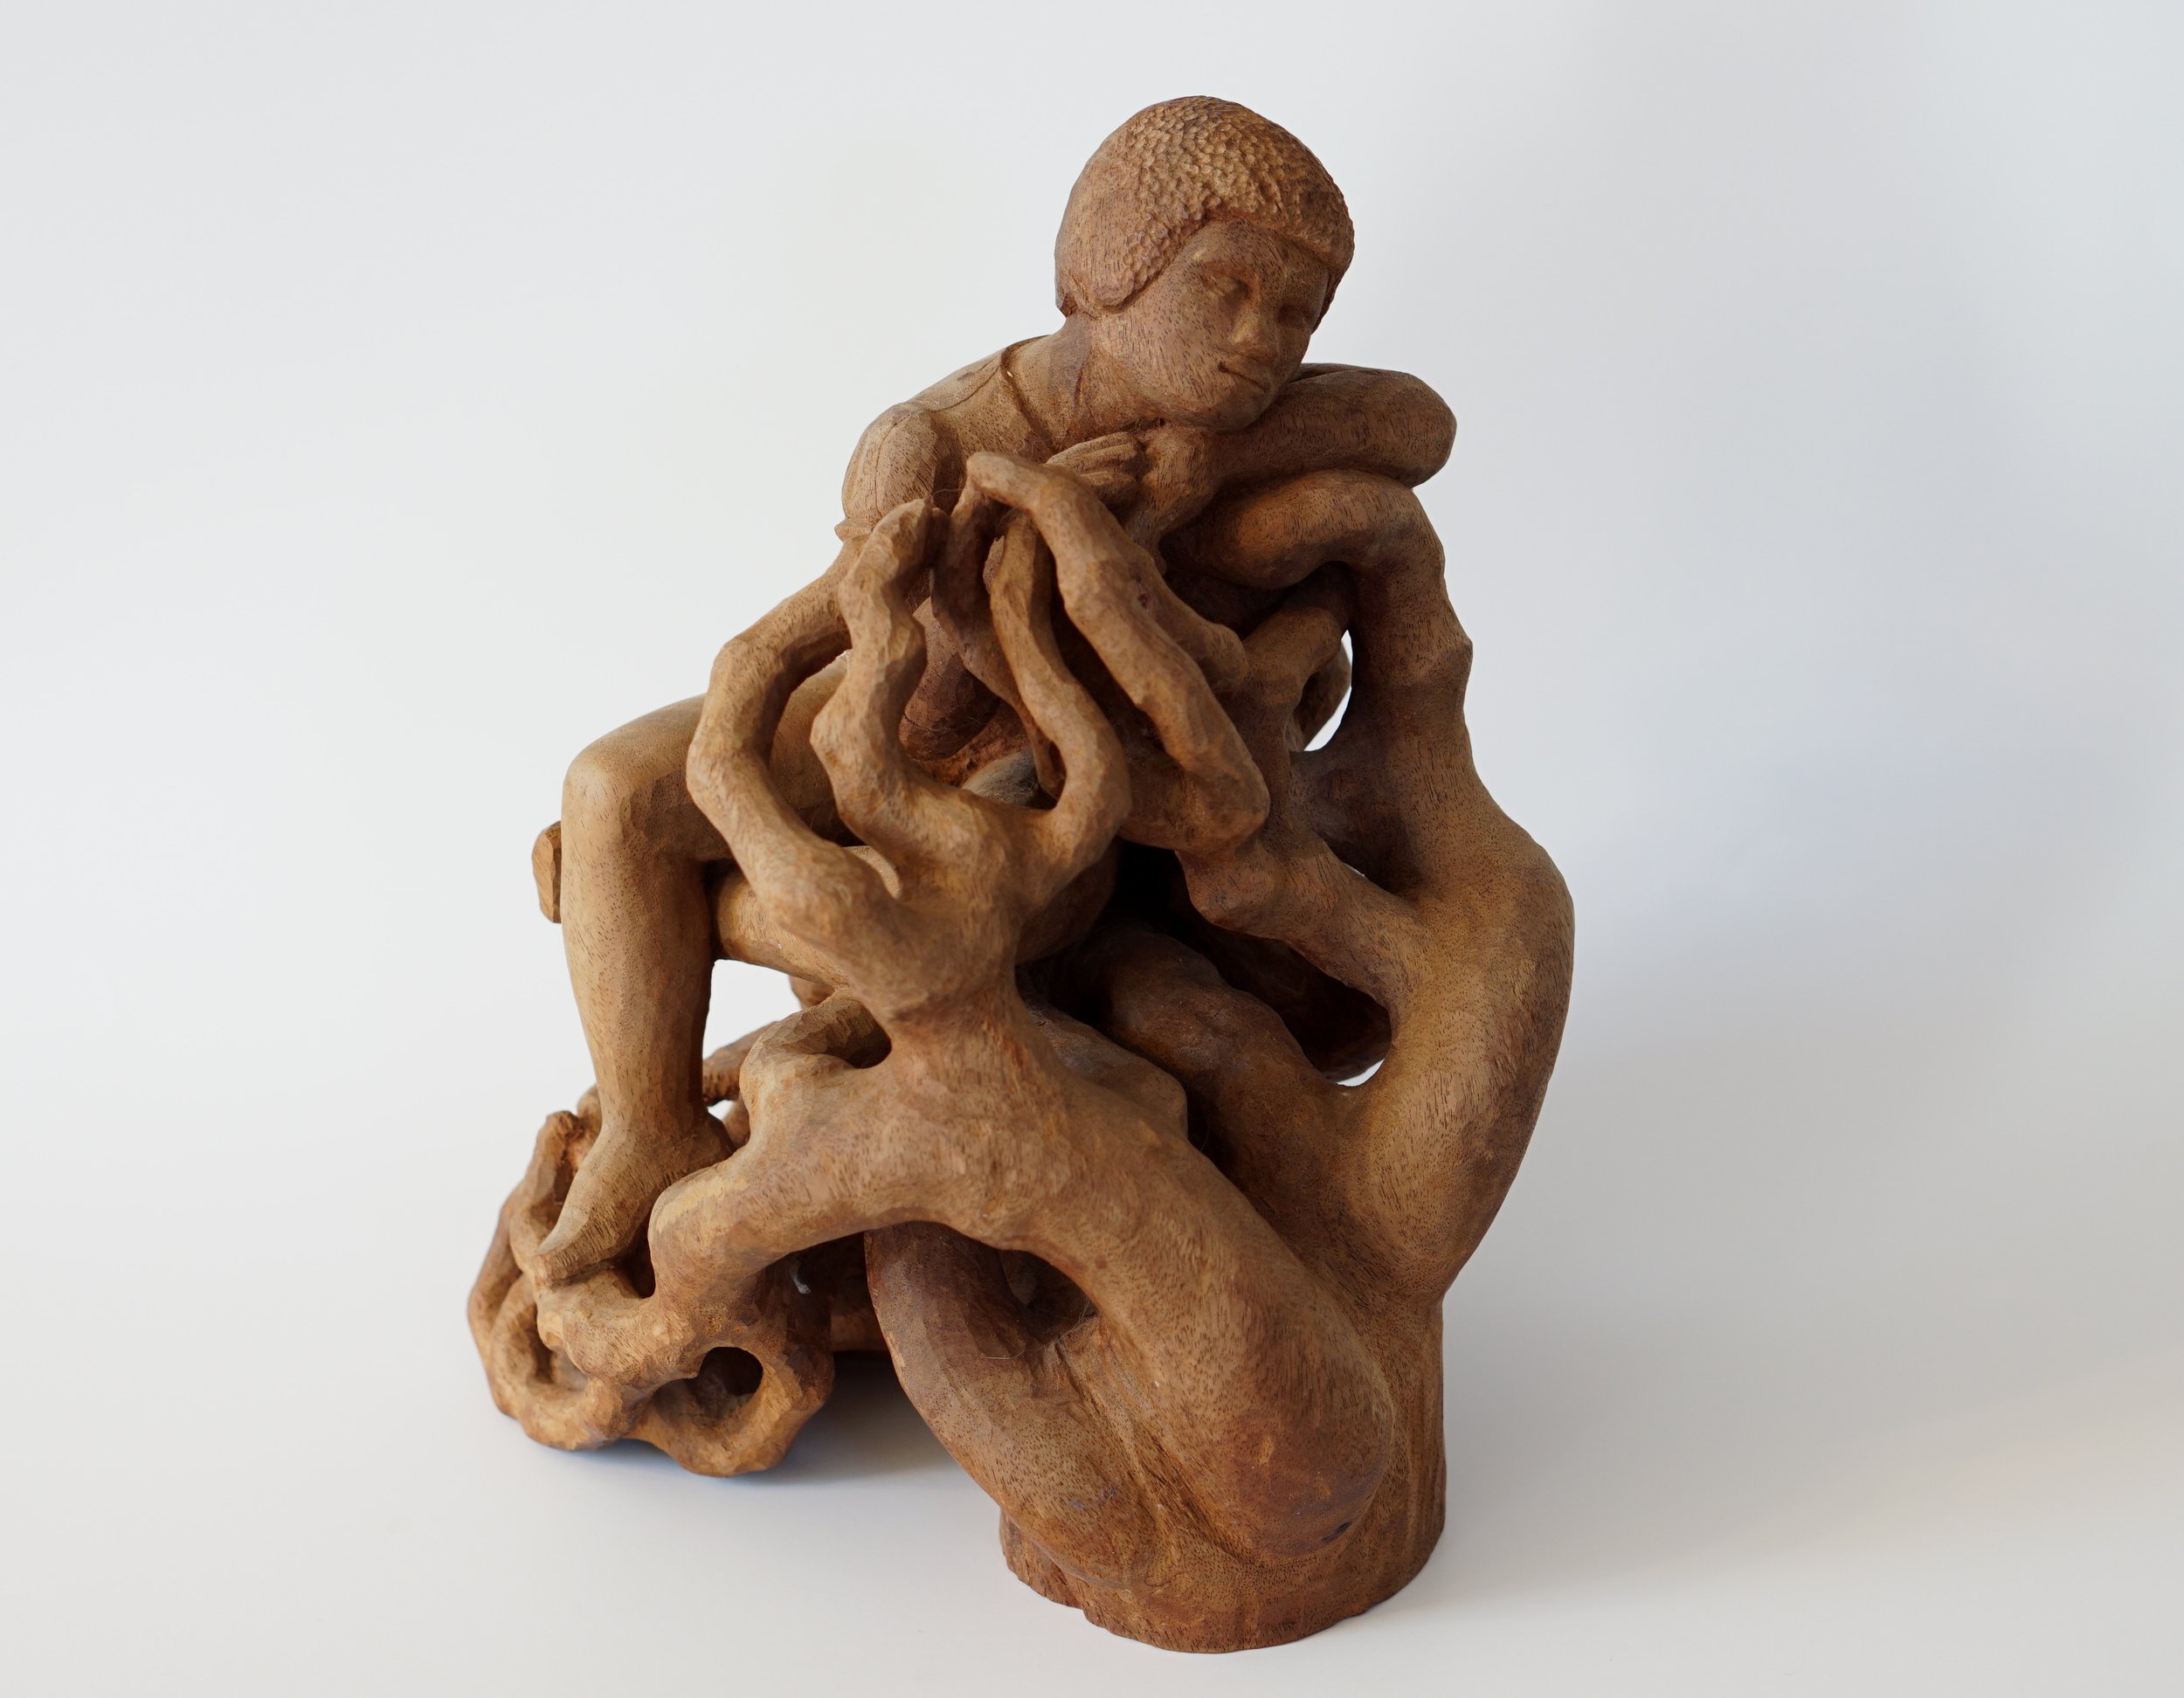
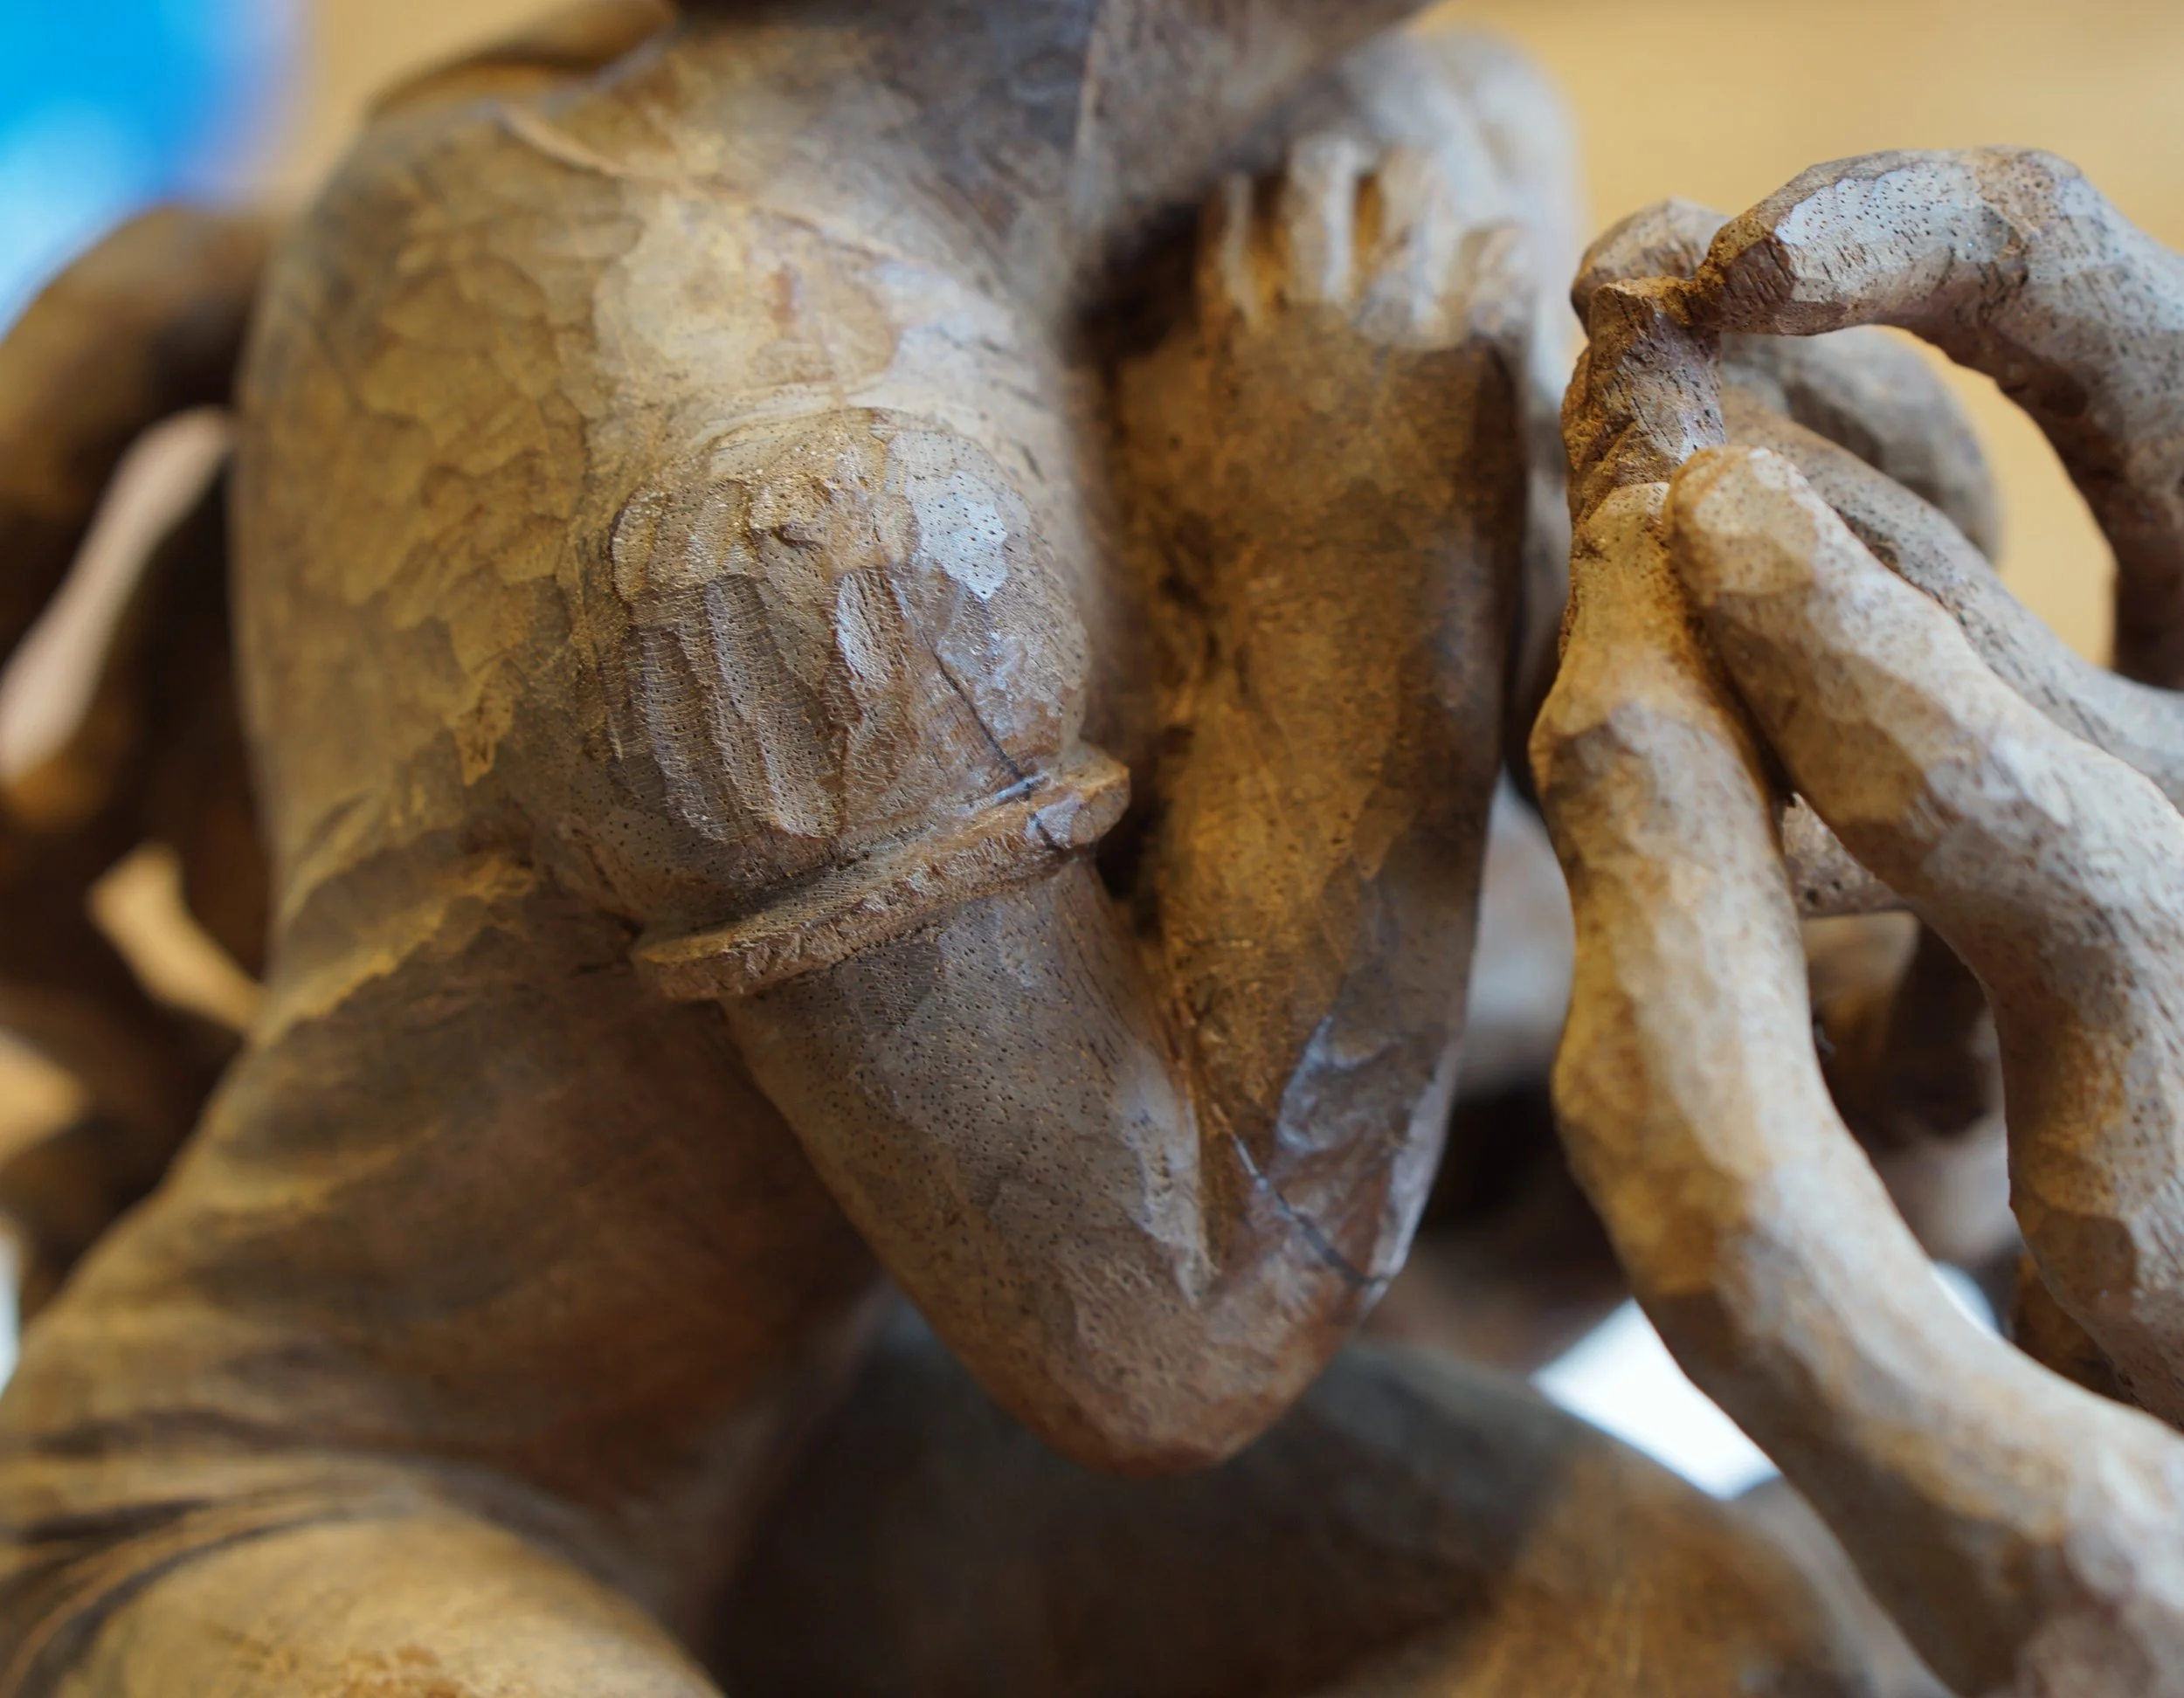
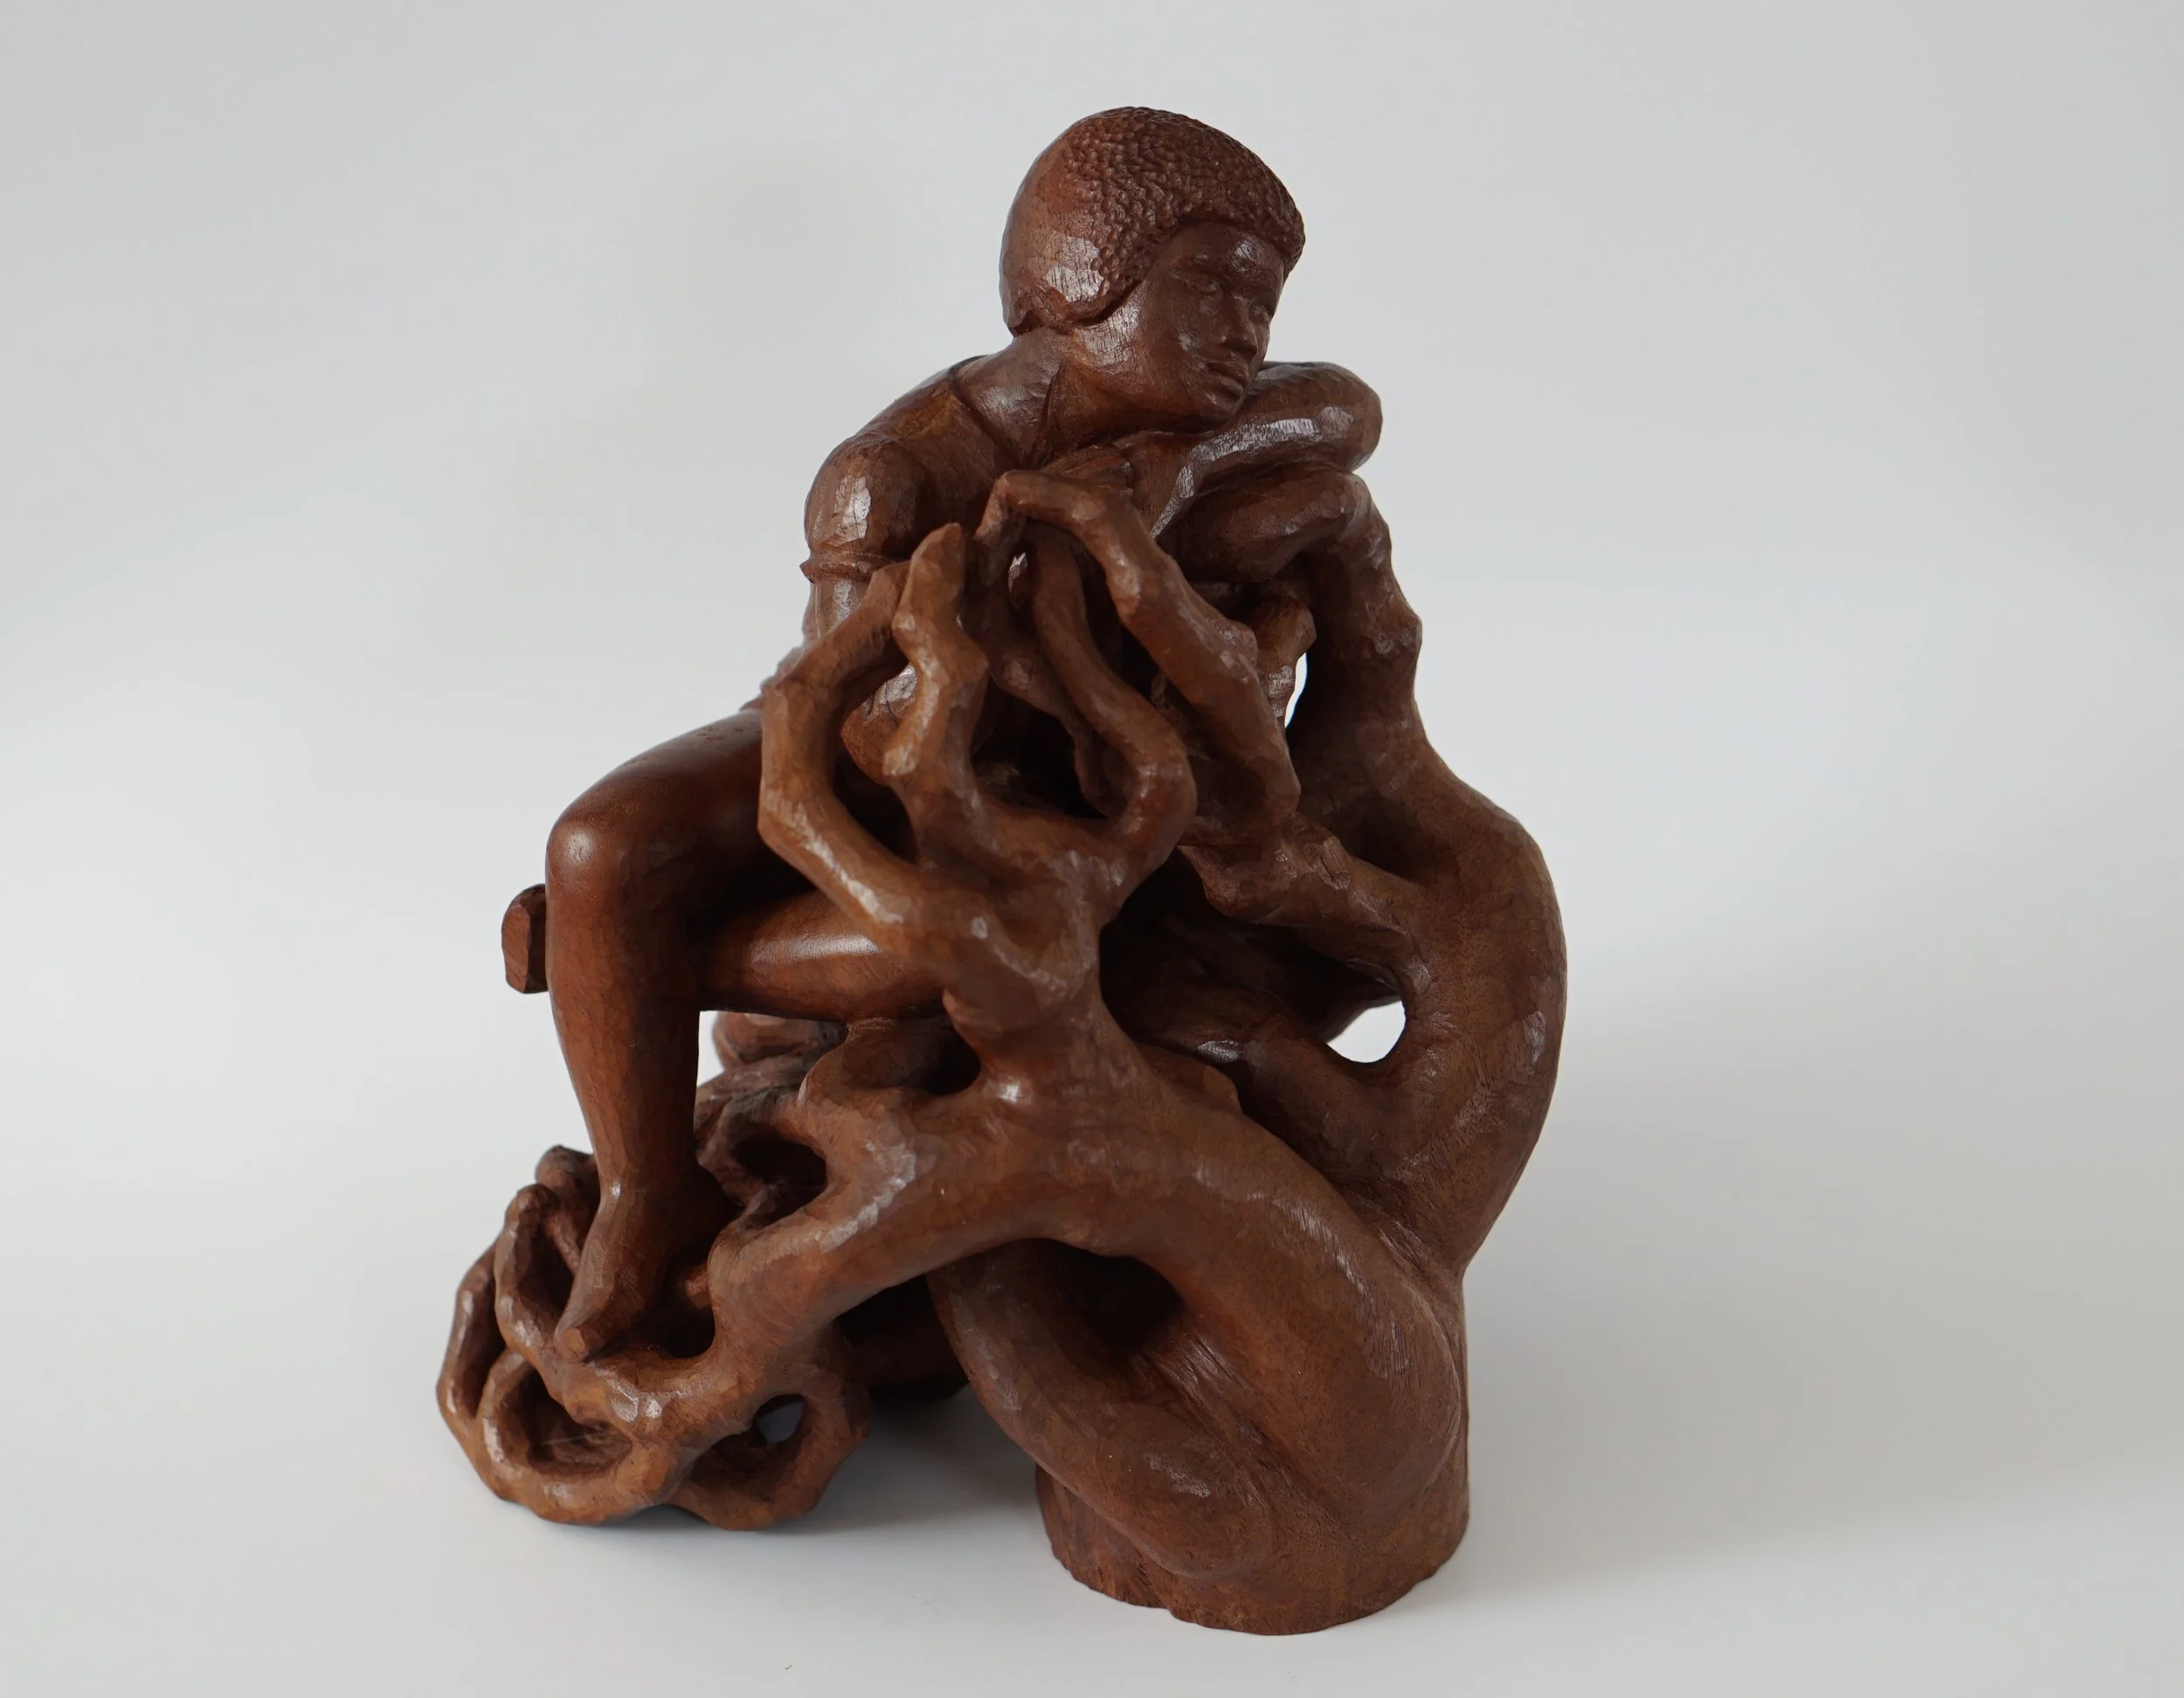
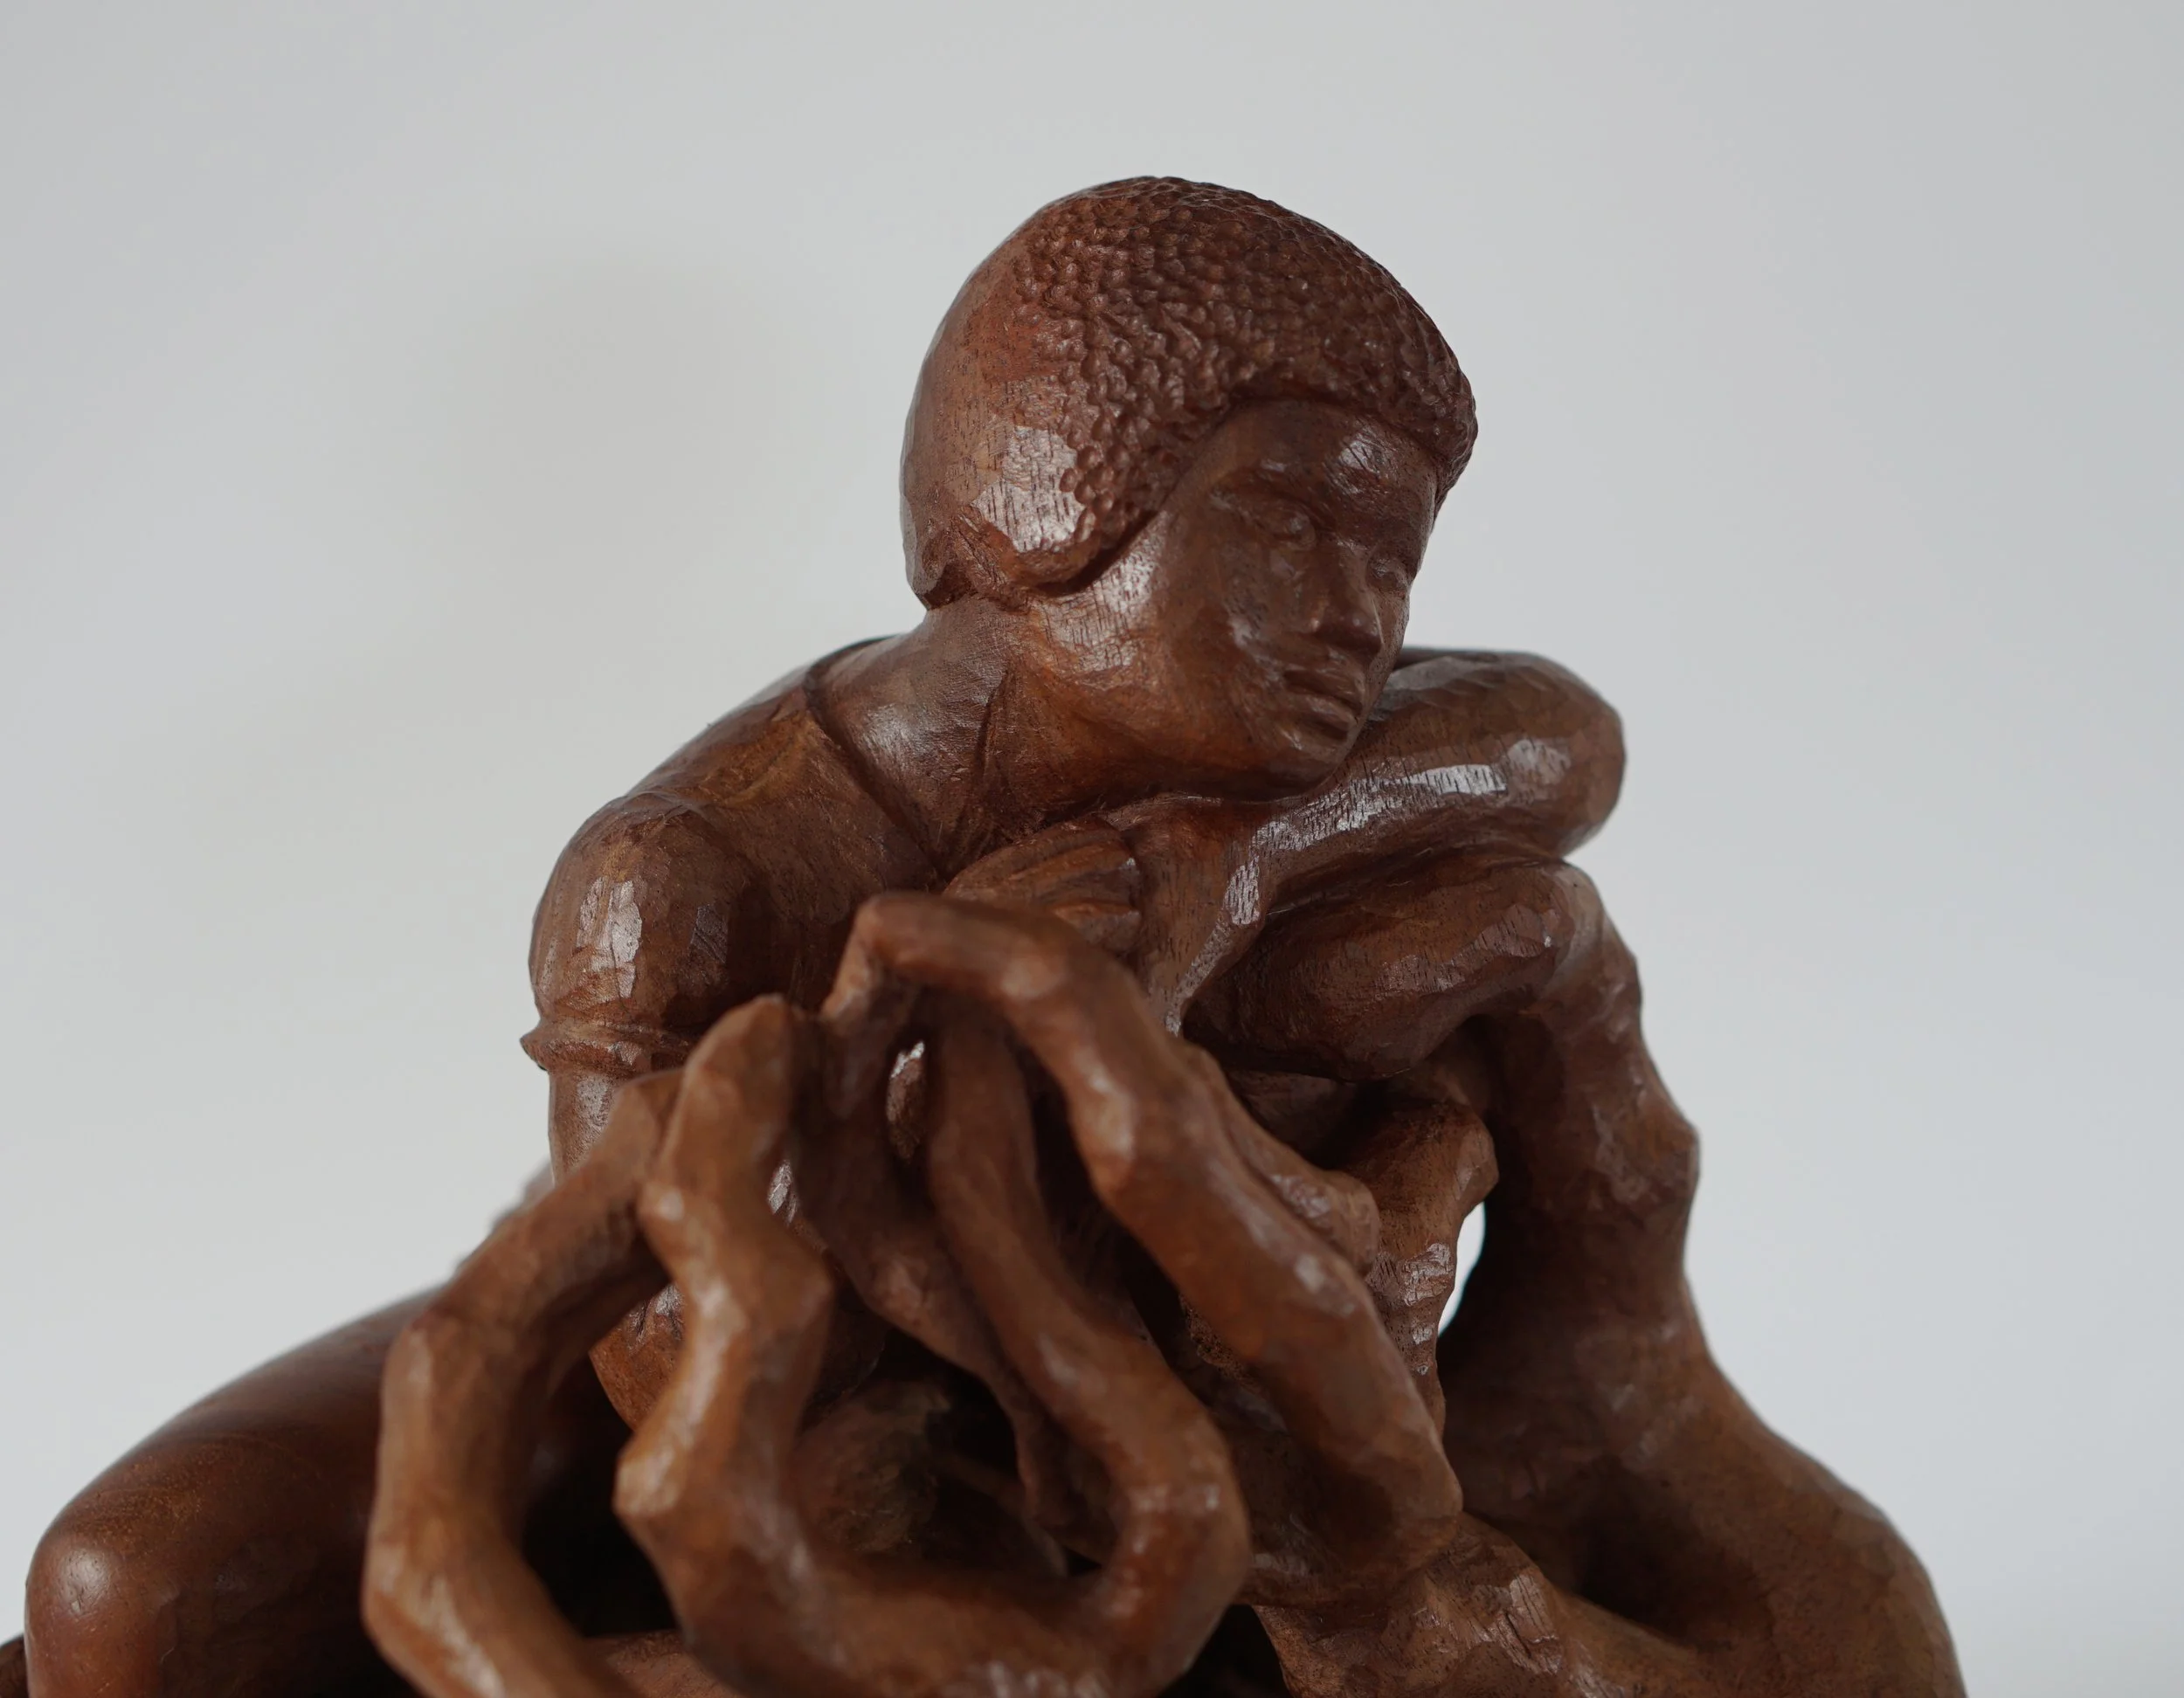
The first piece I started working on - “Woman with the Roots”, 10 inches tall
I was told it is done in Jamaican Mahogany, the wood was very dry and if it wasn’t for seeing older photos I would have thought it was never completed with any finish.

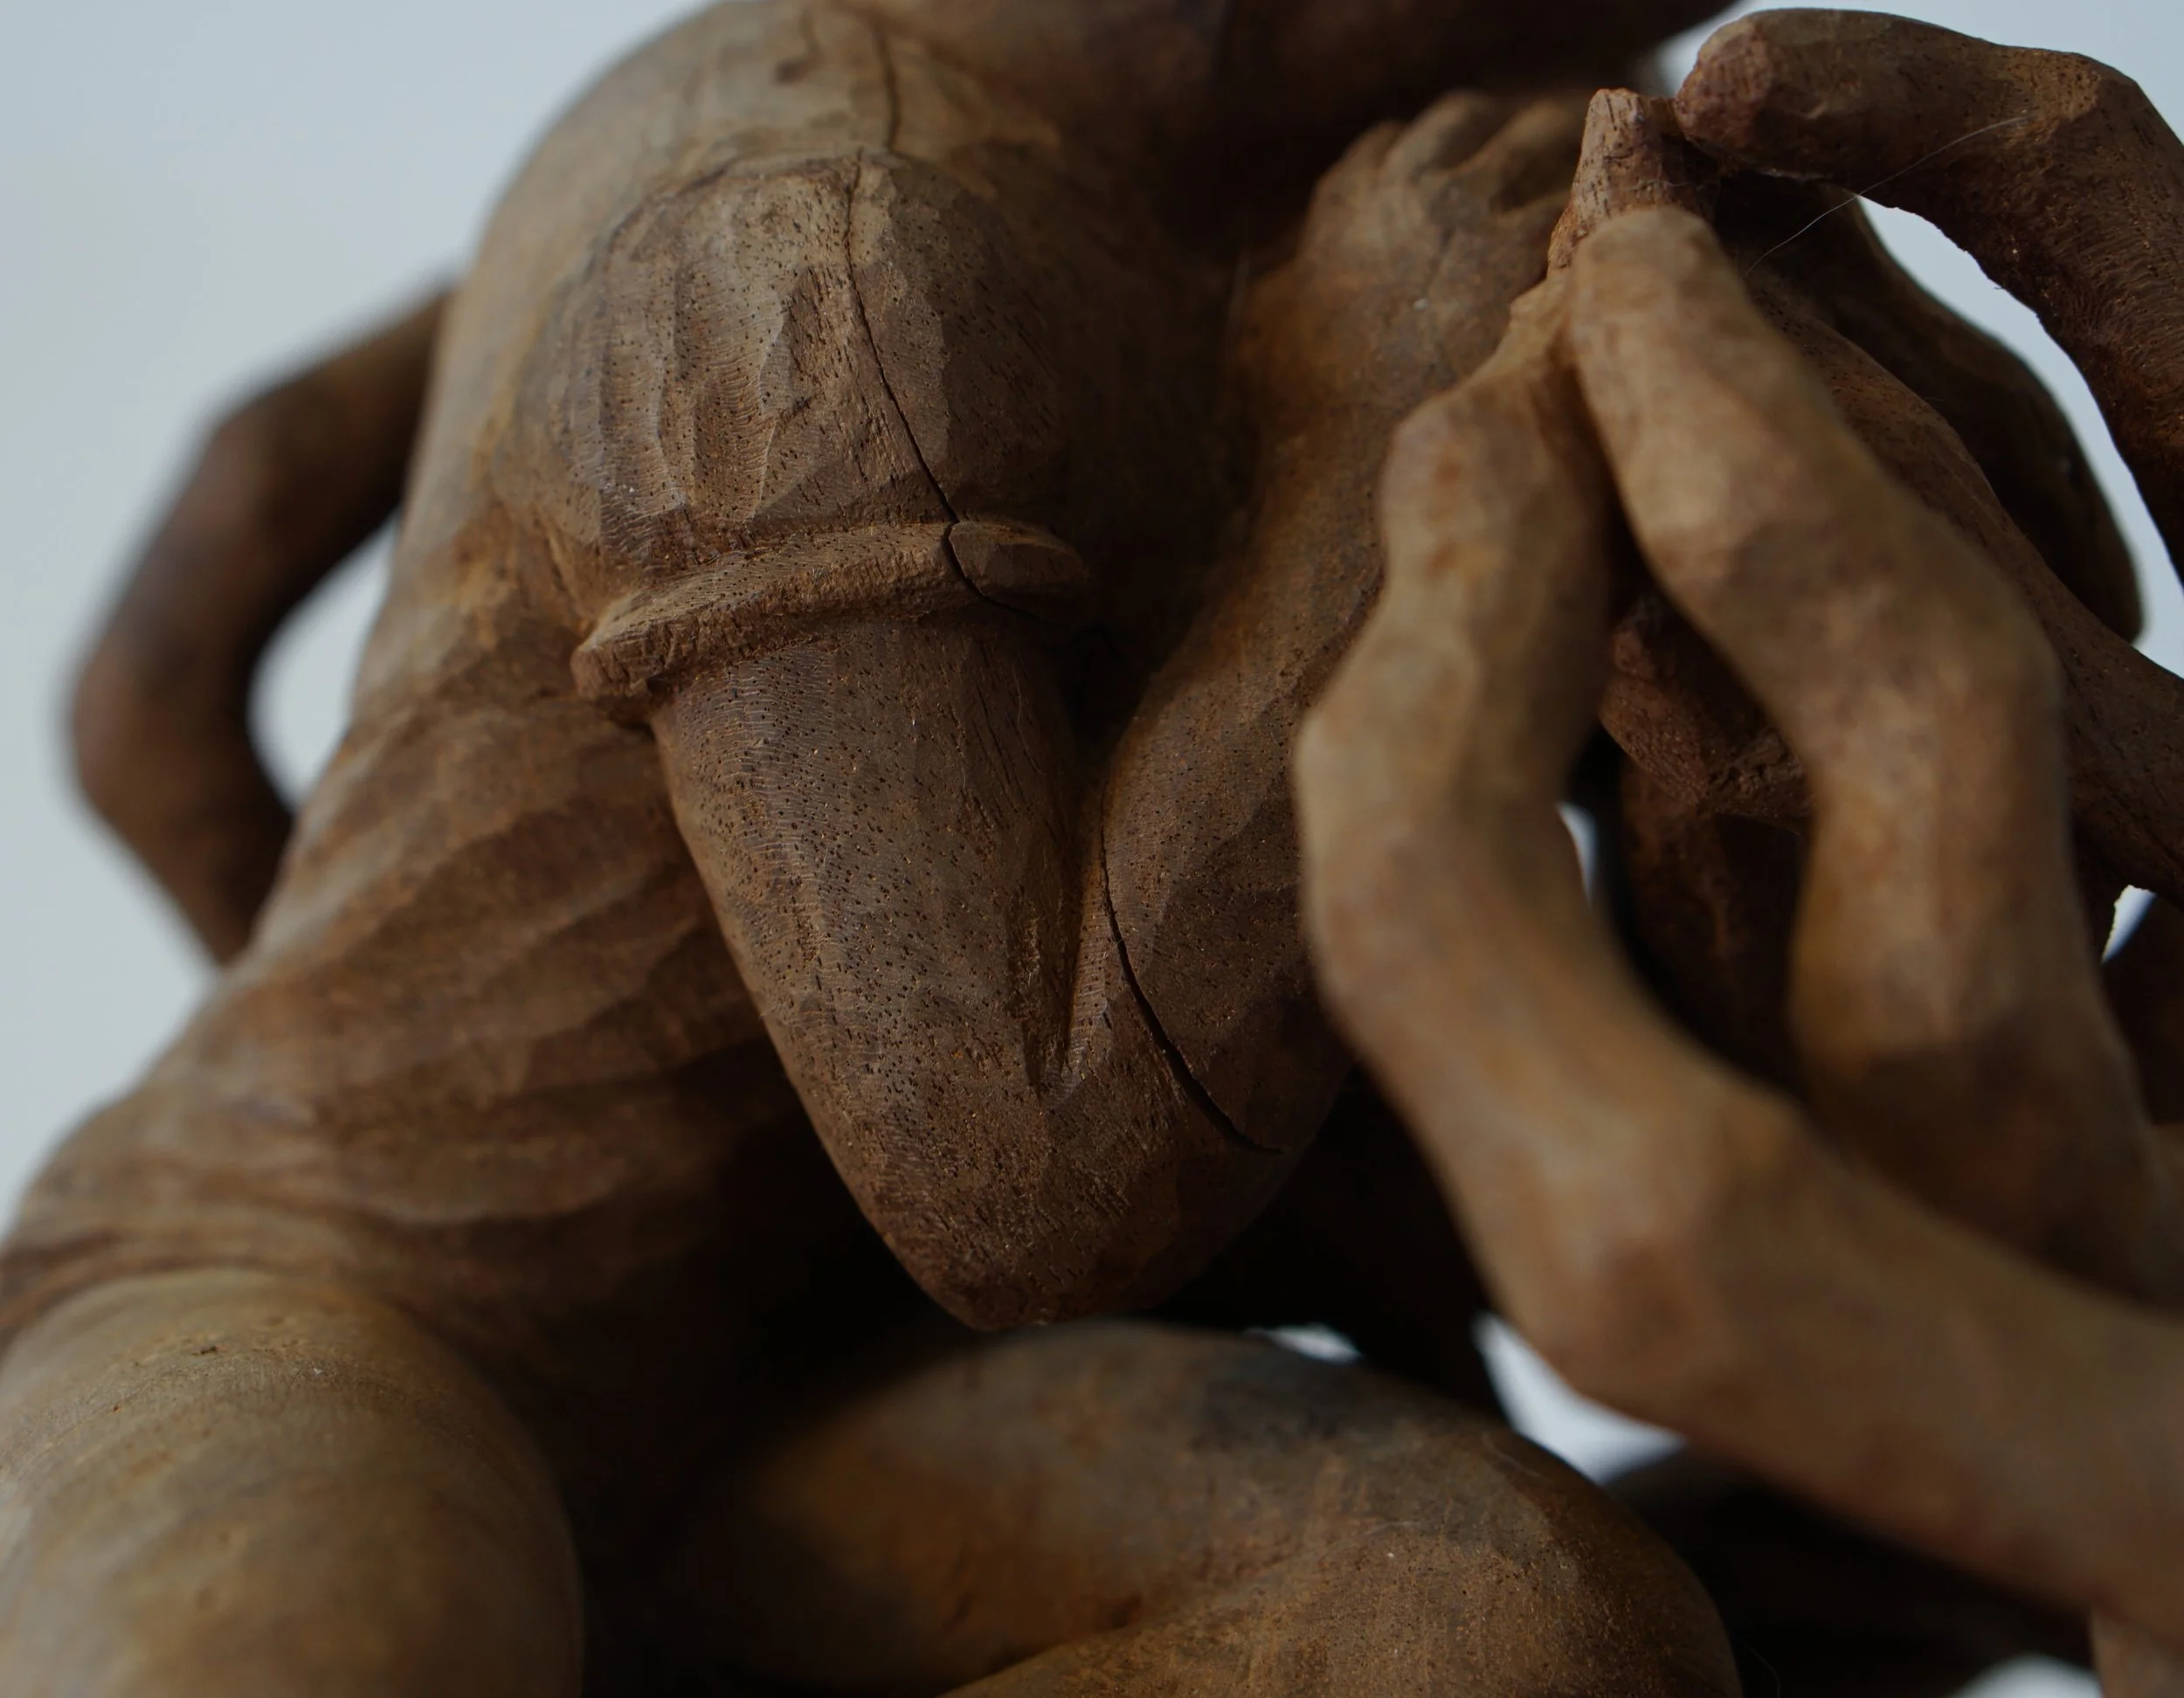
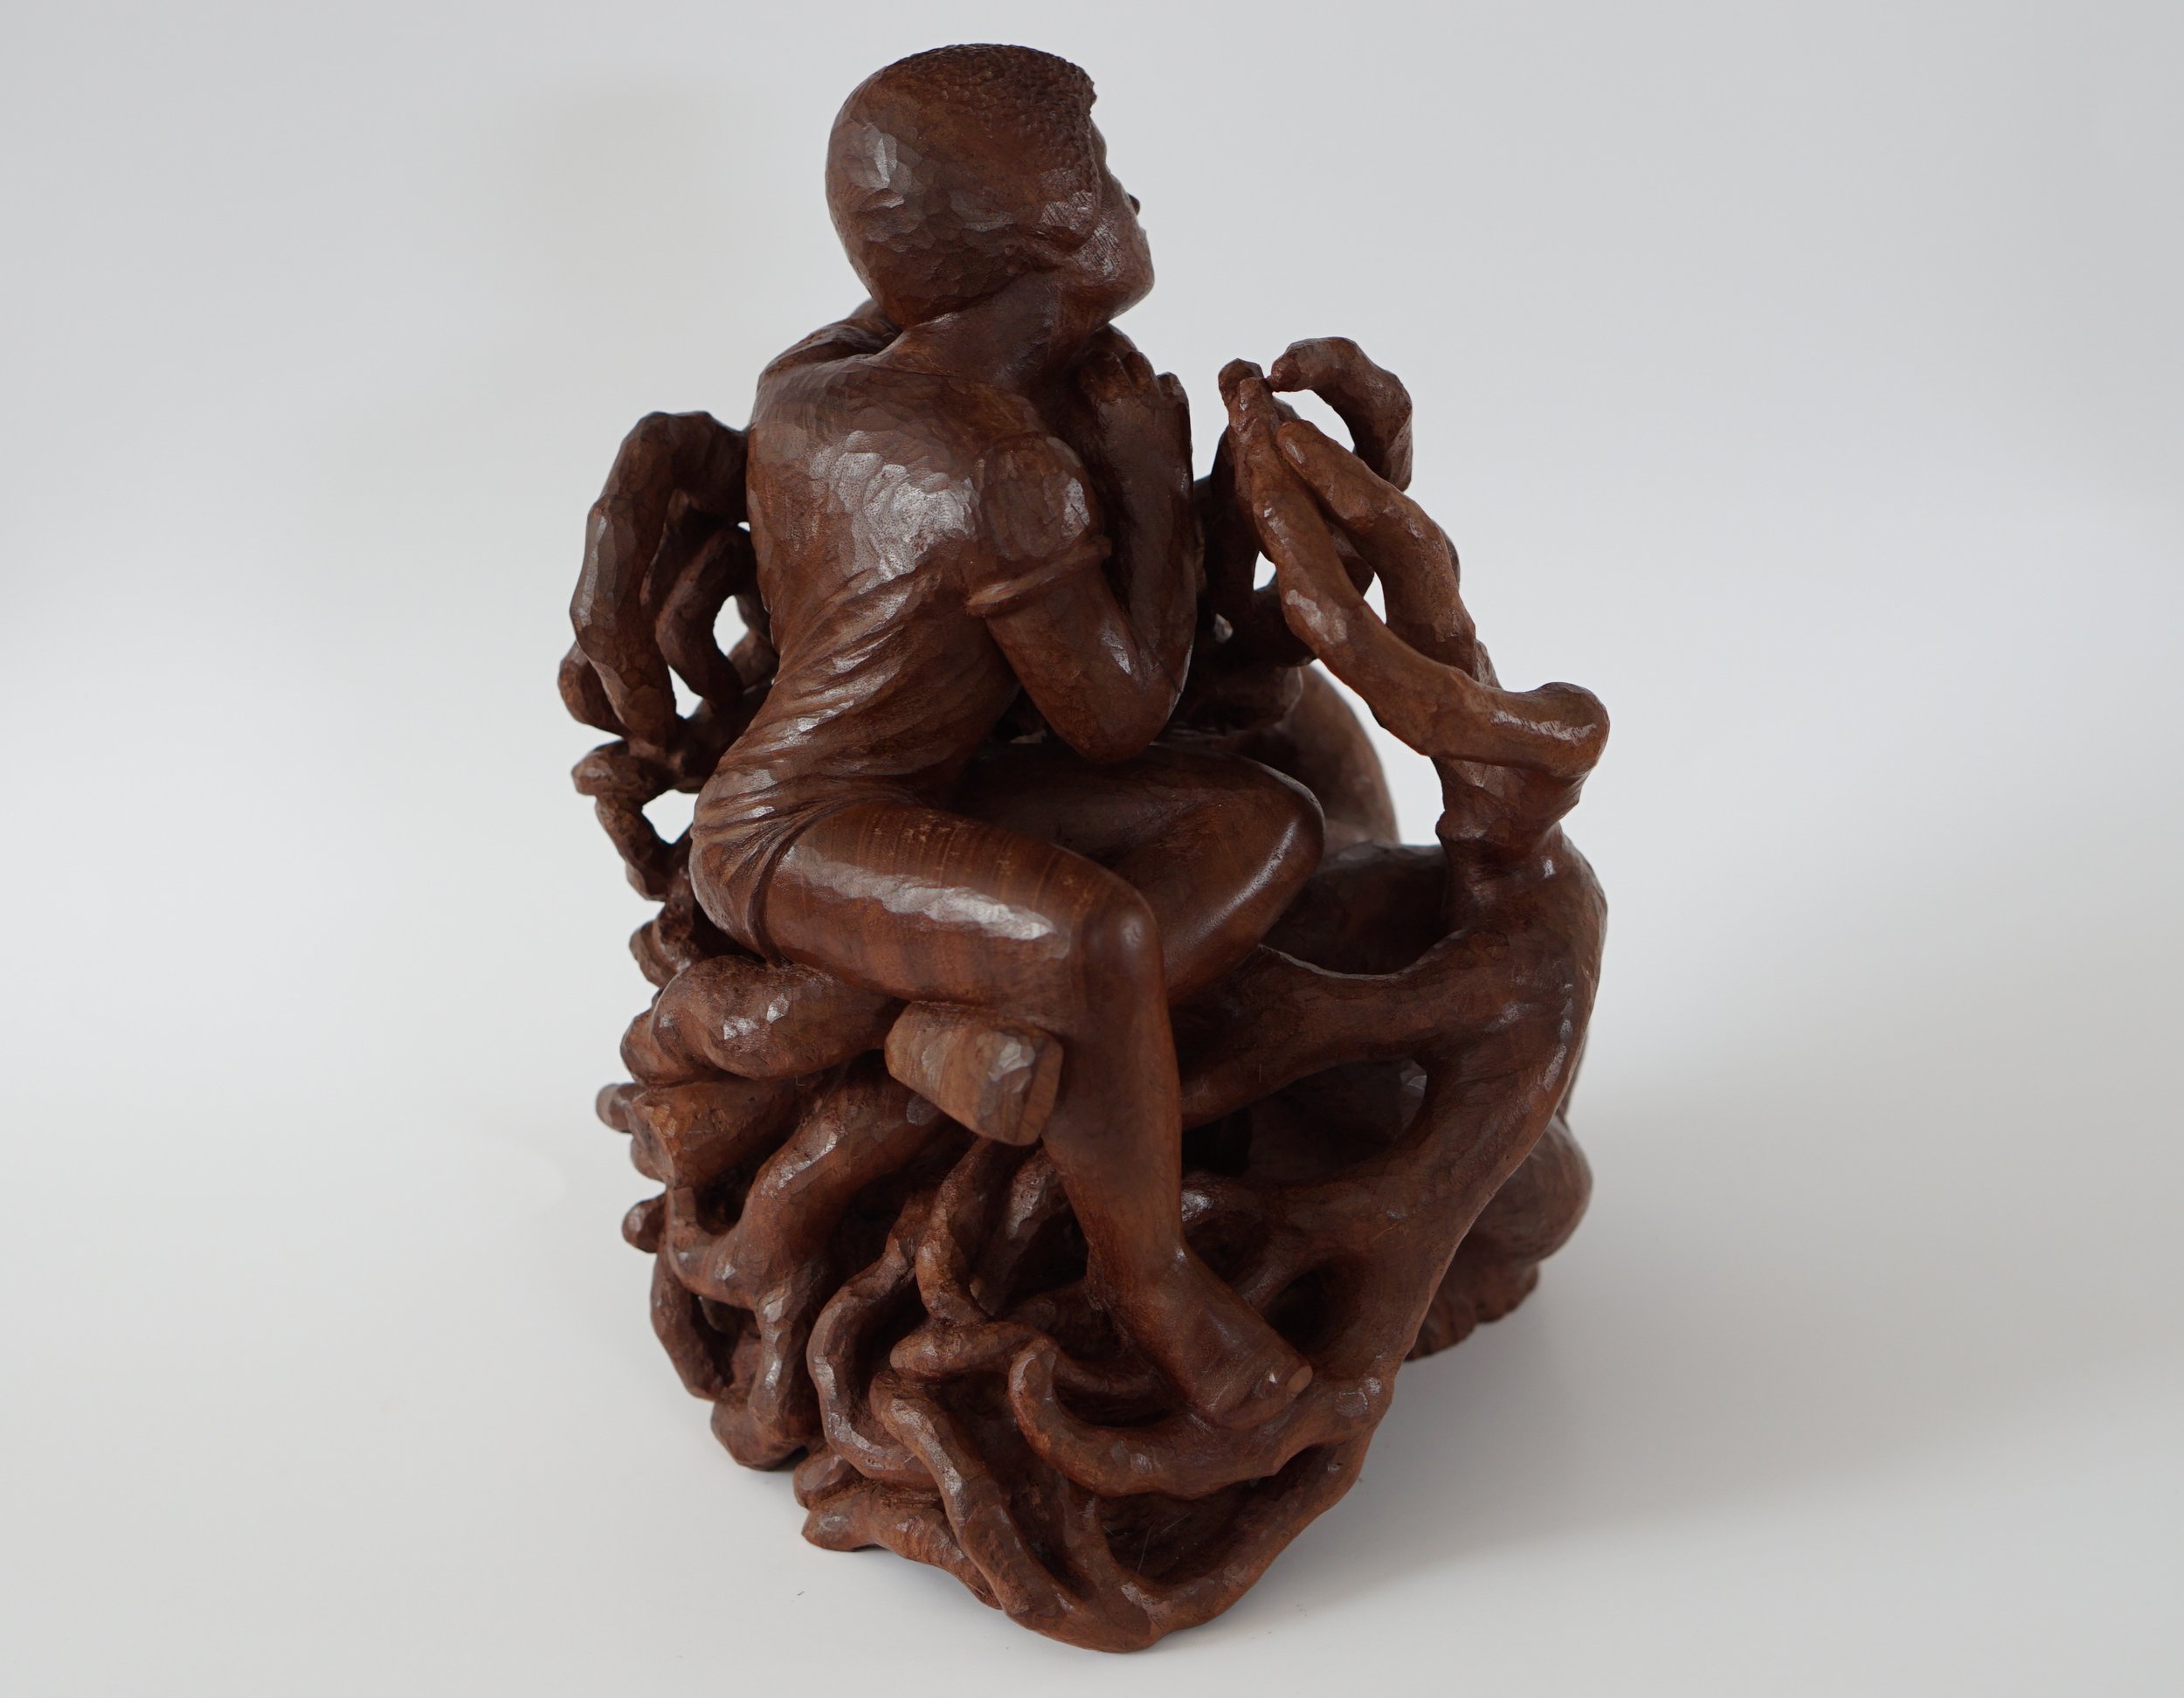
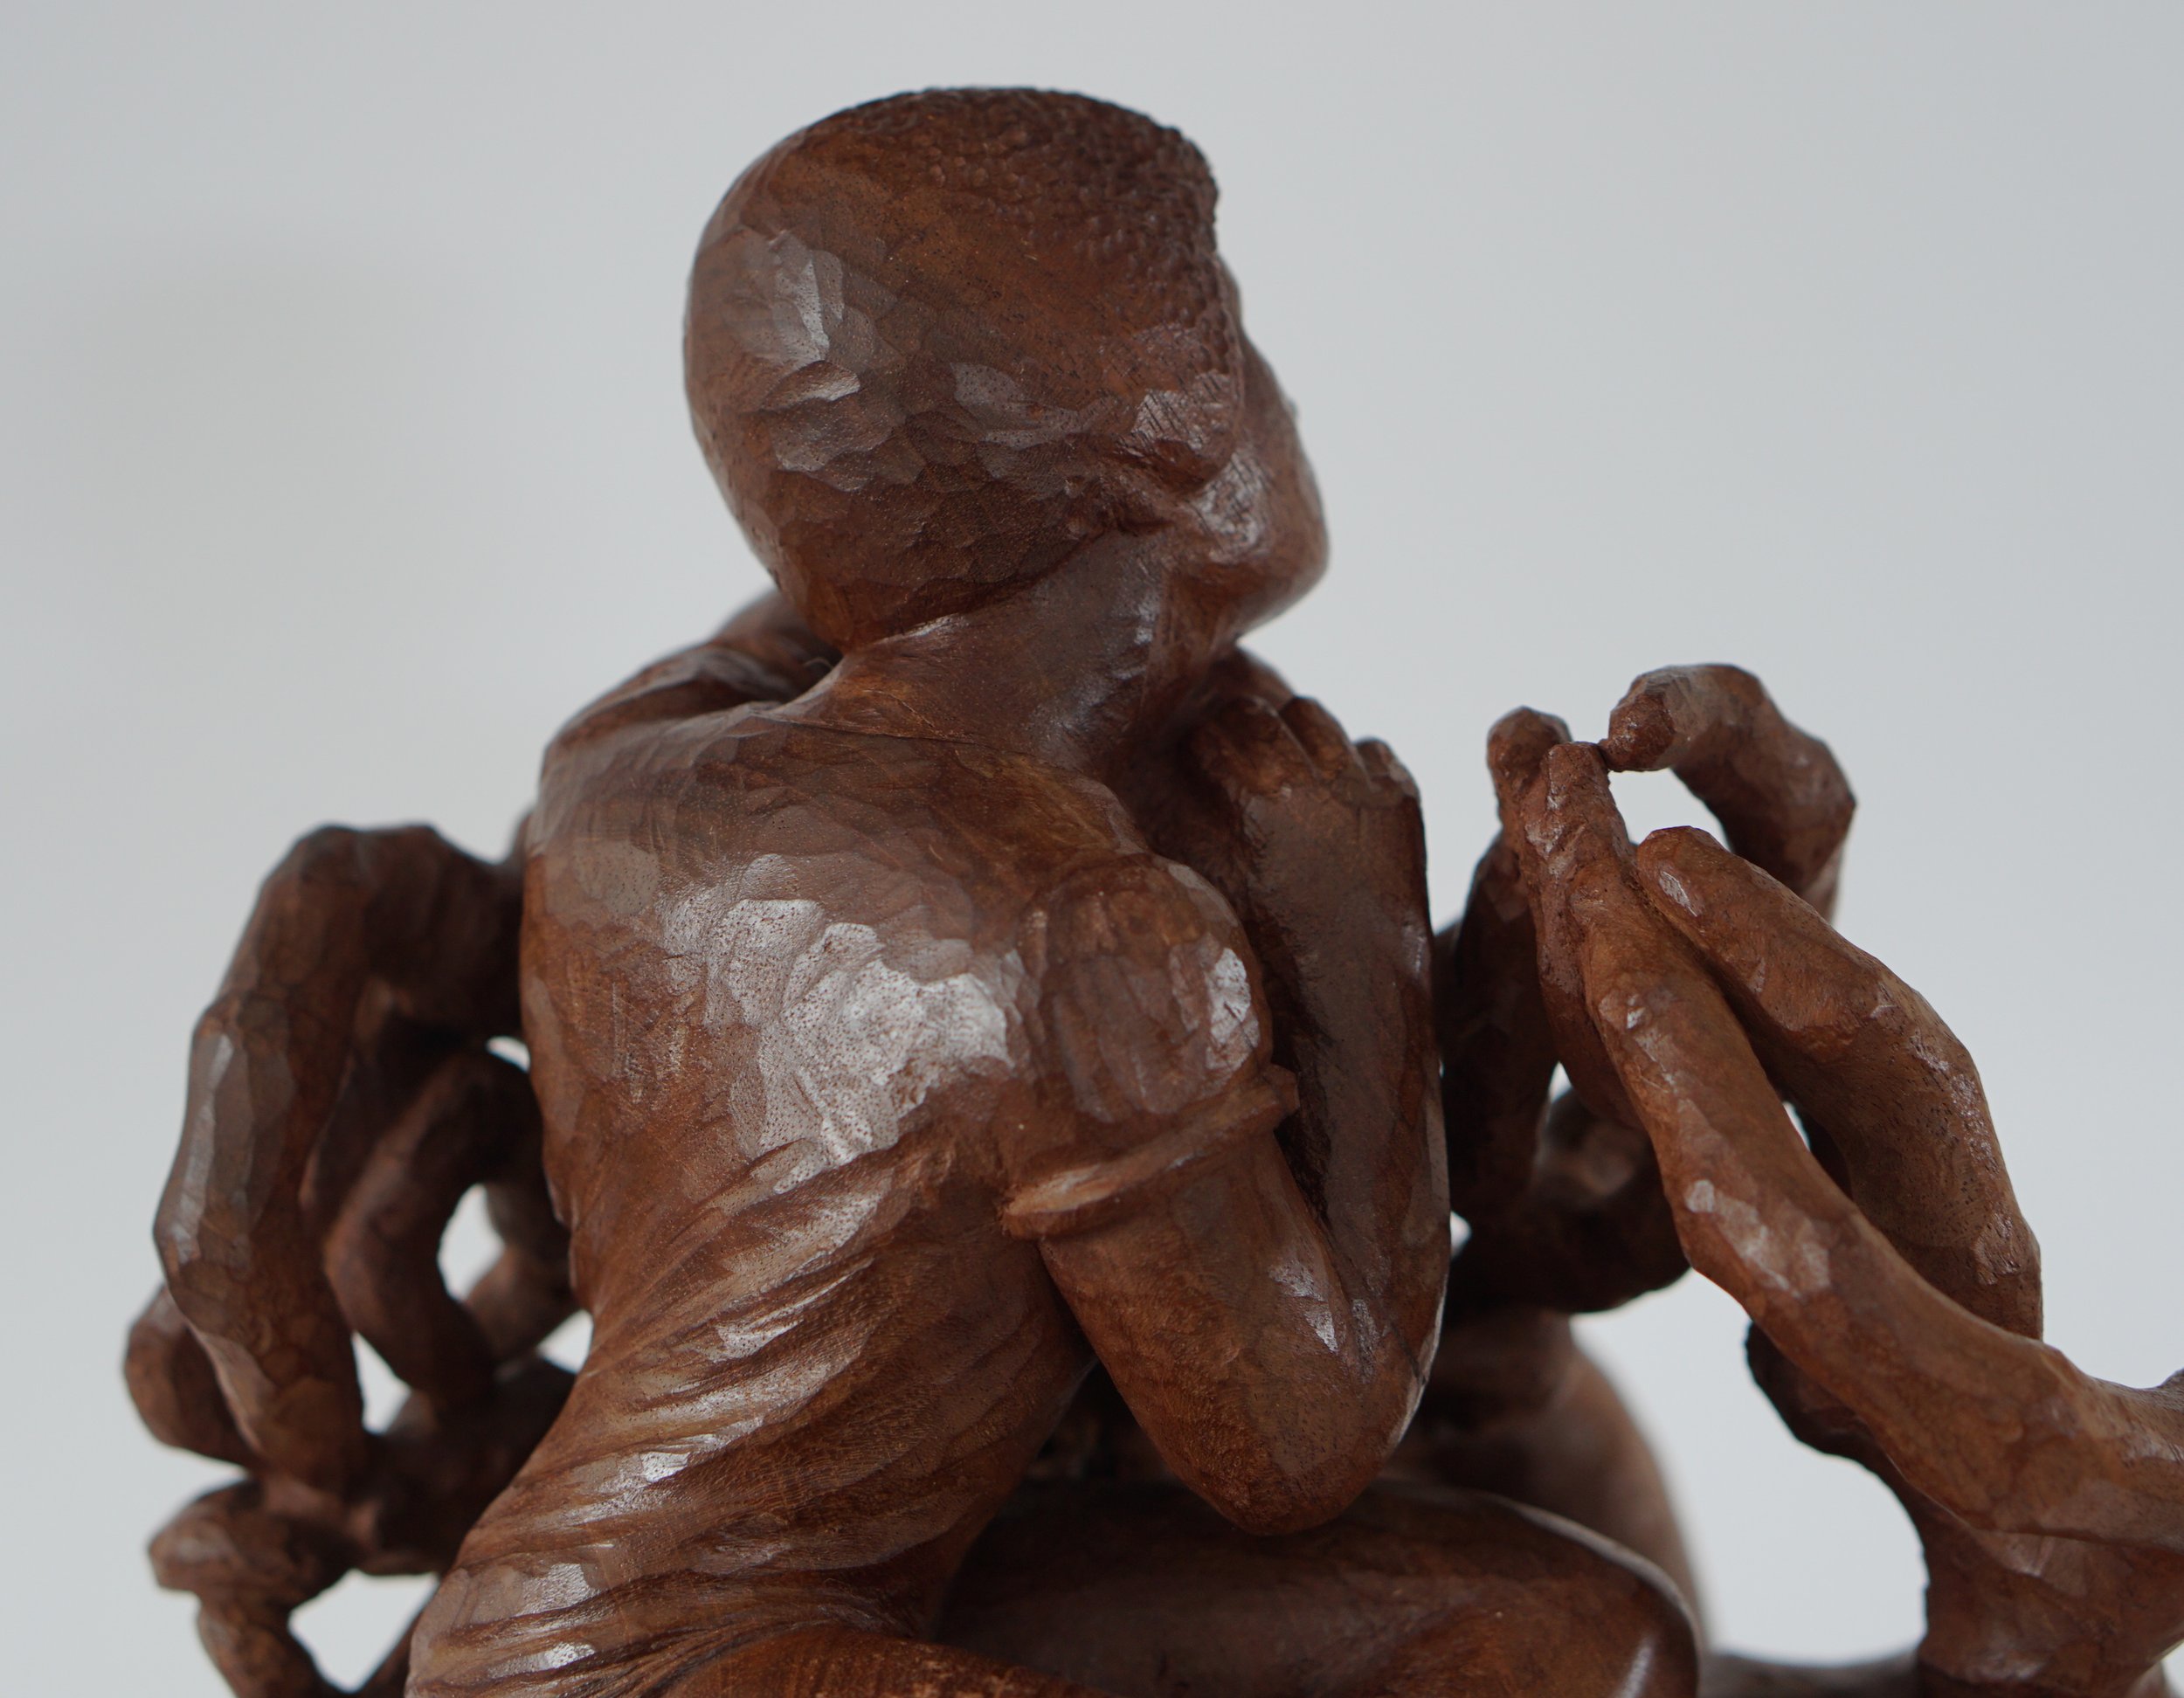
There was also a major crack going from the right hand all across the back.
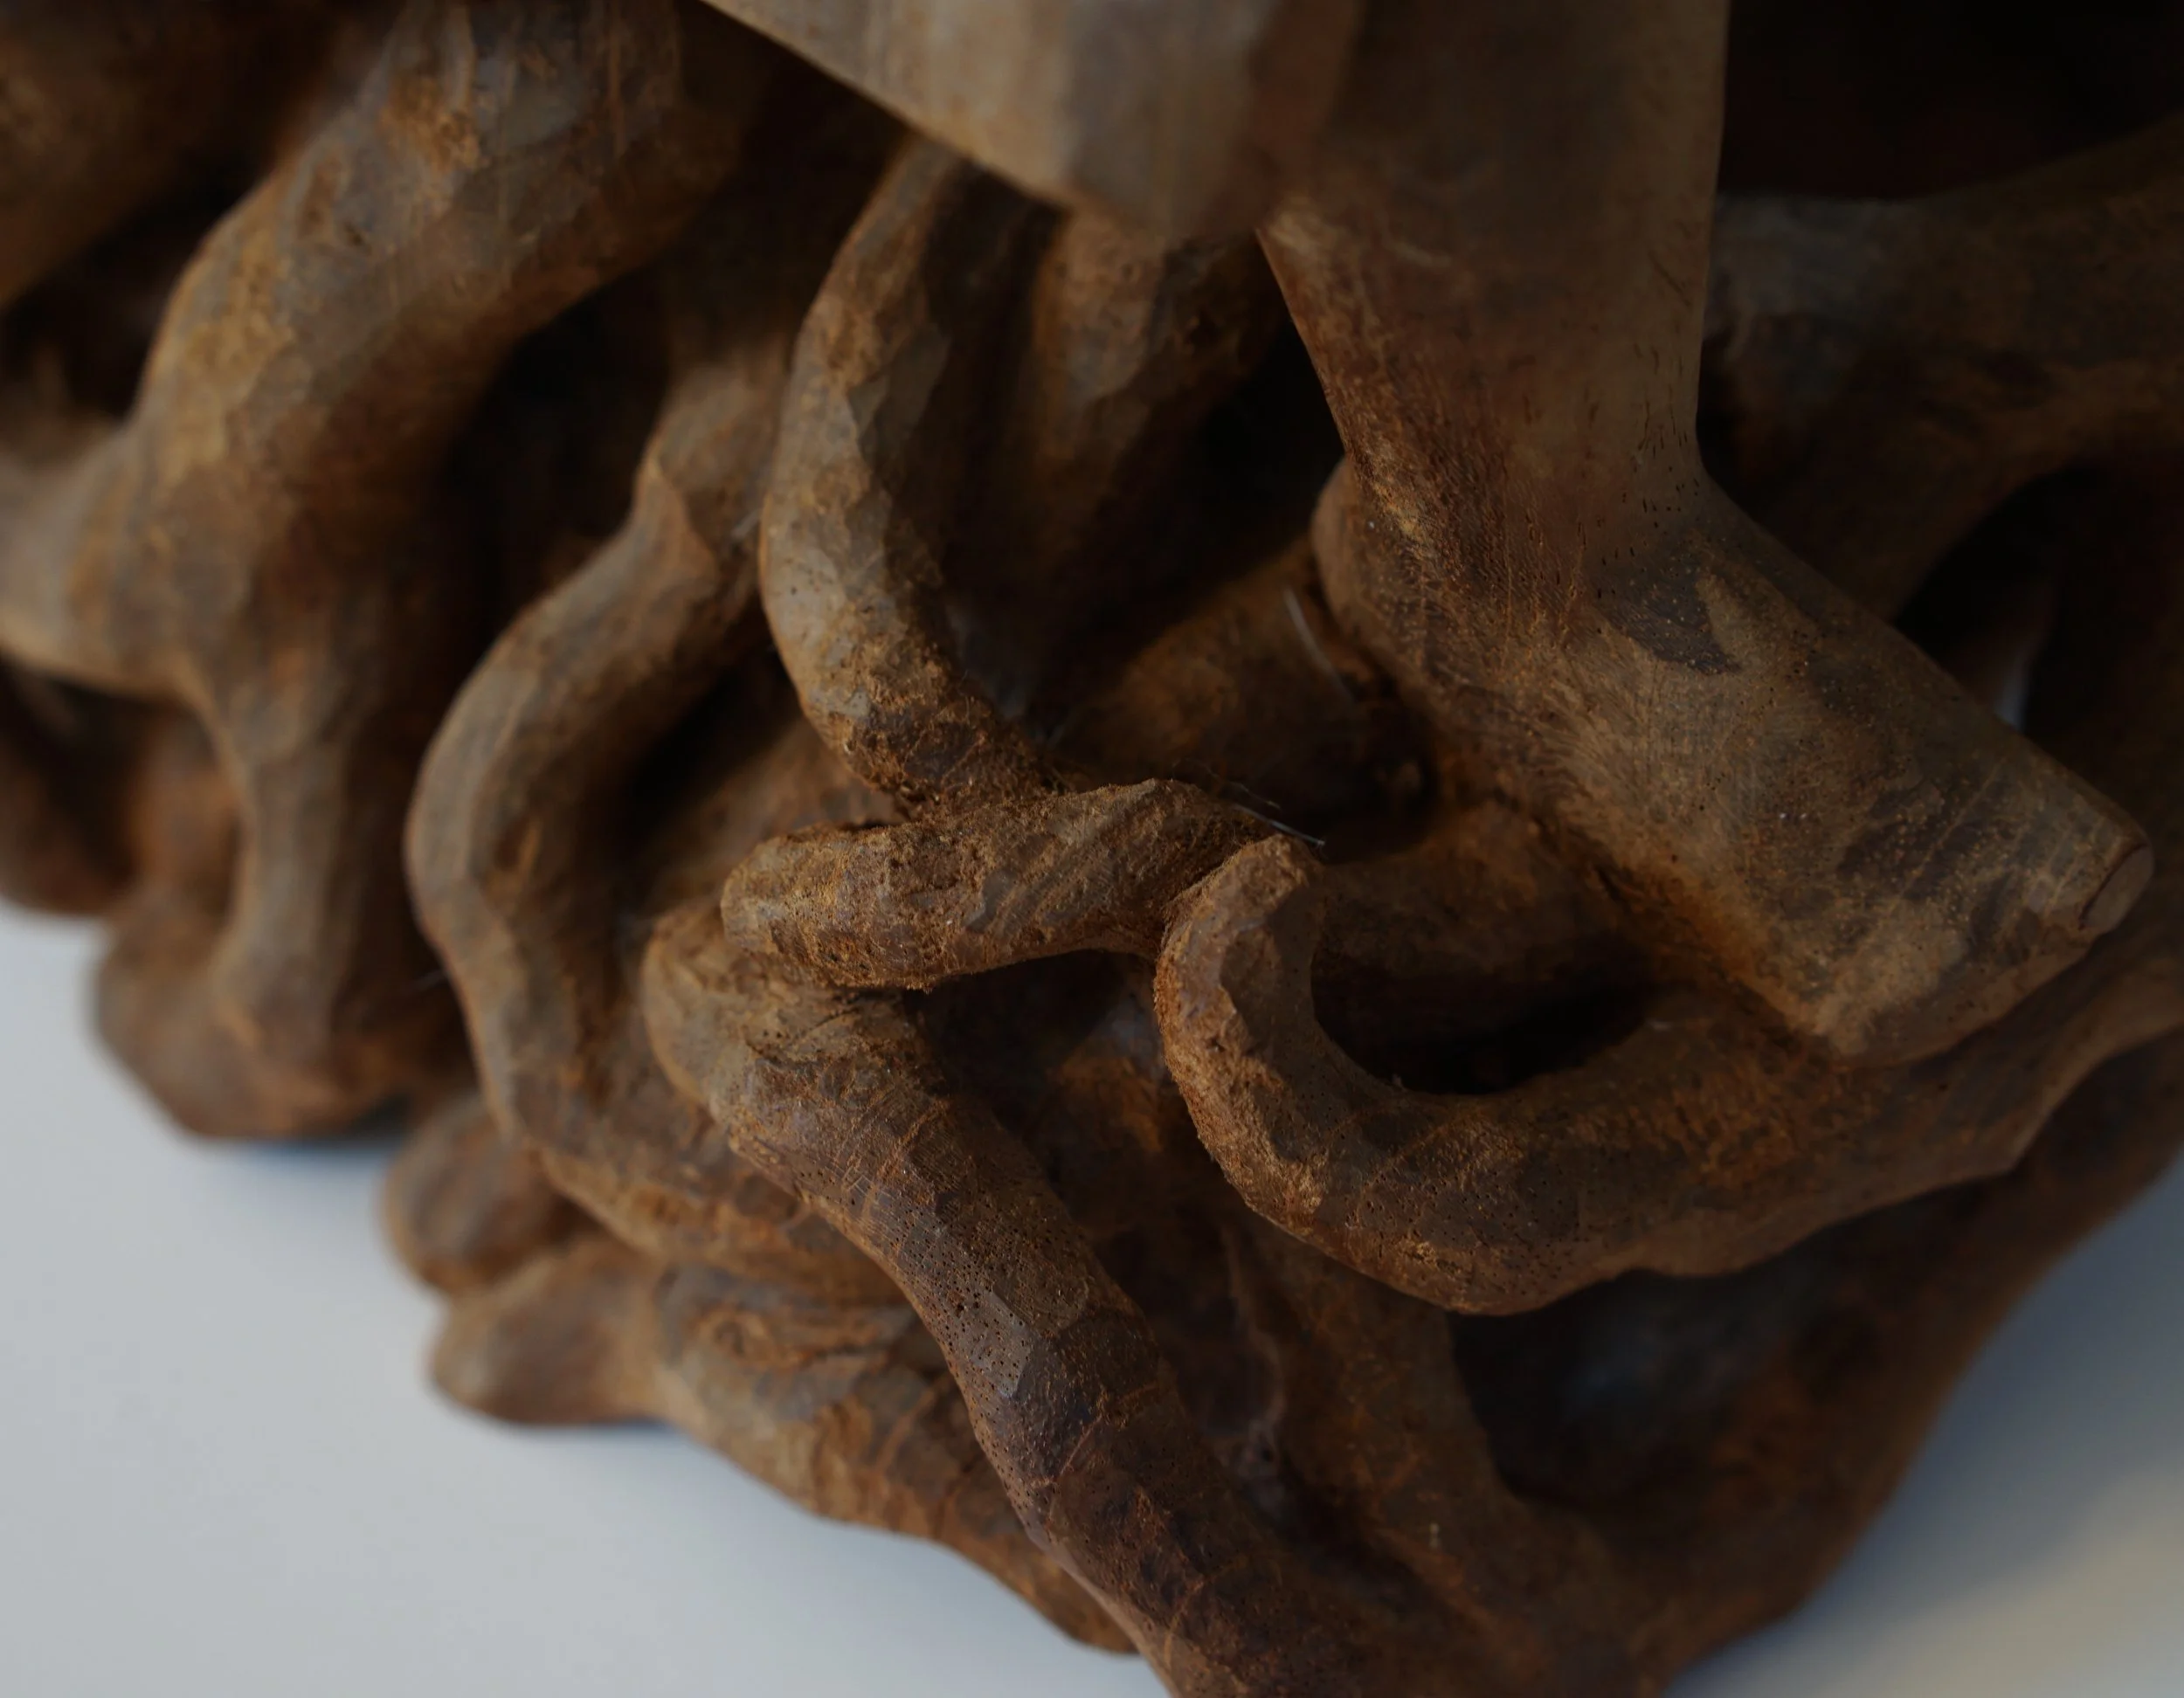
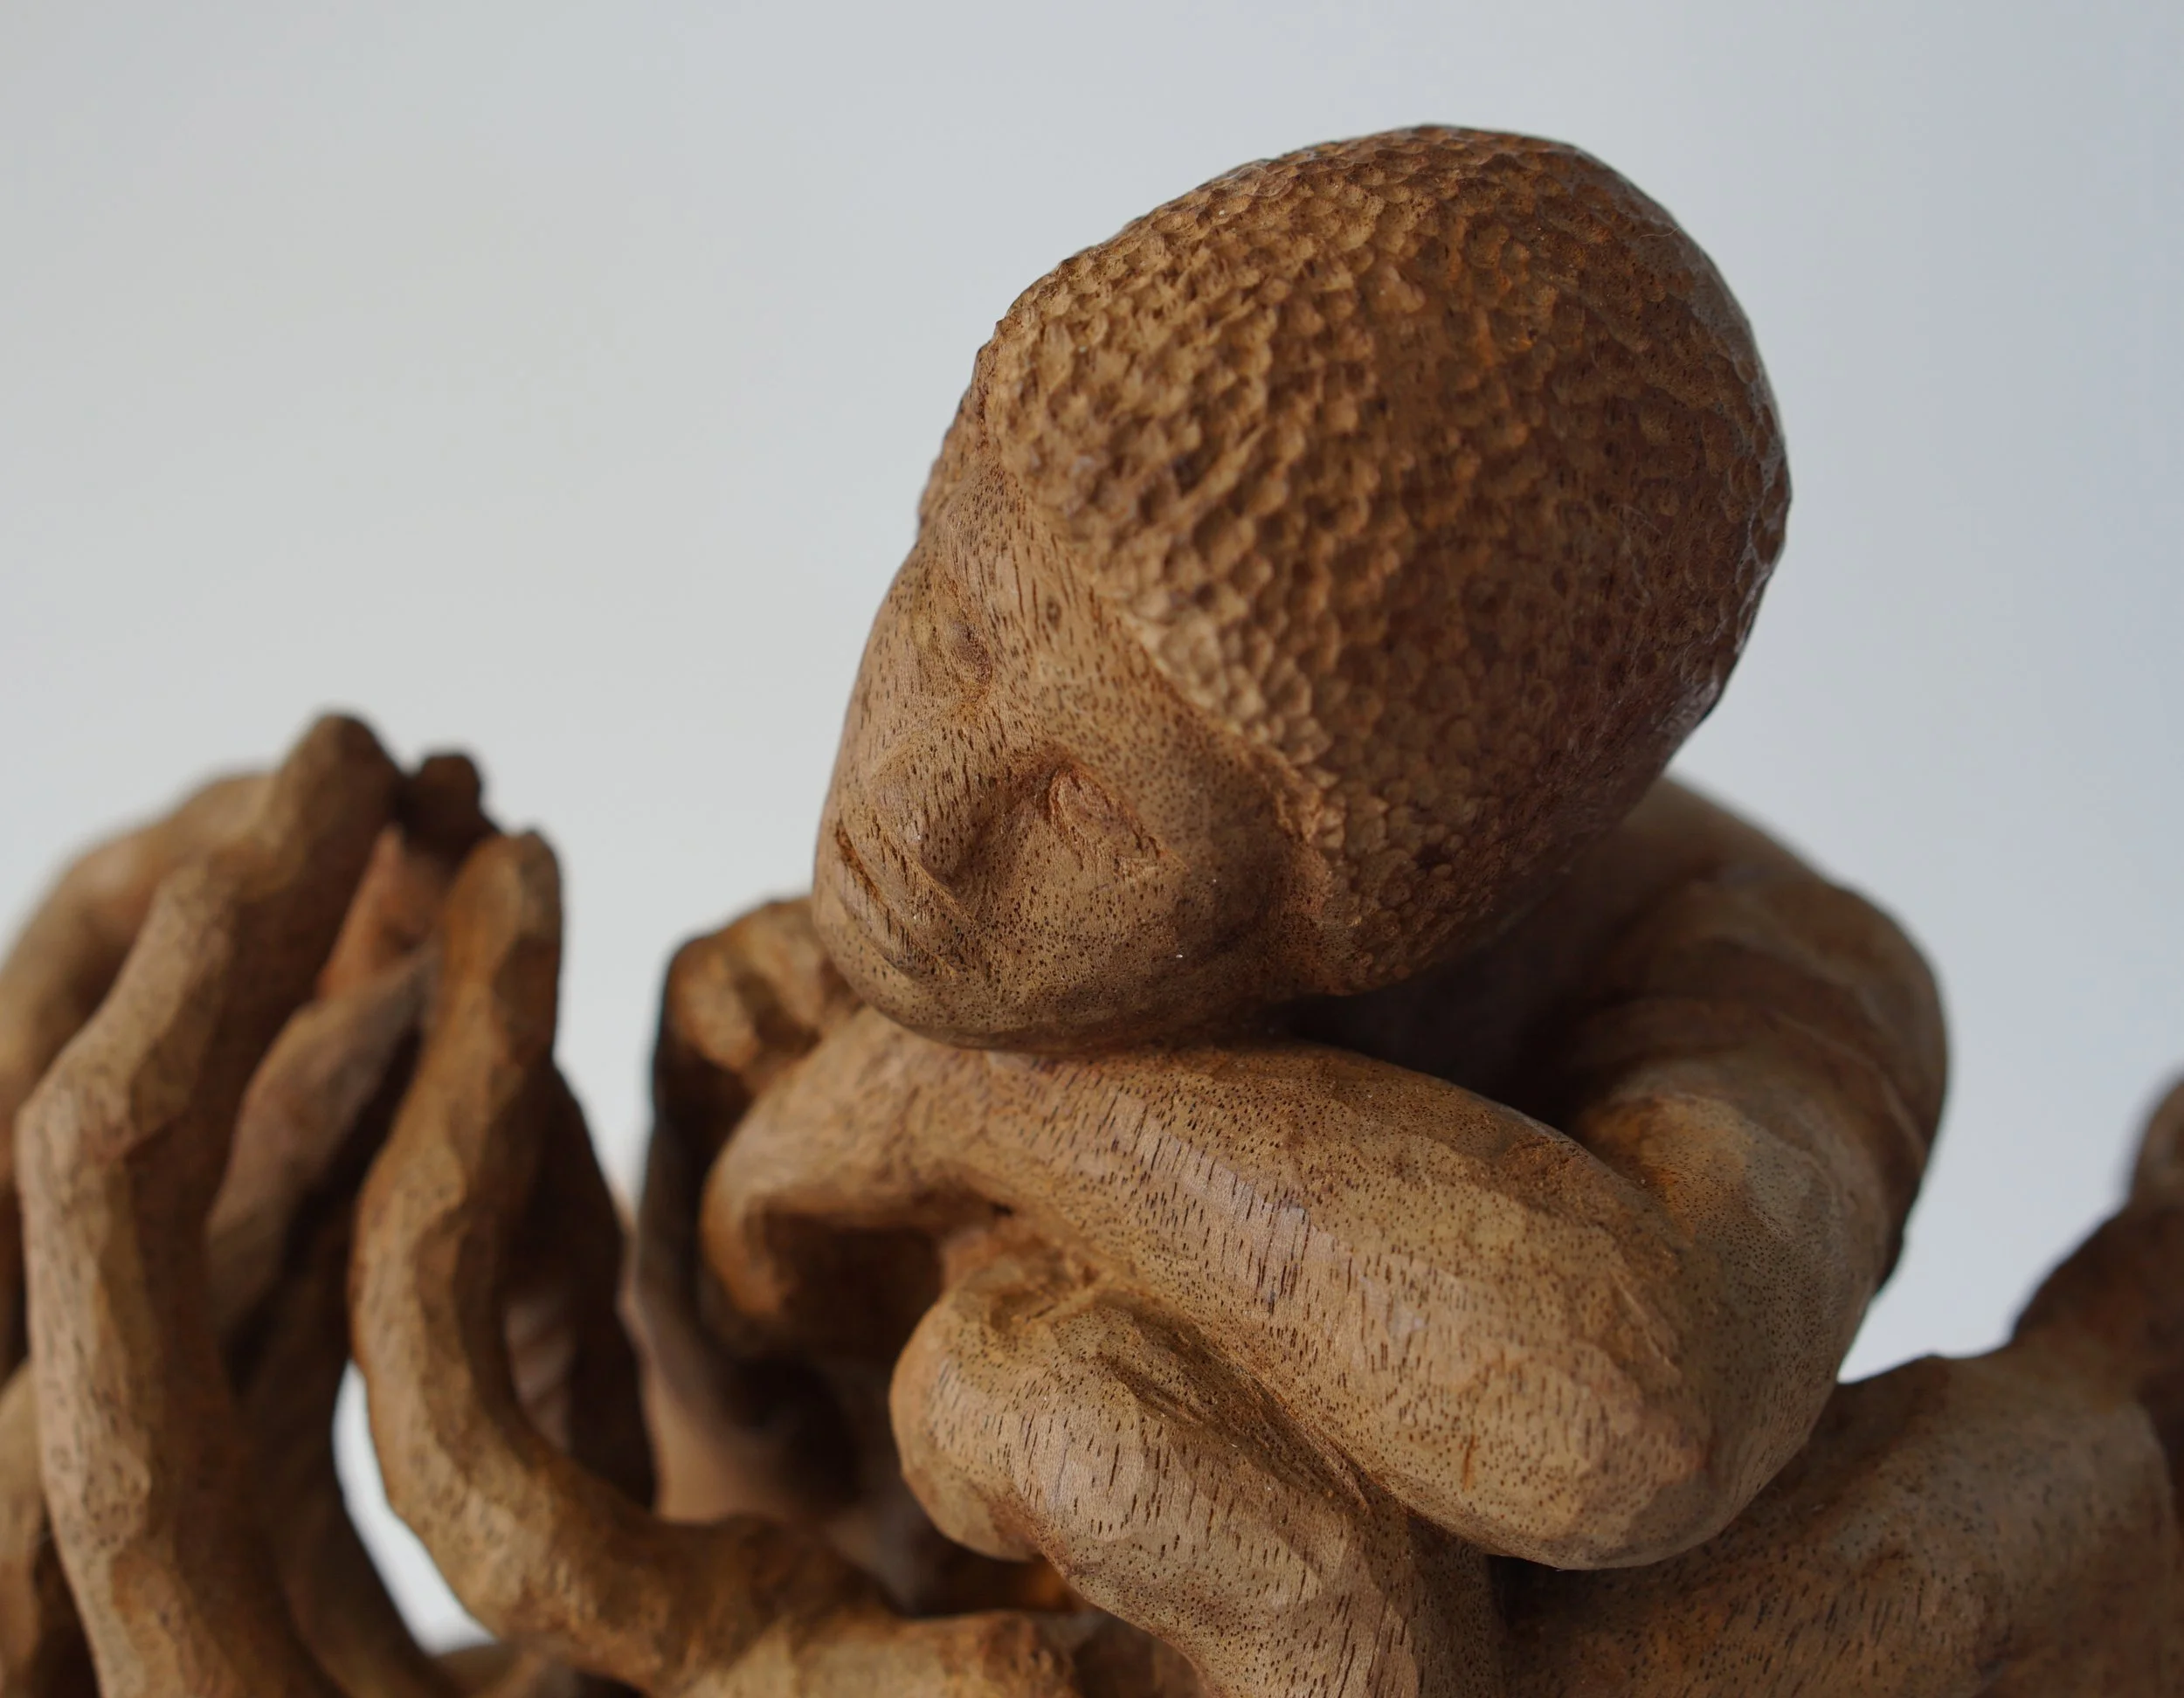
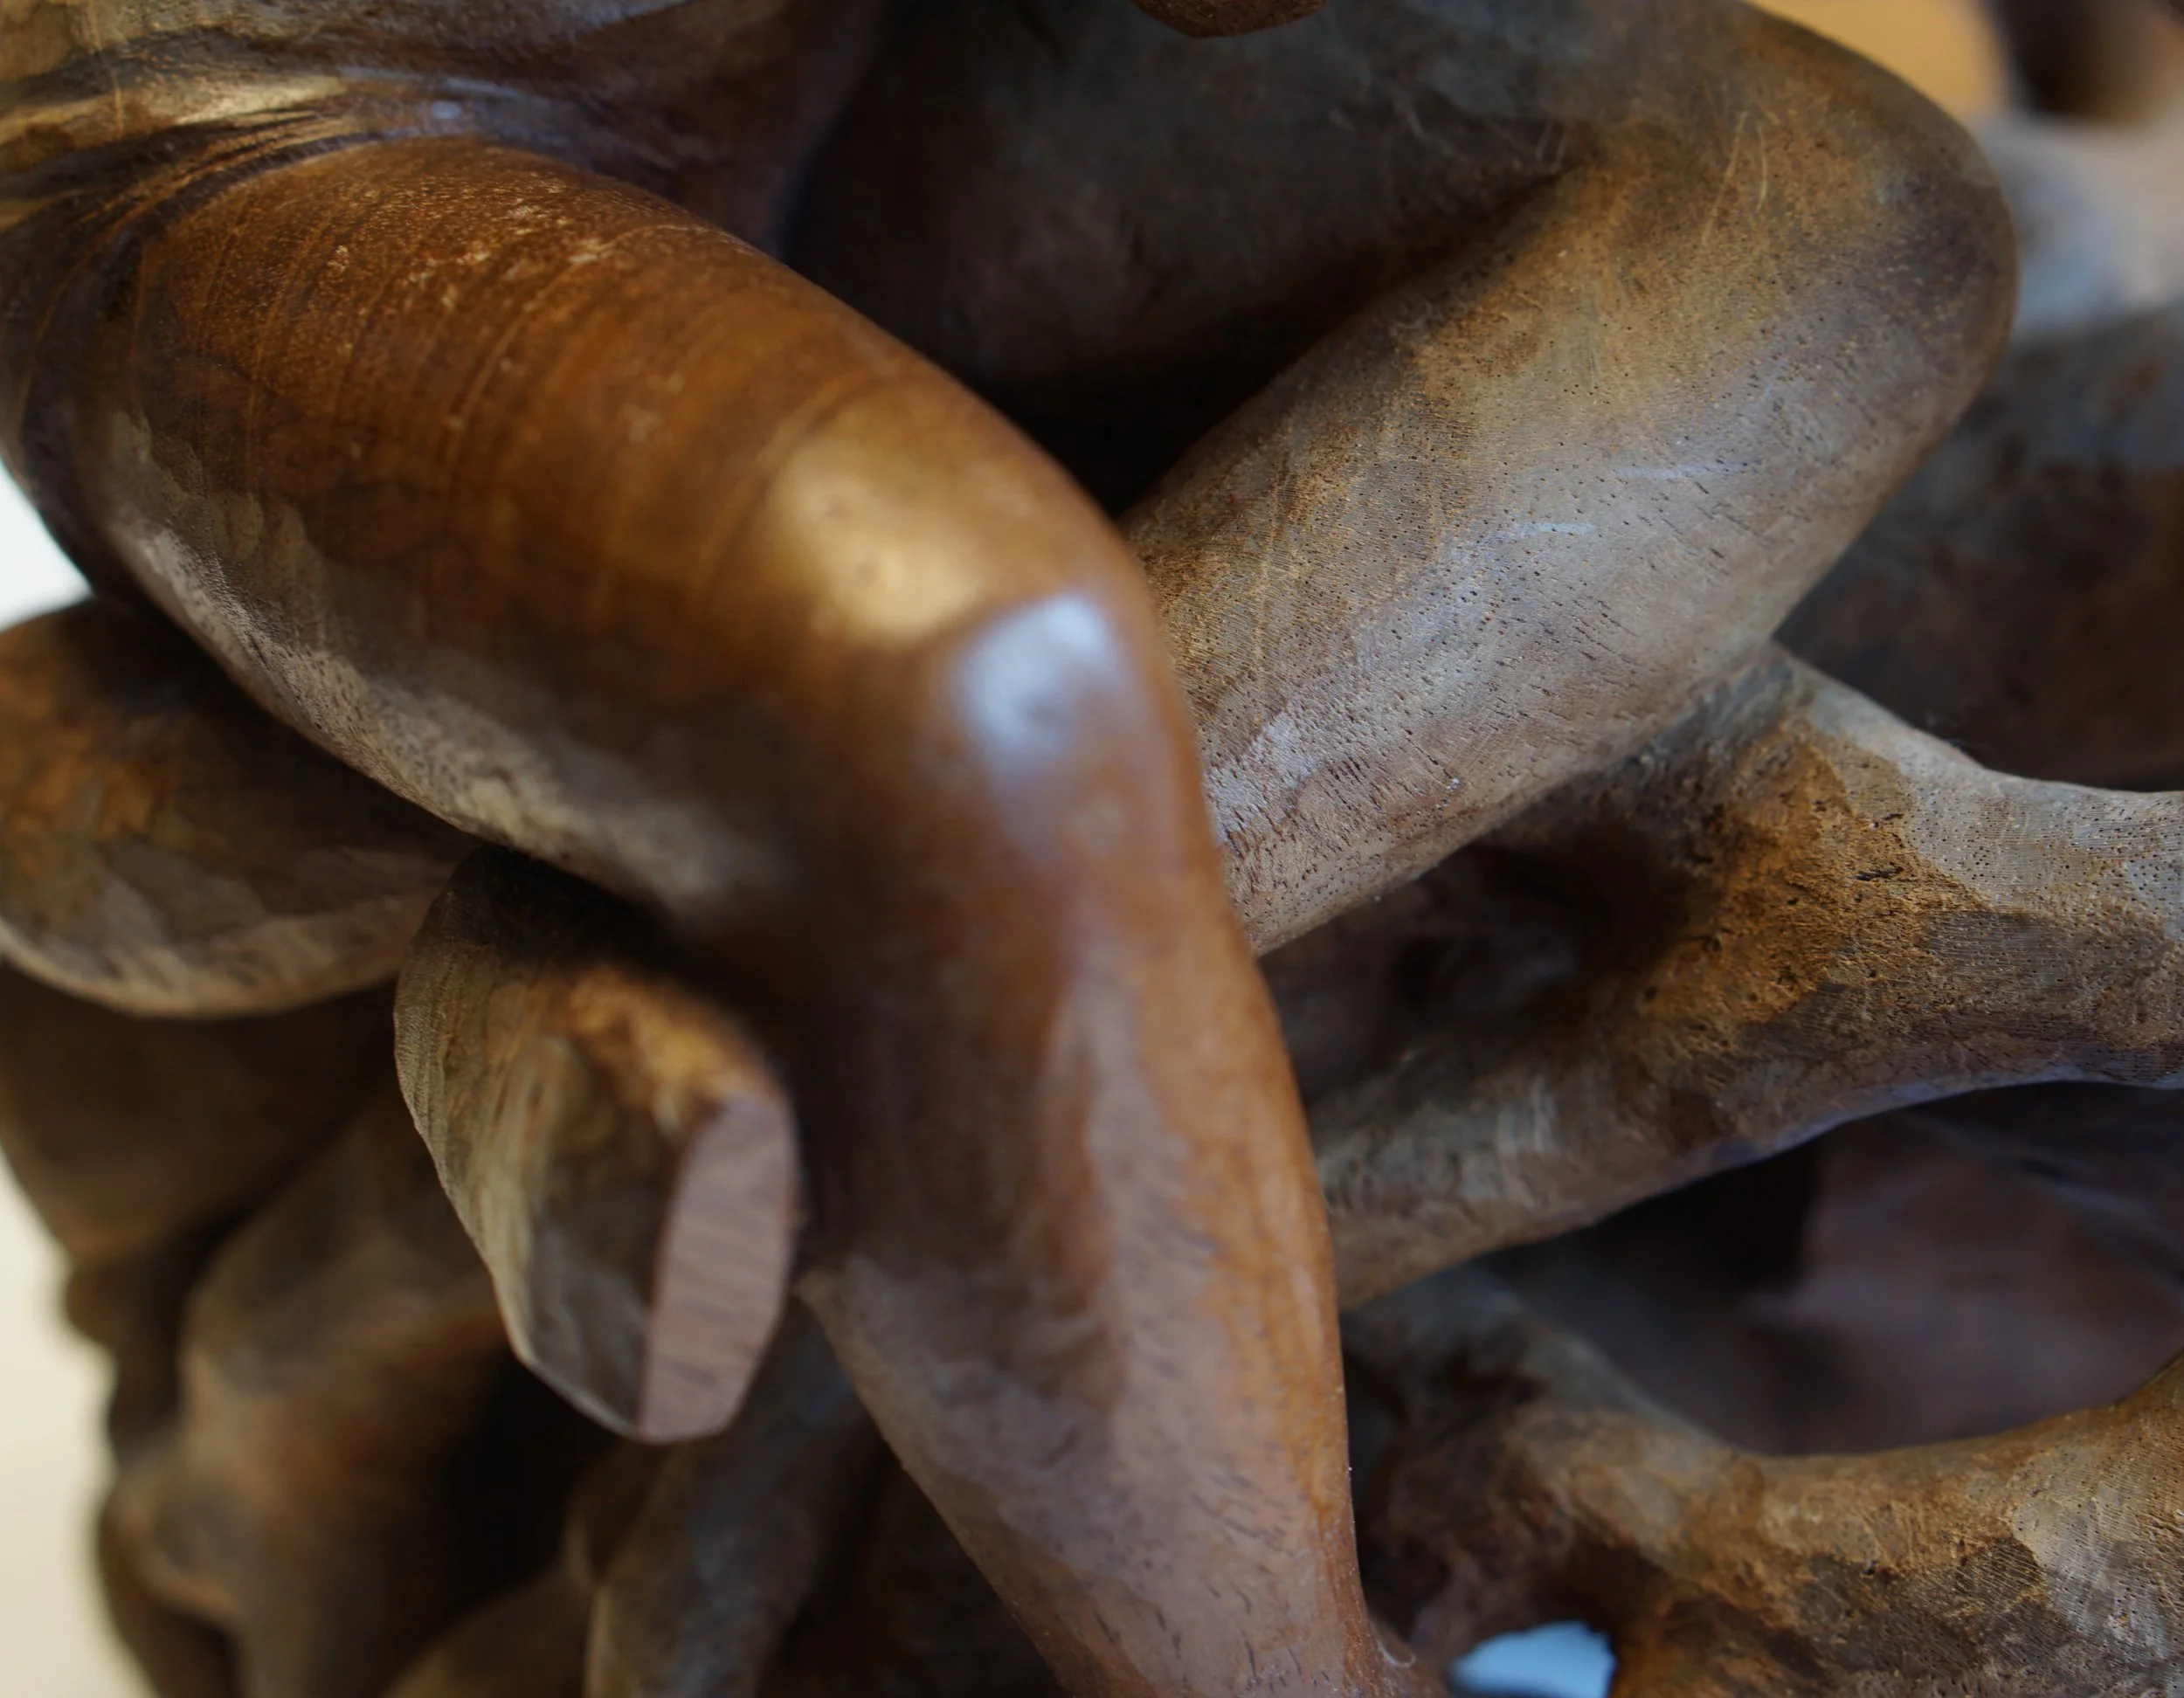
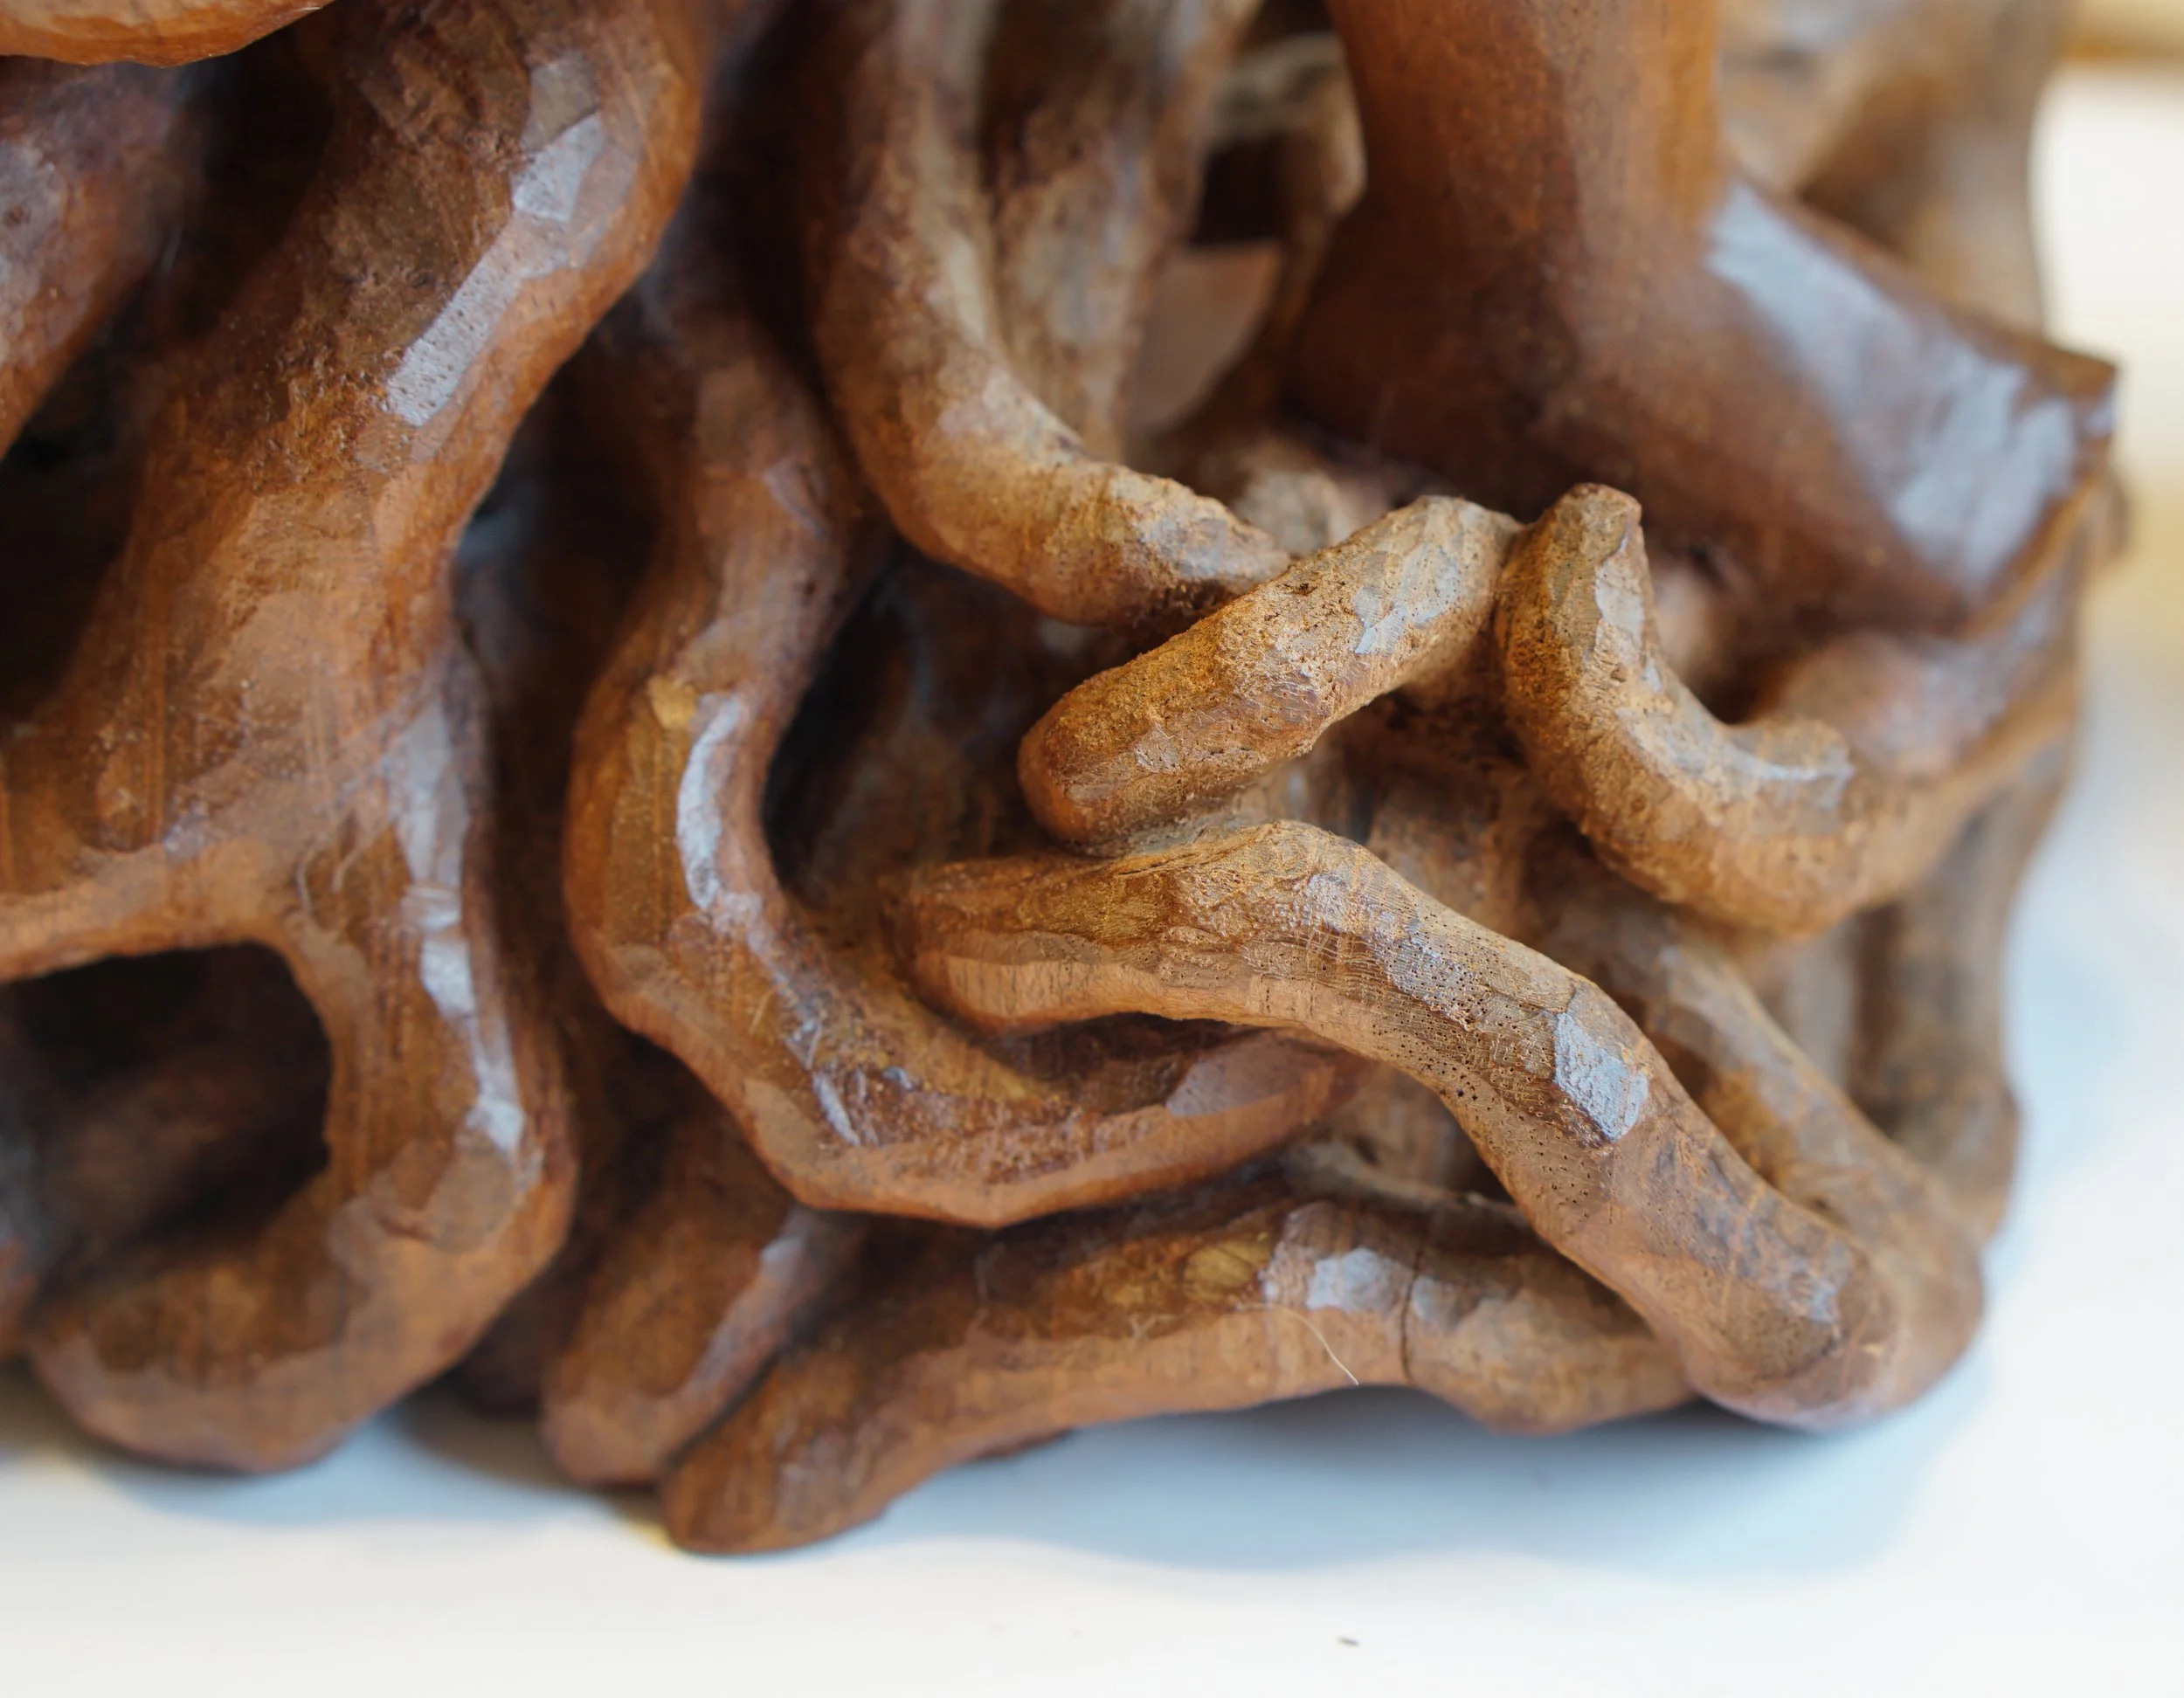
These roots, which I cannot even imagine how long they took to carve, had a lot of dust stuck in the crevices.
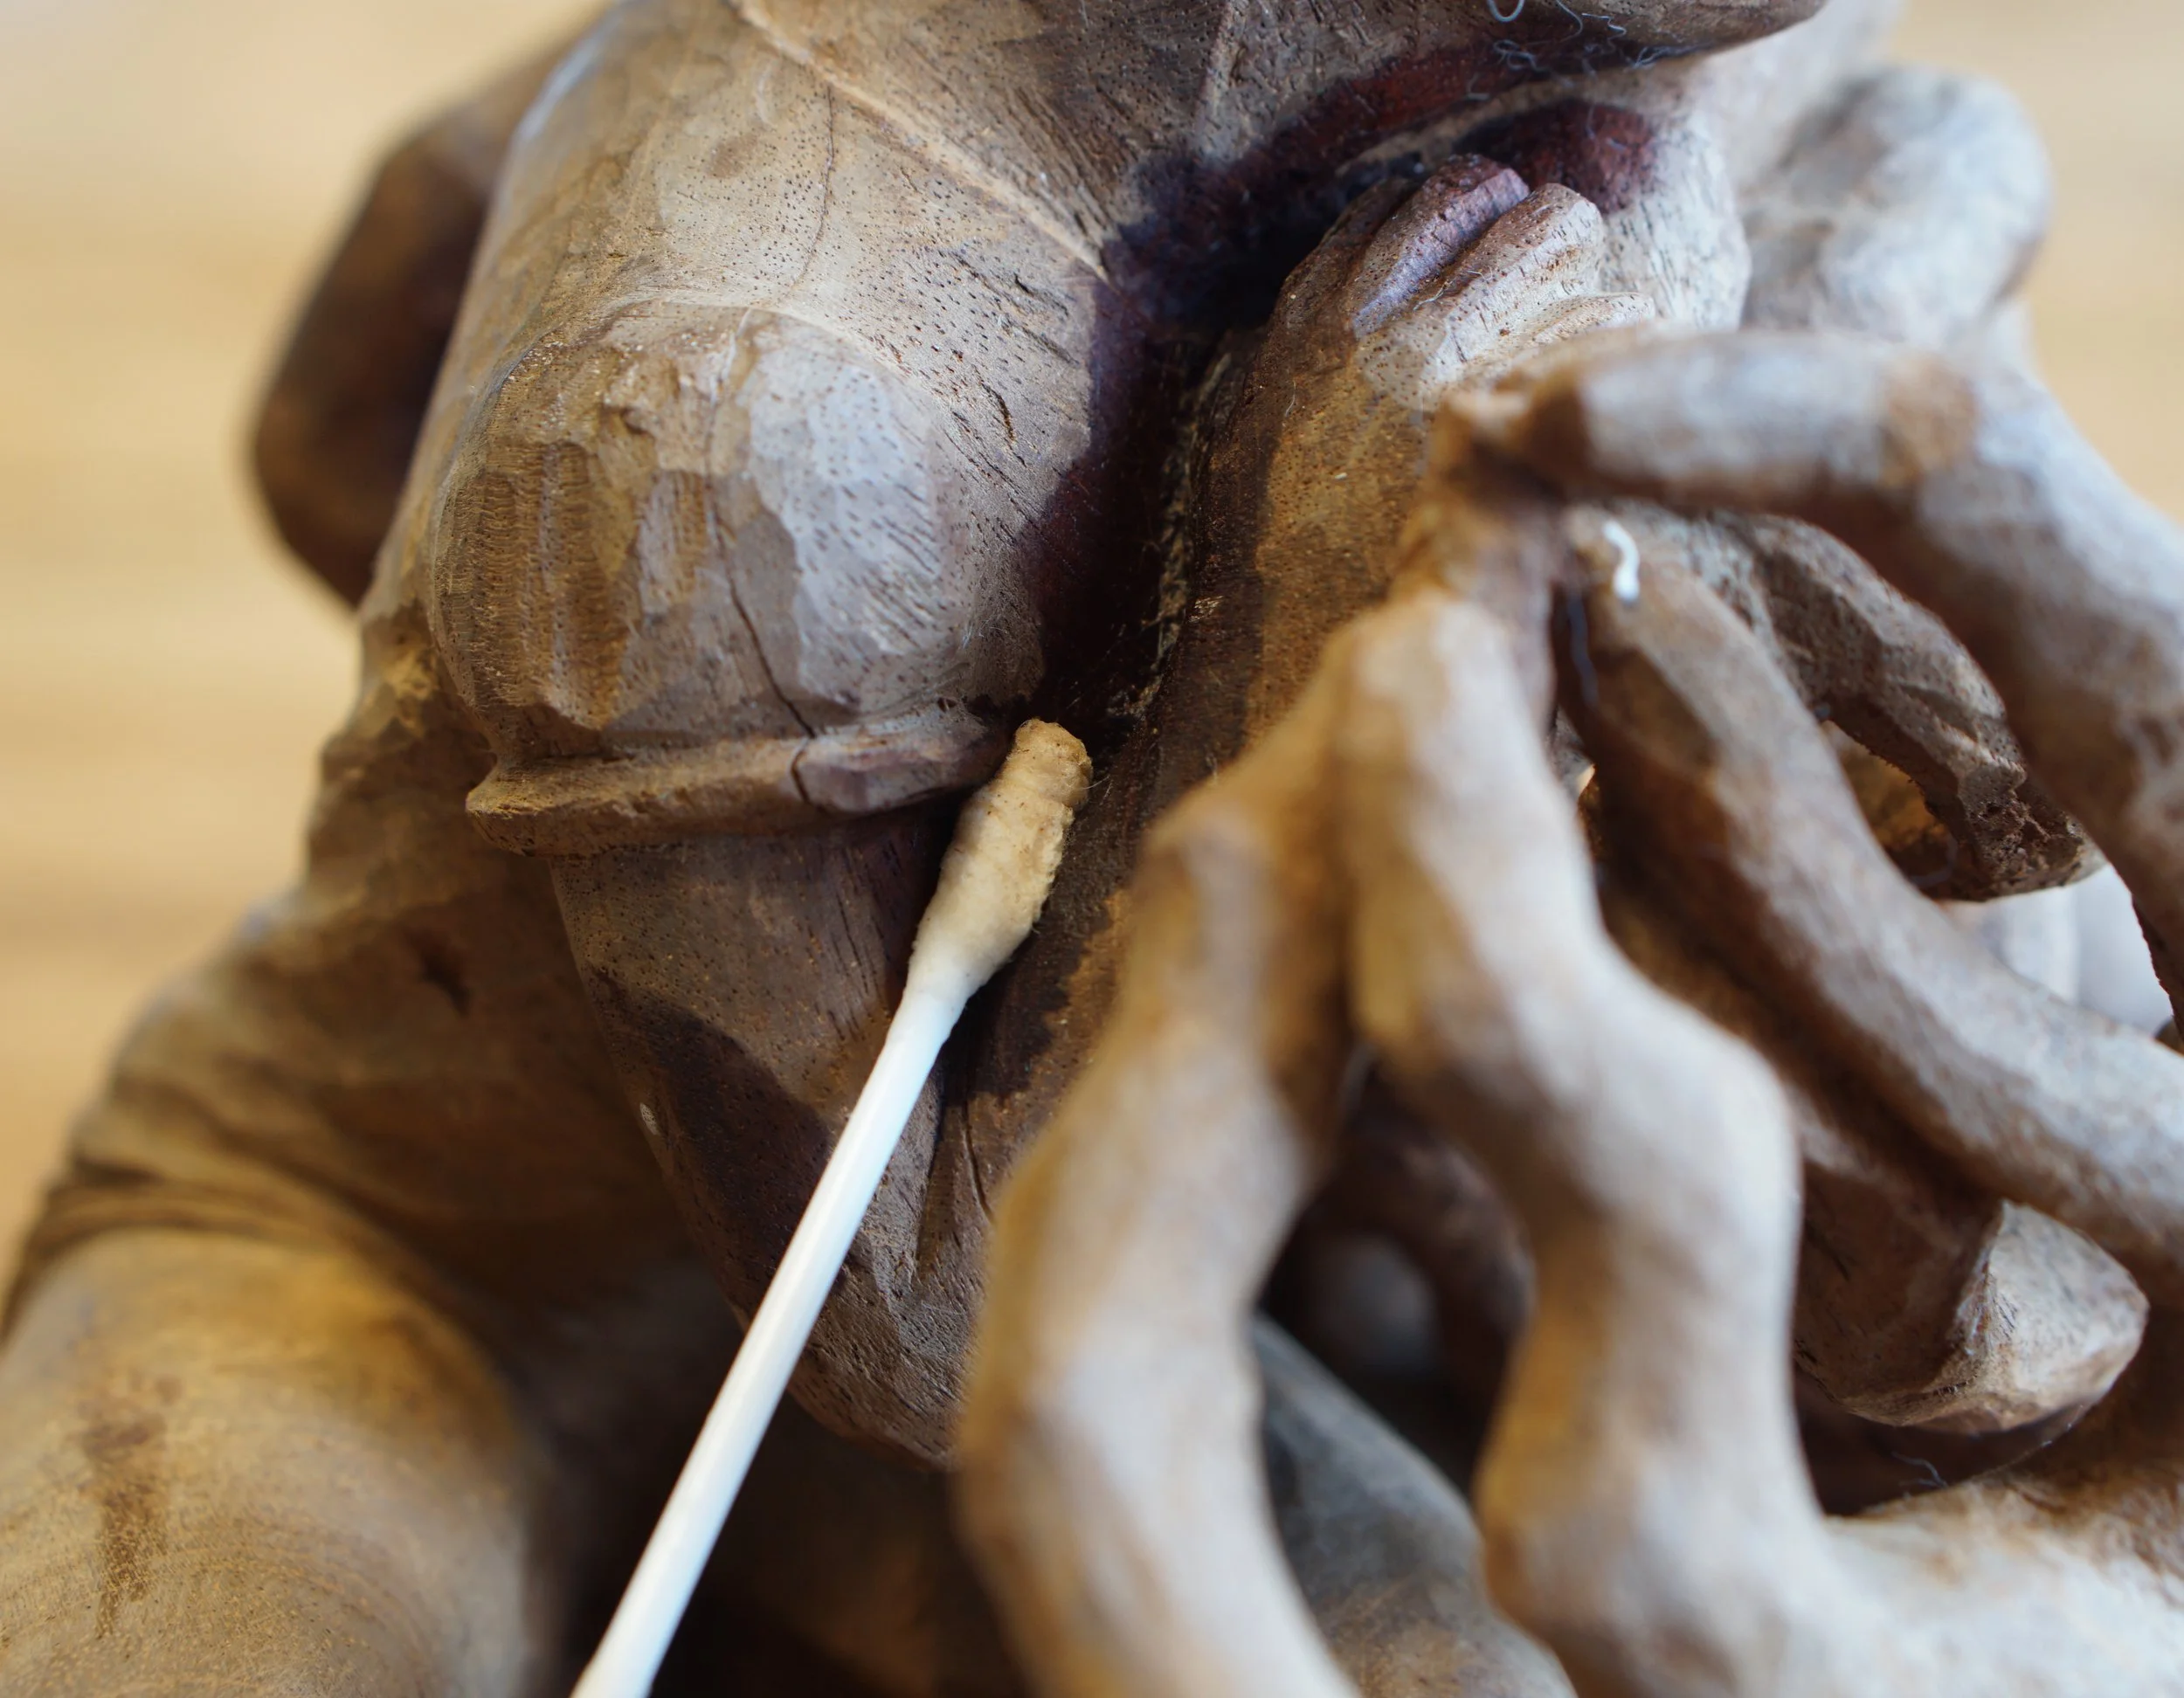
The gentle process of cleaning up started.
About two hours later I was happy with the clean up, most of this time I spent on the roots.
Once my Gilboy’s order arrived I had all the carvings cleaned up and waiting. The very first thing I tried was to apply the various beeswax on random scraps of wood I had around and I was quite happy with the results. Then I decided to fill up the large crack on the “Woman with the Roots” with the restoration cube.
I looked up at other solutions but found only people using various wood fillers for these kind of issues. The wood fillers I used in the past for random projects would probably work well but there was also nothing to loose by trying this little cube - I knew the crack will be always seen so it was just about to finish it as smoothly as possible. And it worked great!
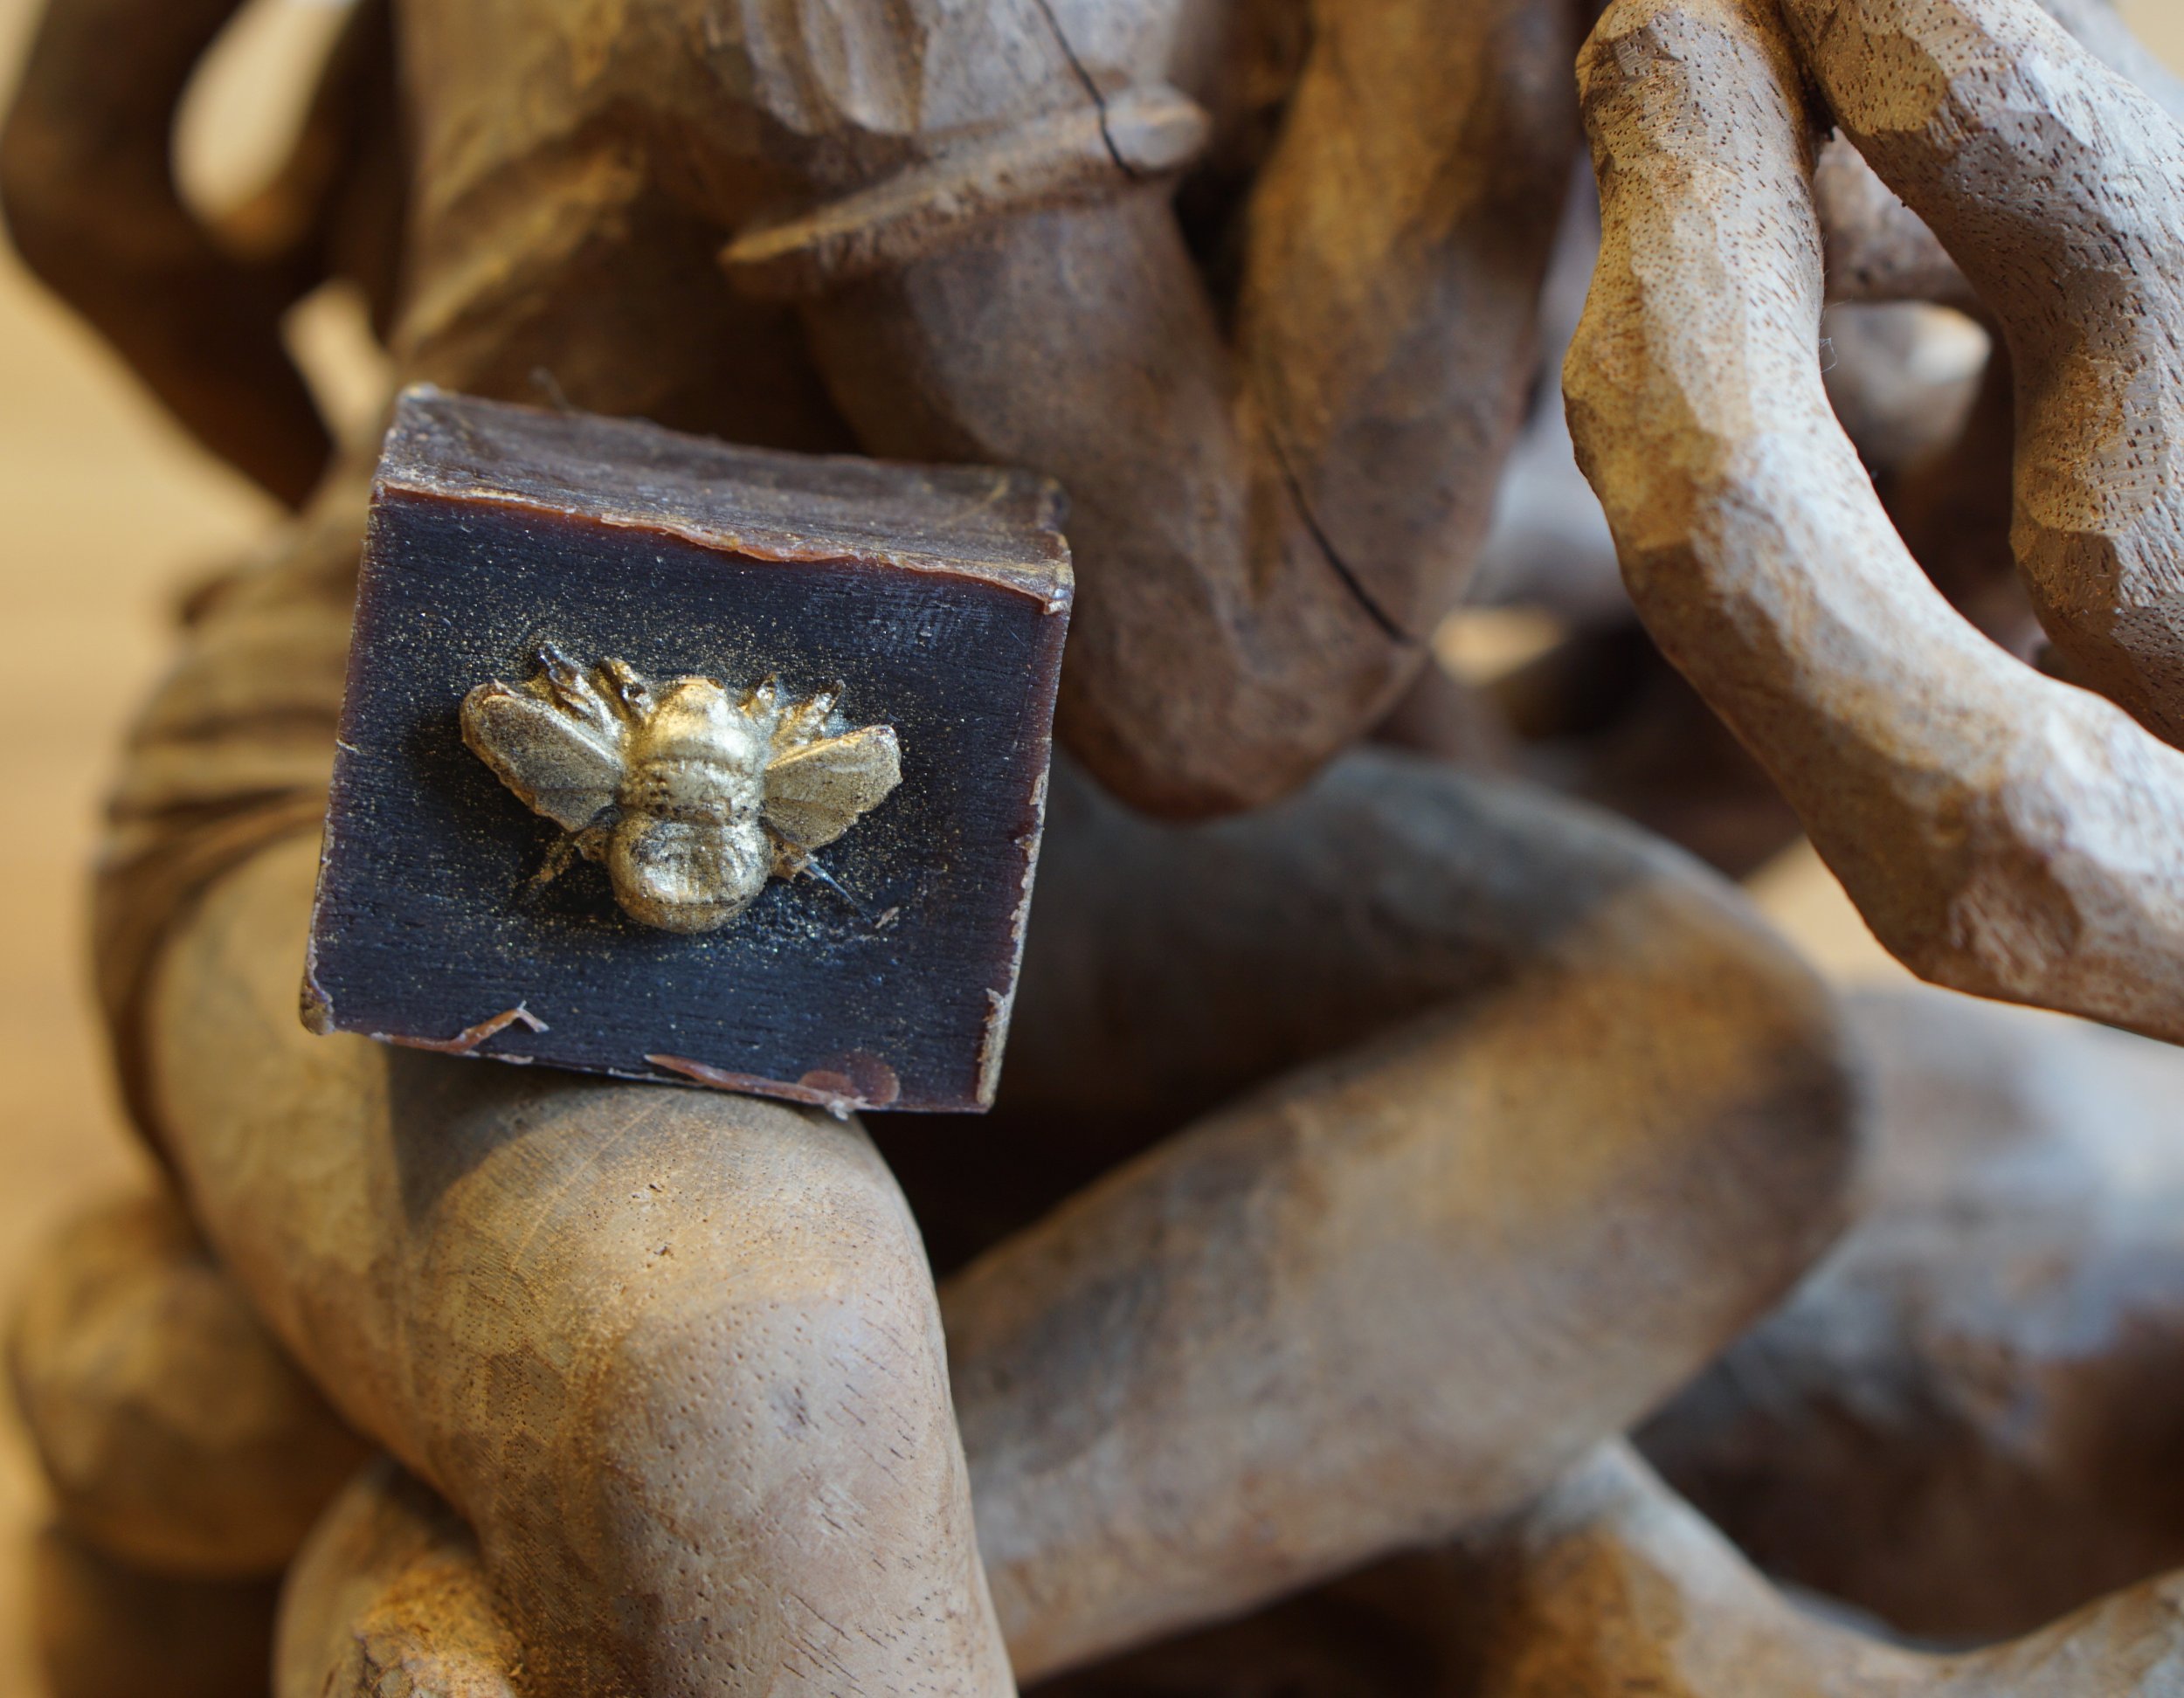
One of the scratch restoration cubes, with the shade closest to the wood colour.
Once the crack was fixed it was all about waxing and polishing the piece. I would apply the wax with a piece of cloth or with various brushes and buff it off after giving the wax time to settle into the wood. Once again the most time consuming was the area around the roots. I will show some self-explanatory photos now.
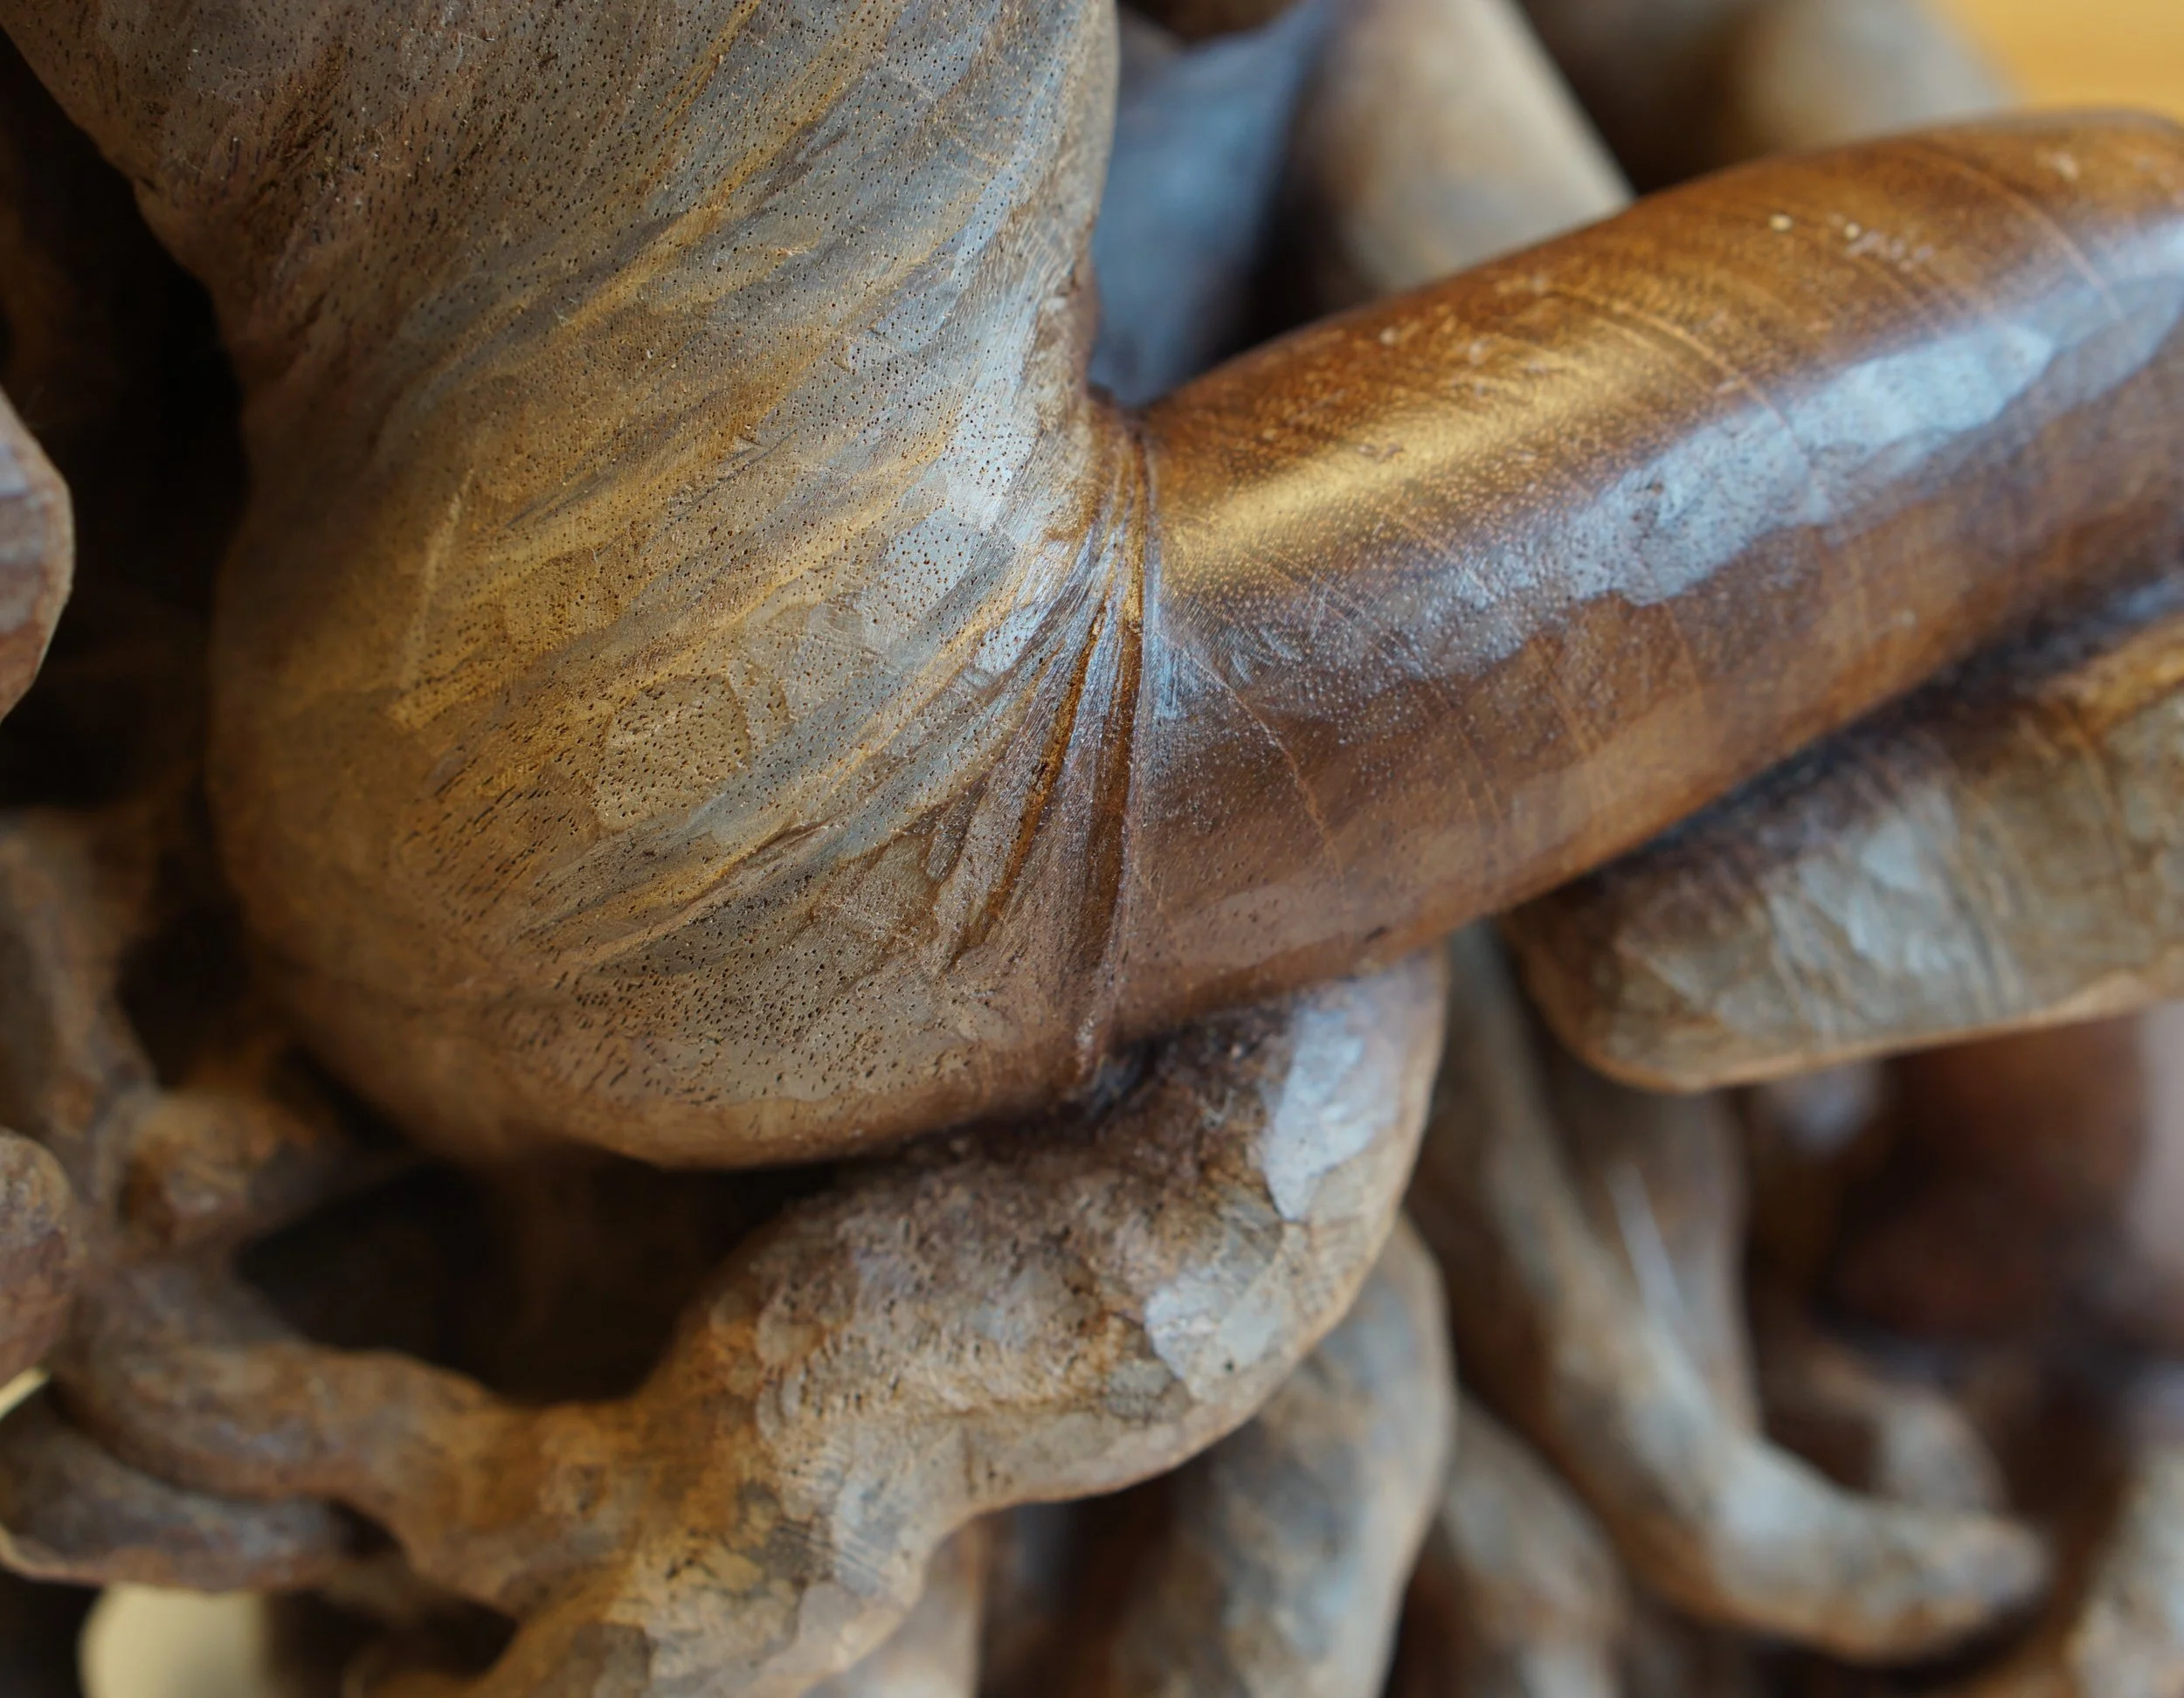
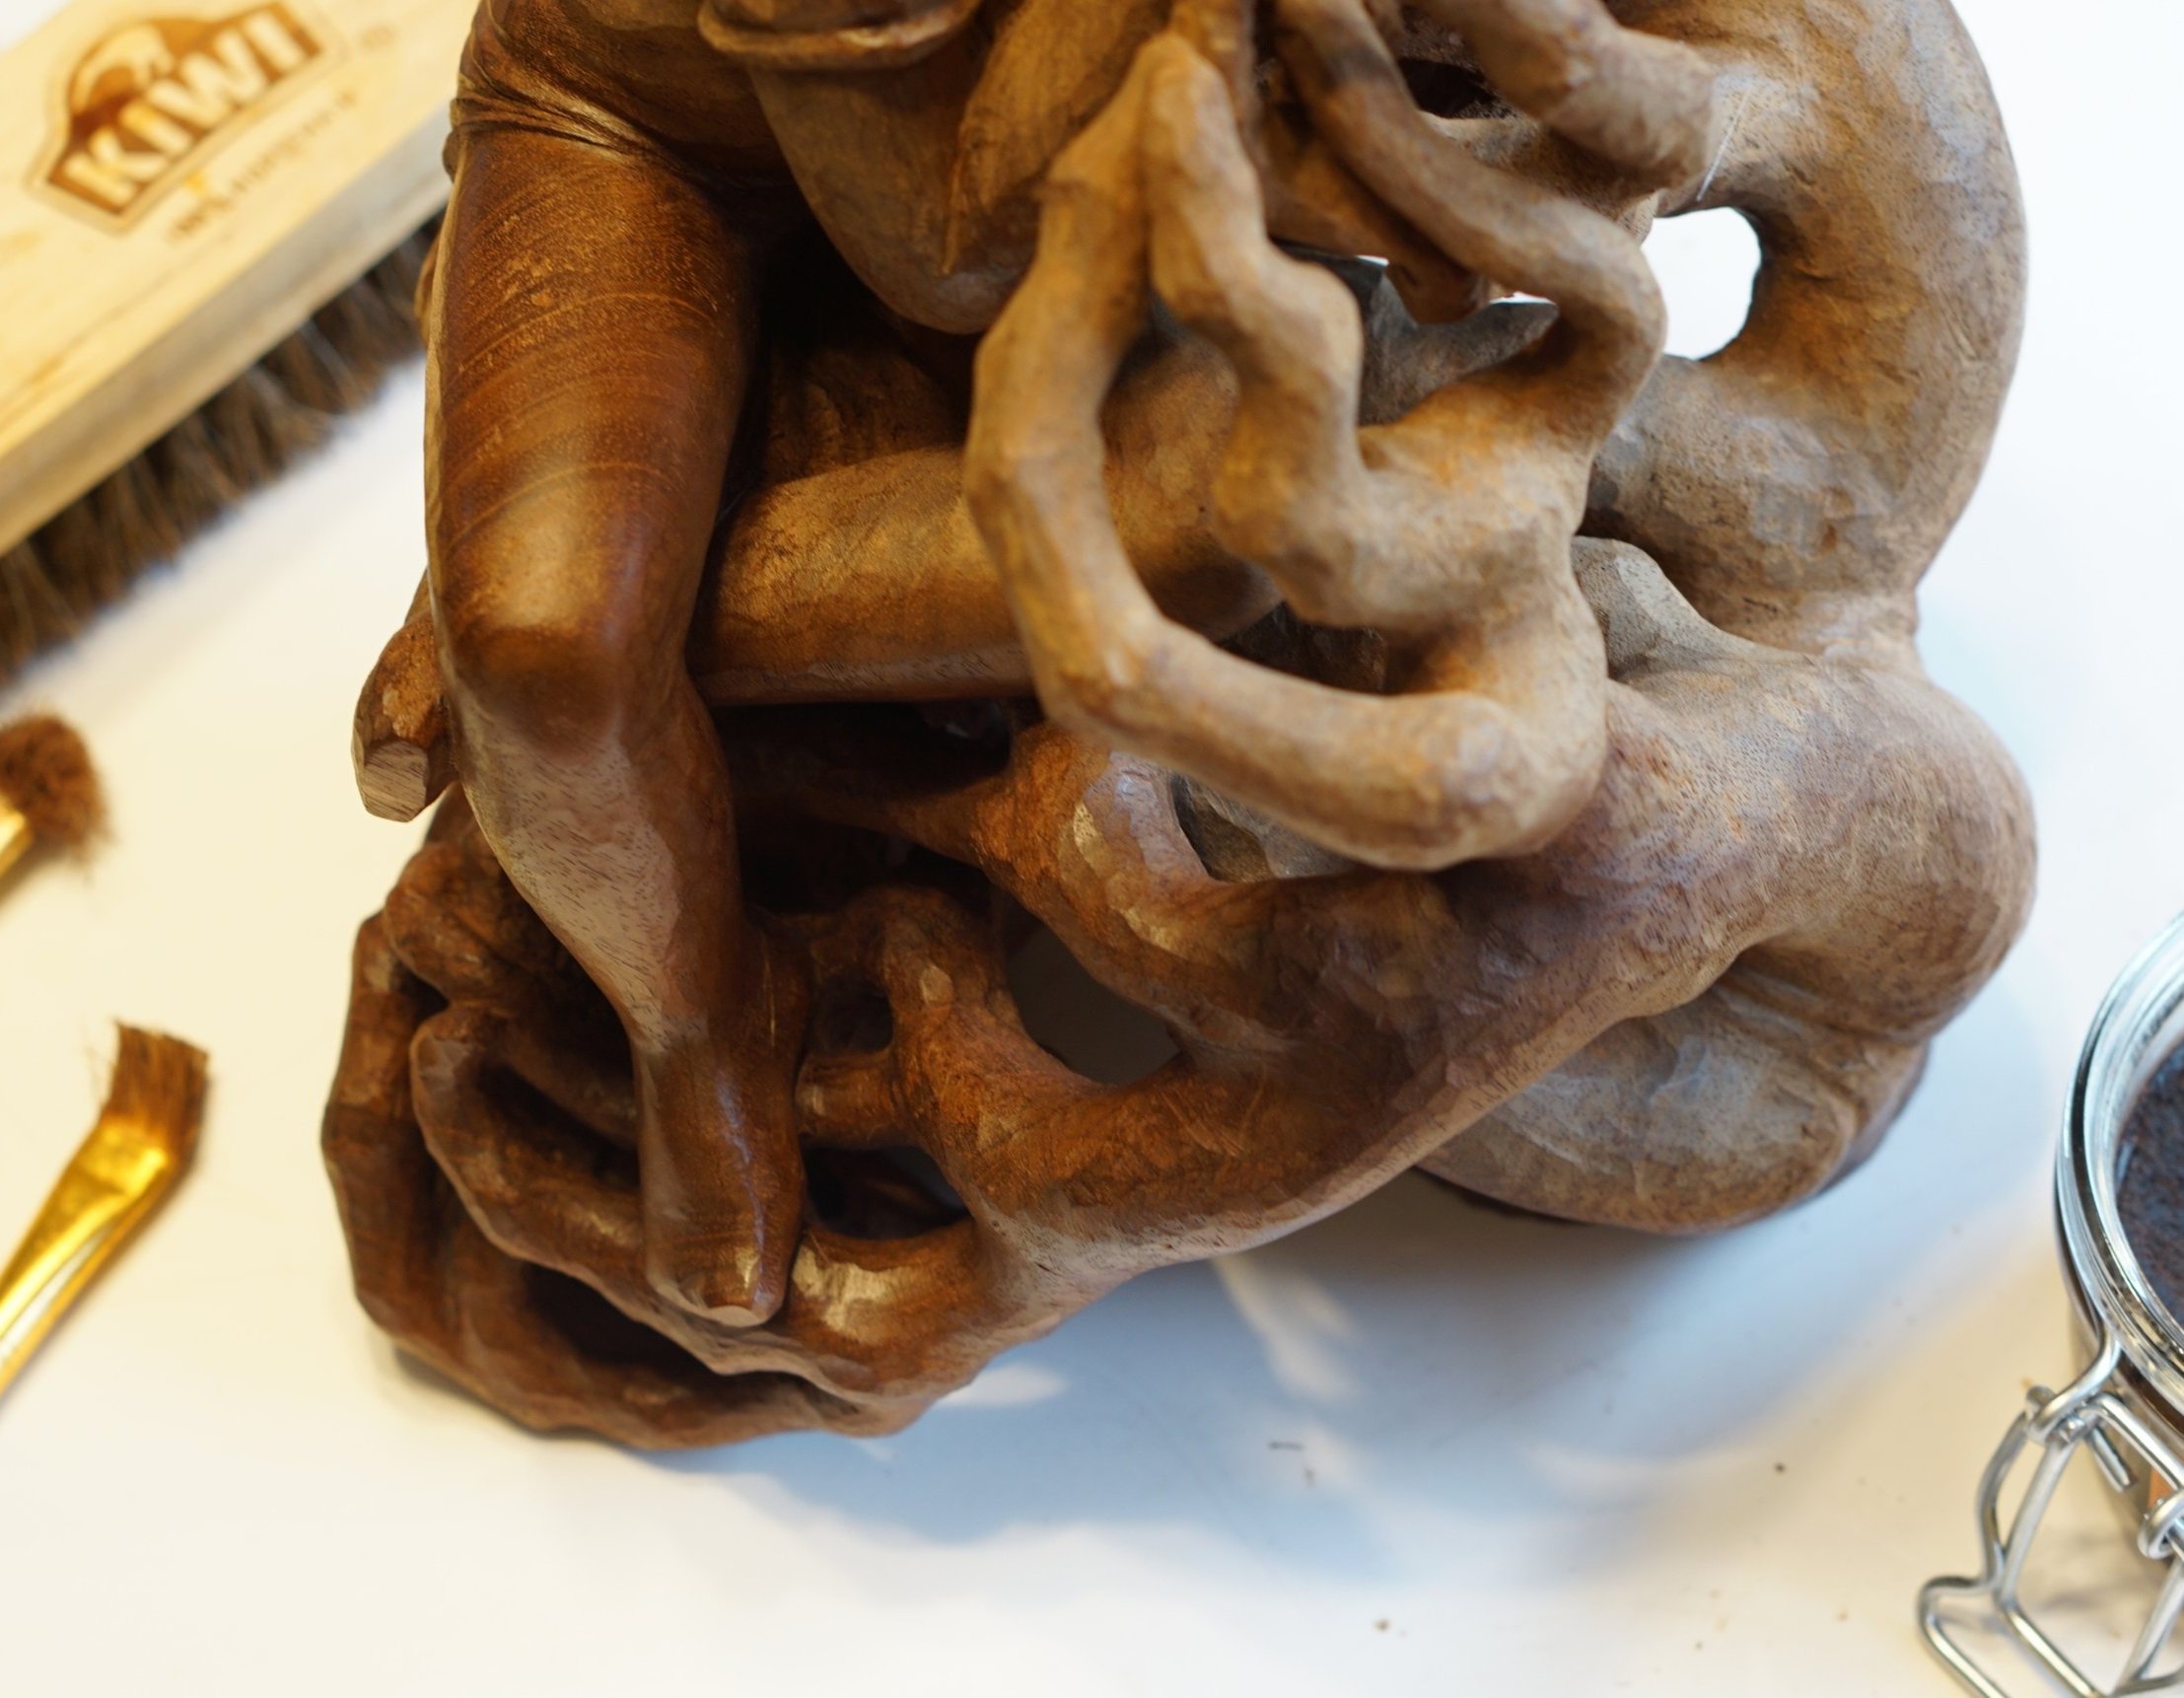
And here is the restored piece in its full glory, the crack is almost imperceptible and the original wood shine has returned . I spent around 6 hours on this restoration.

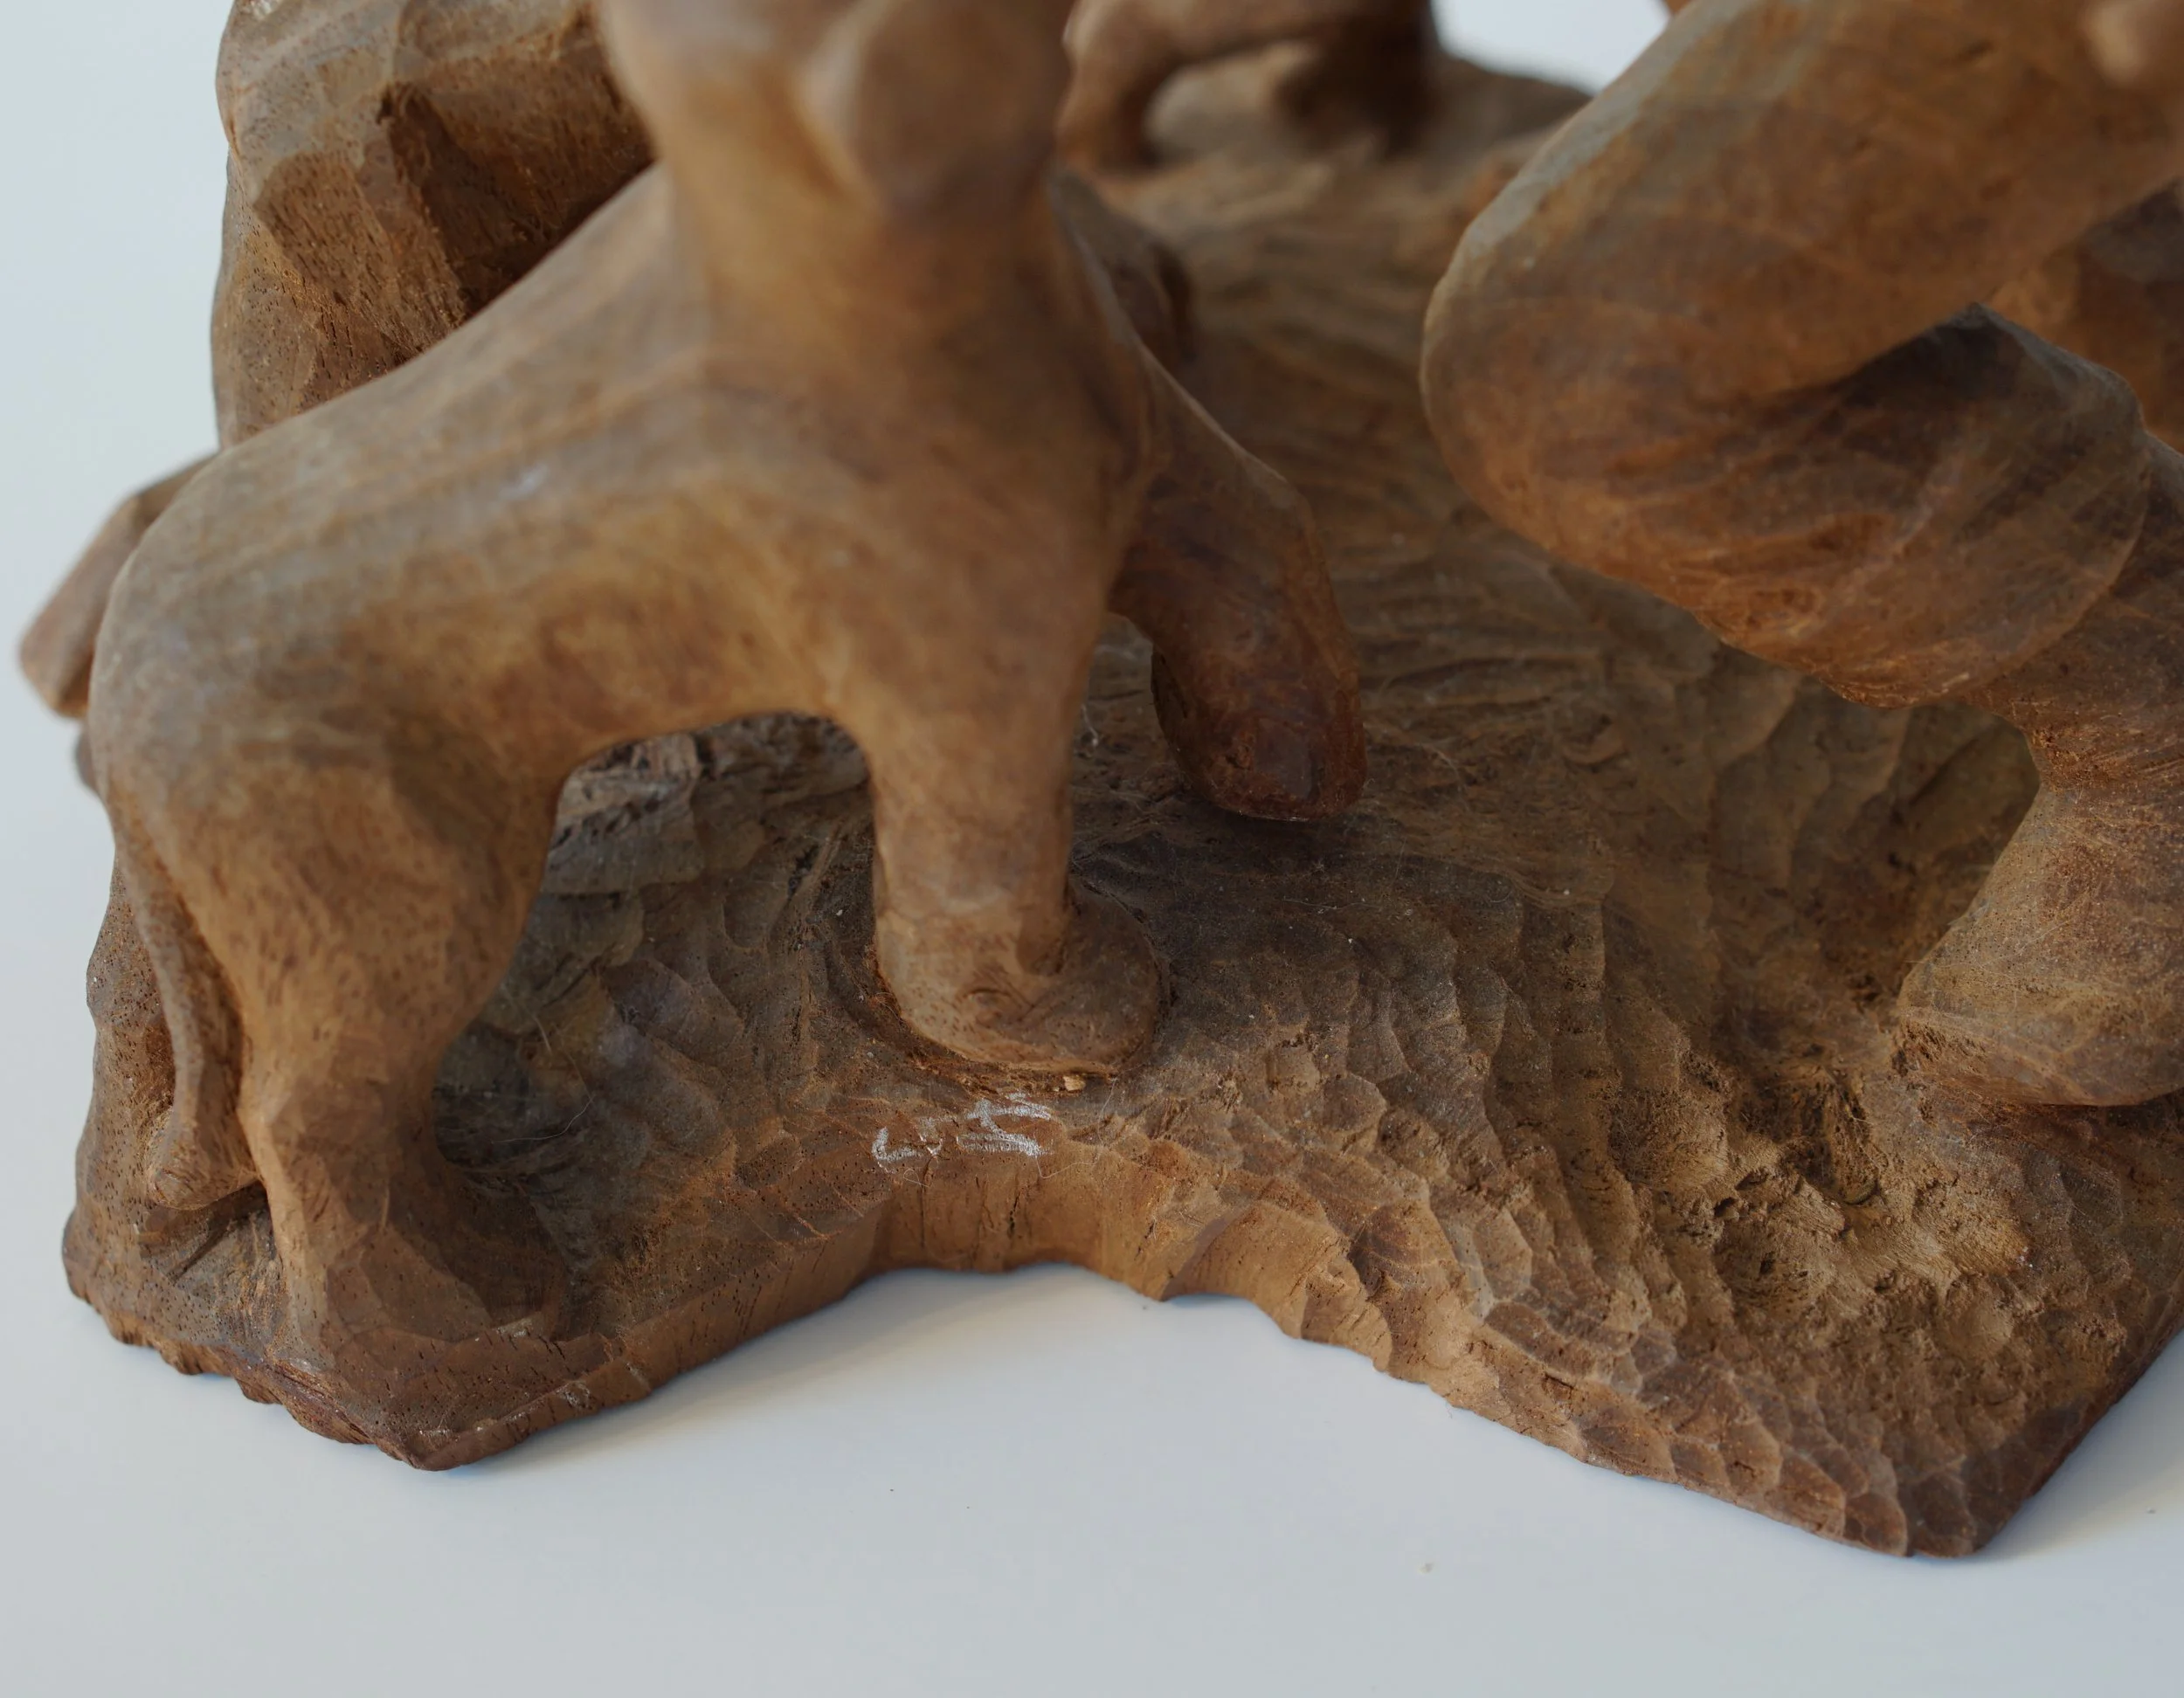
The other two carvings were restored with the same process of cleaning, waxing and buffing so I am going to mostly show just the photos. “Indian with the dogs” had a major crack on the arm, where it was re-glued. I was able to remove the arm to re-set it at a more accurate angle to the original carving and also to remove some of the extra glue that scared the wood.
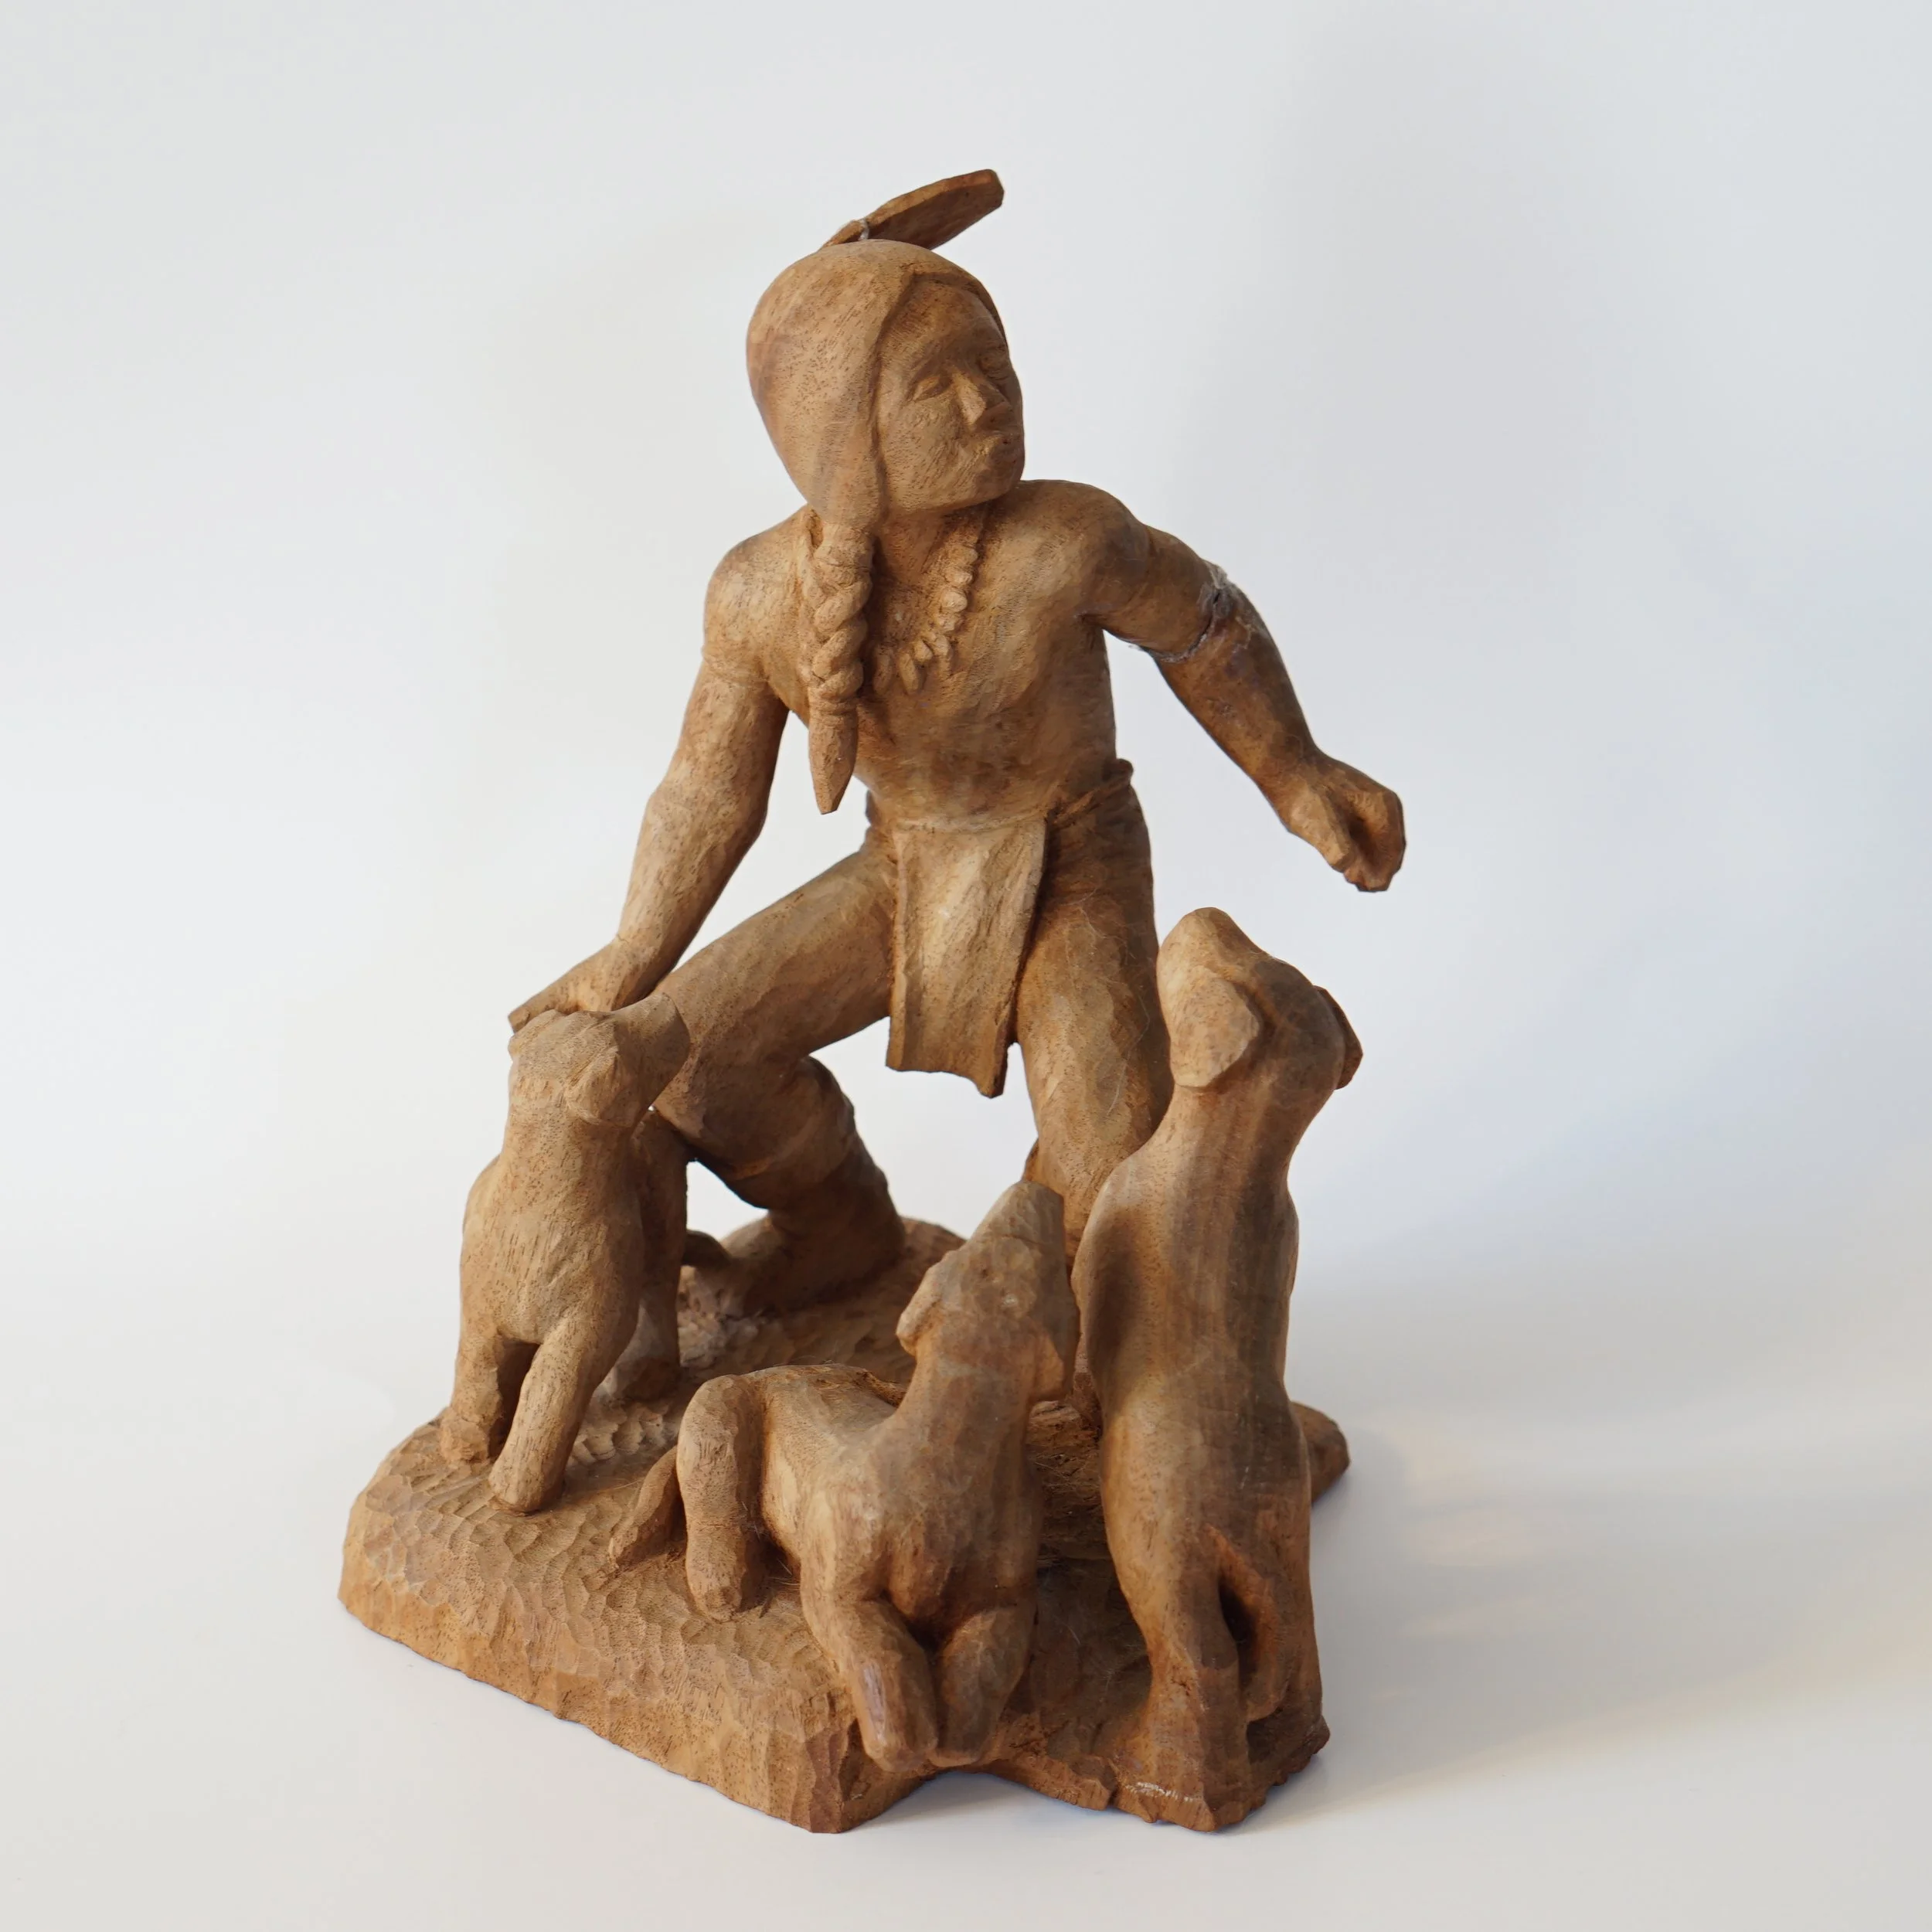
“Indian with the dogs” piece that seemed to be dried out even more, it is 9.5 inches tall.
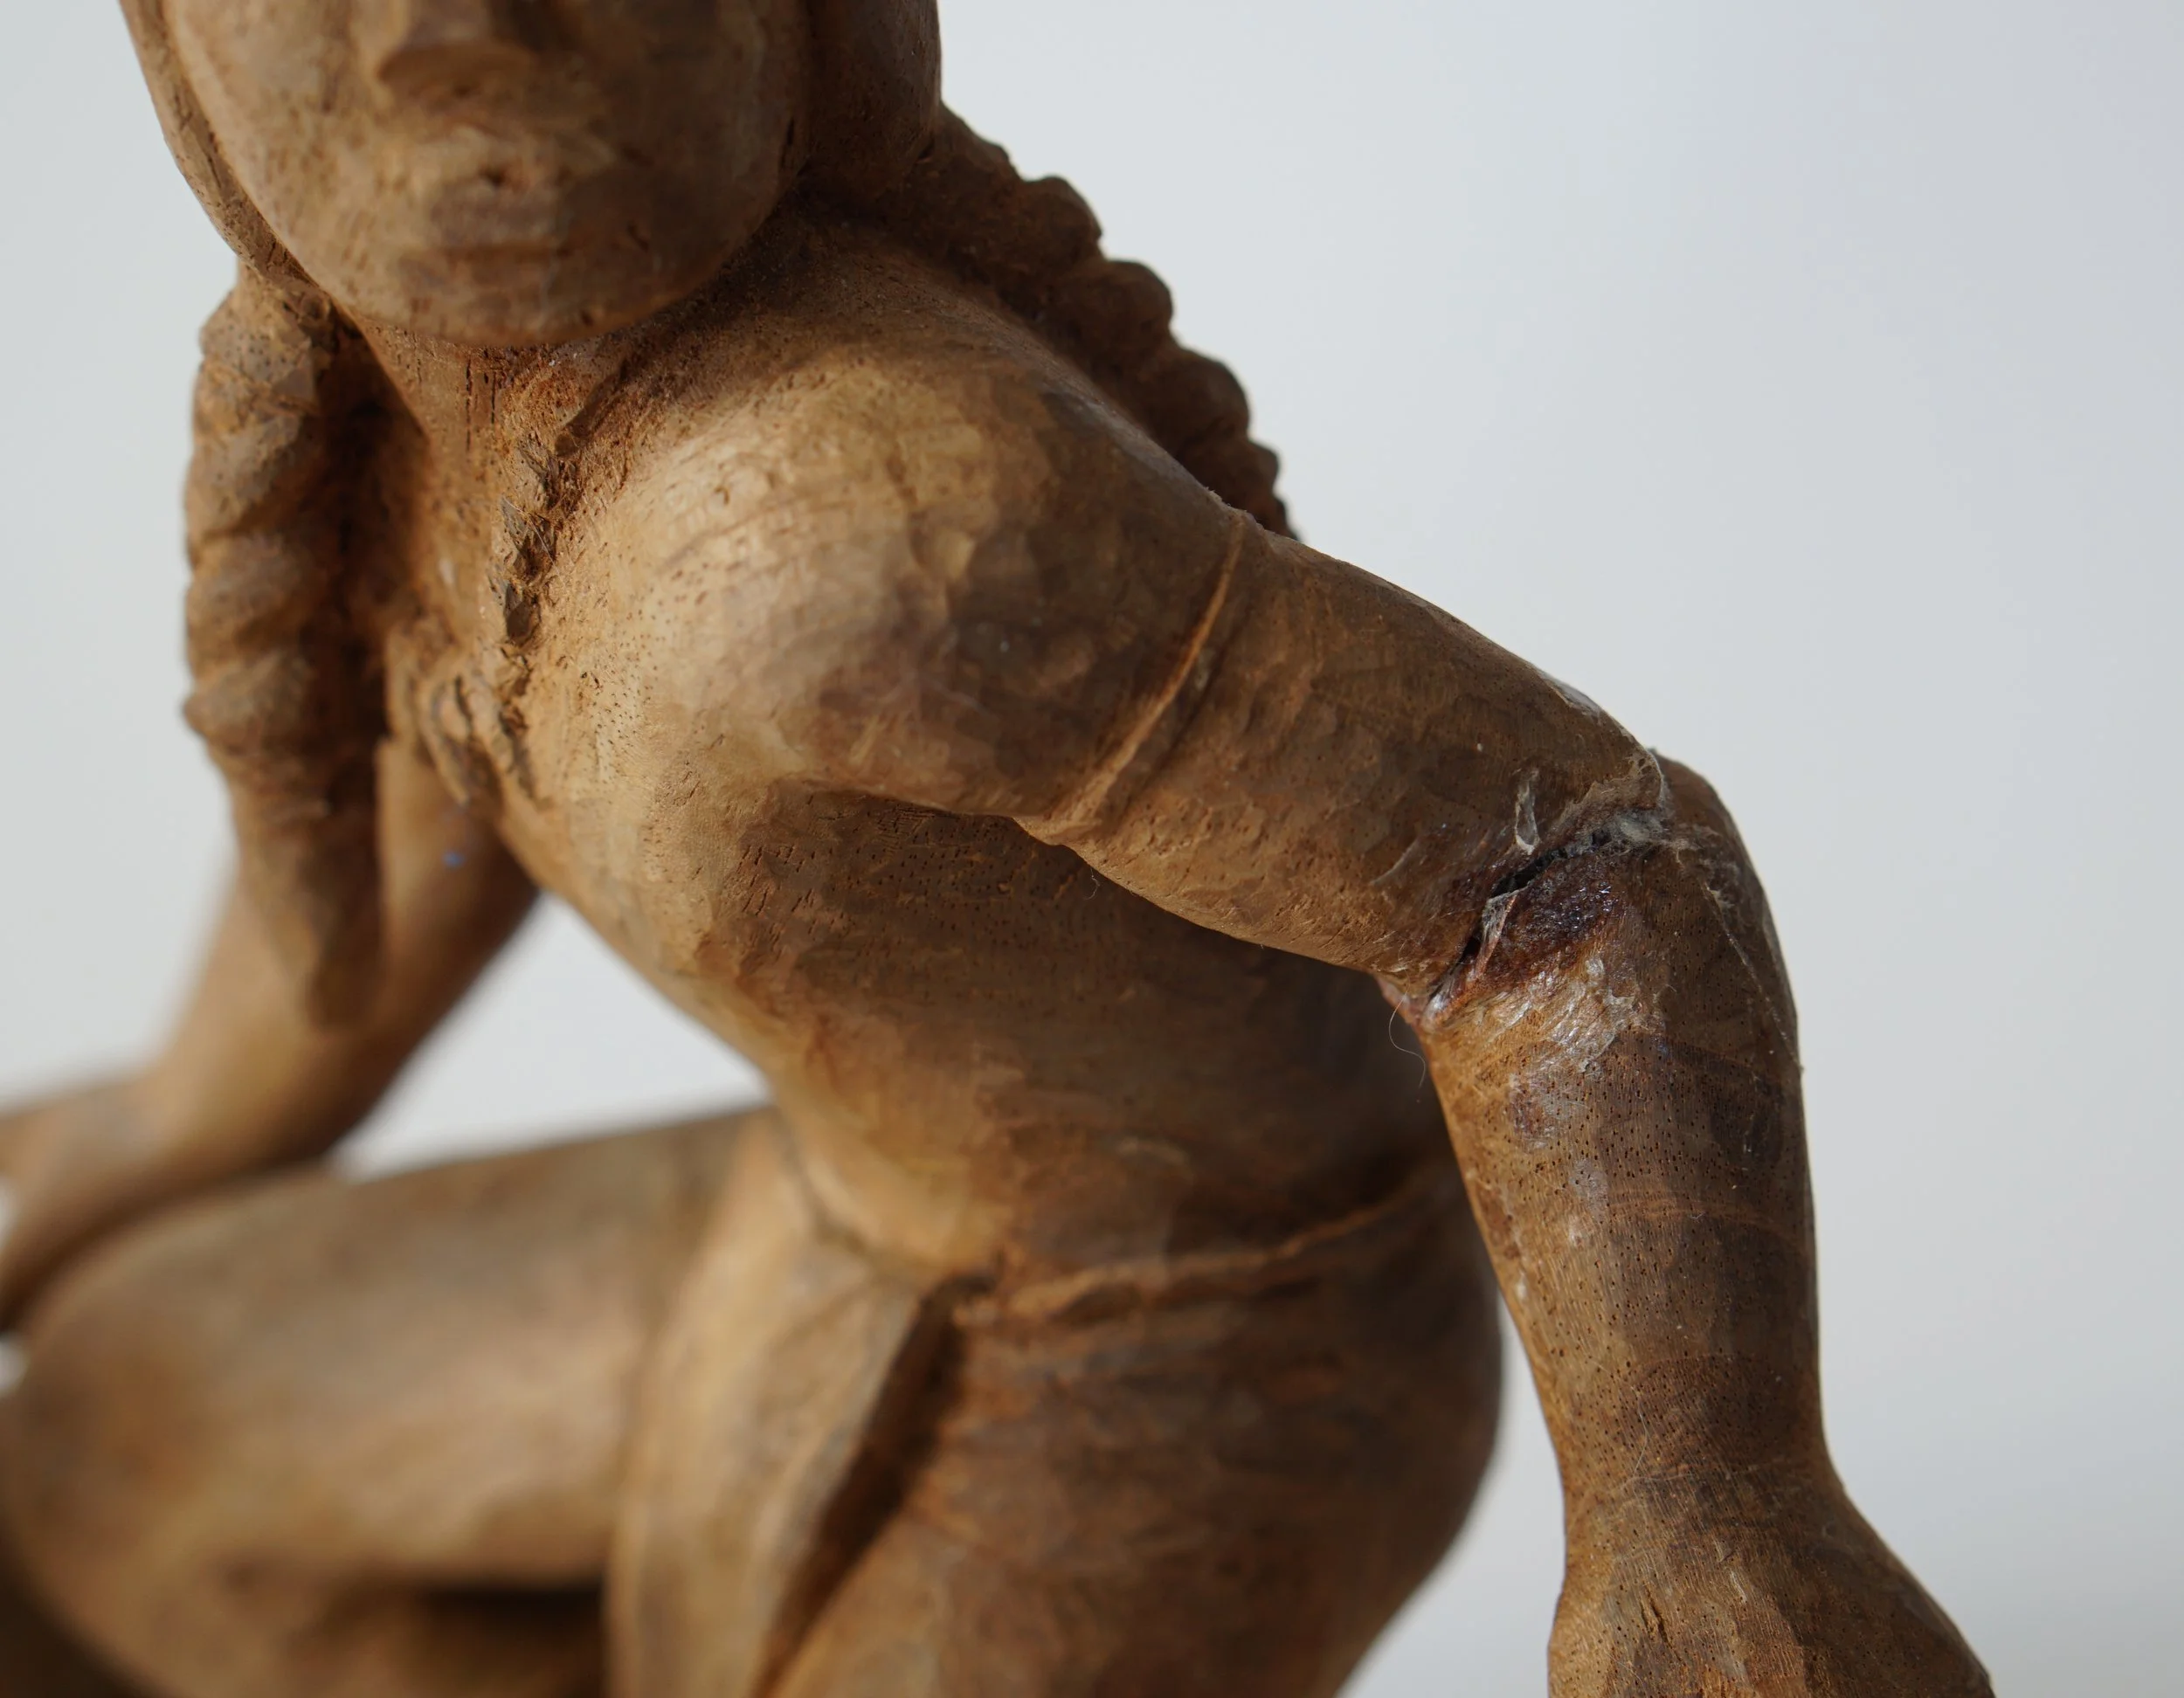

I broke off the arm, cut off the excess old glue and re-did the job. I find duct tape a pretty good friend in many situations.
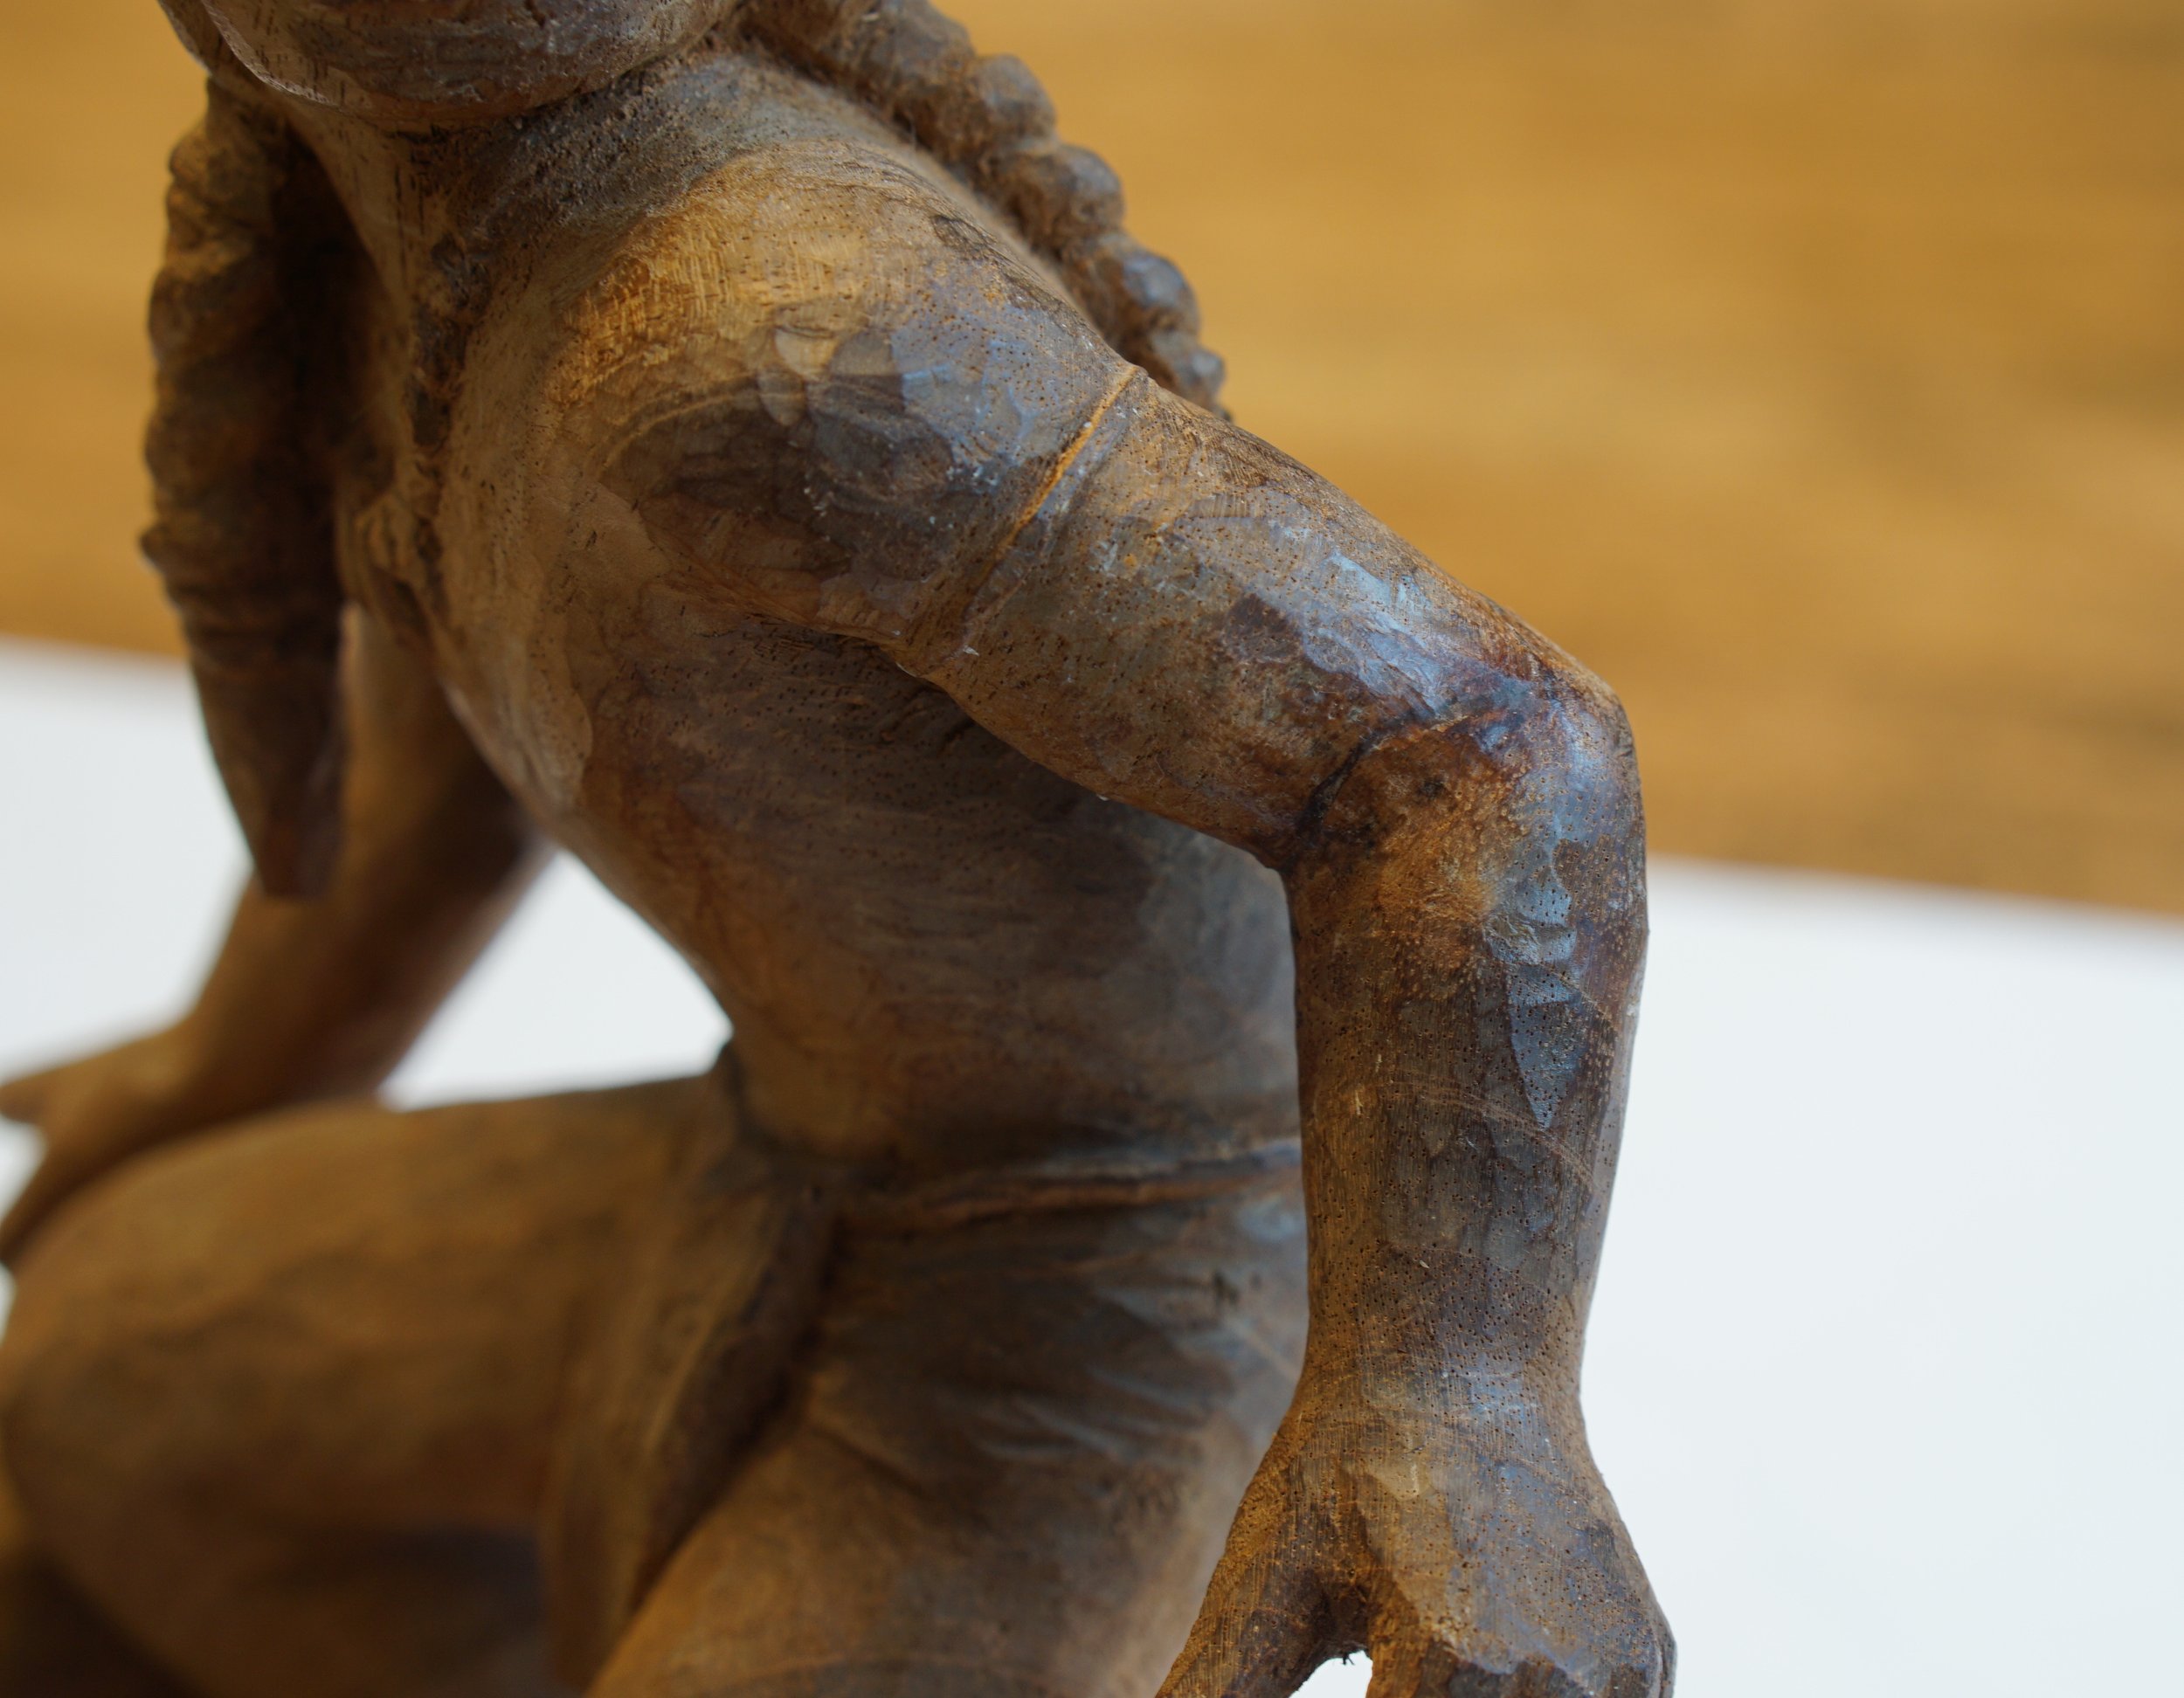
The arm re-glued and the crack once again filled up with the restoration cube by Gilboy’s.
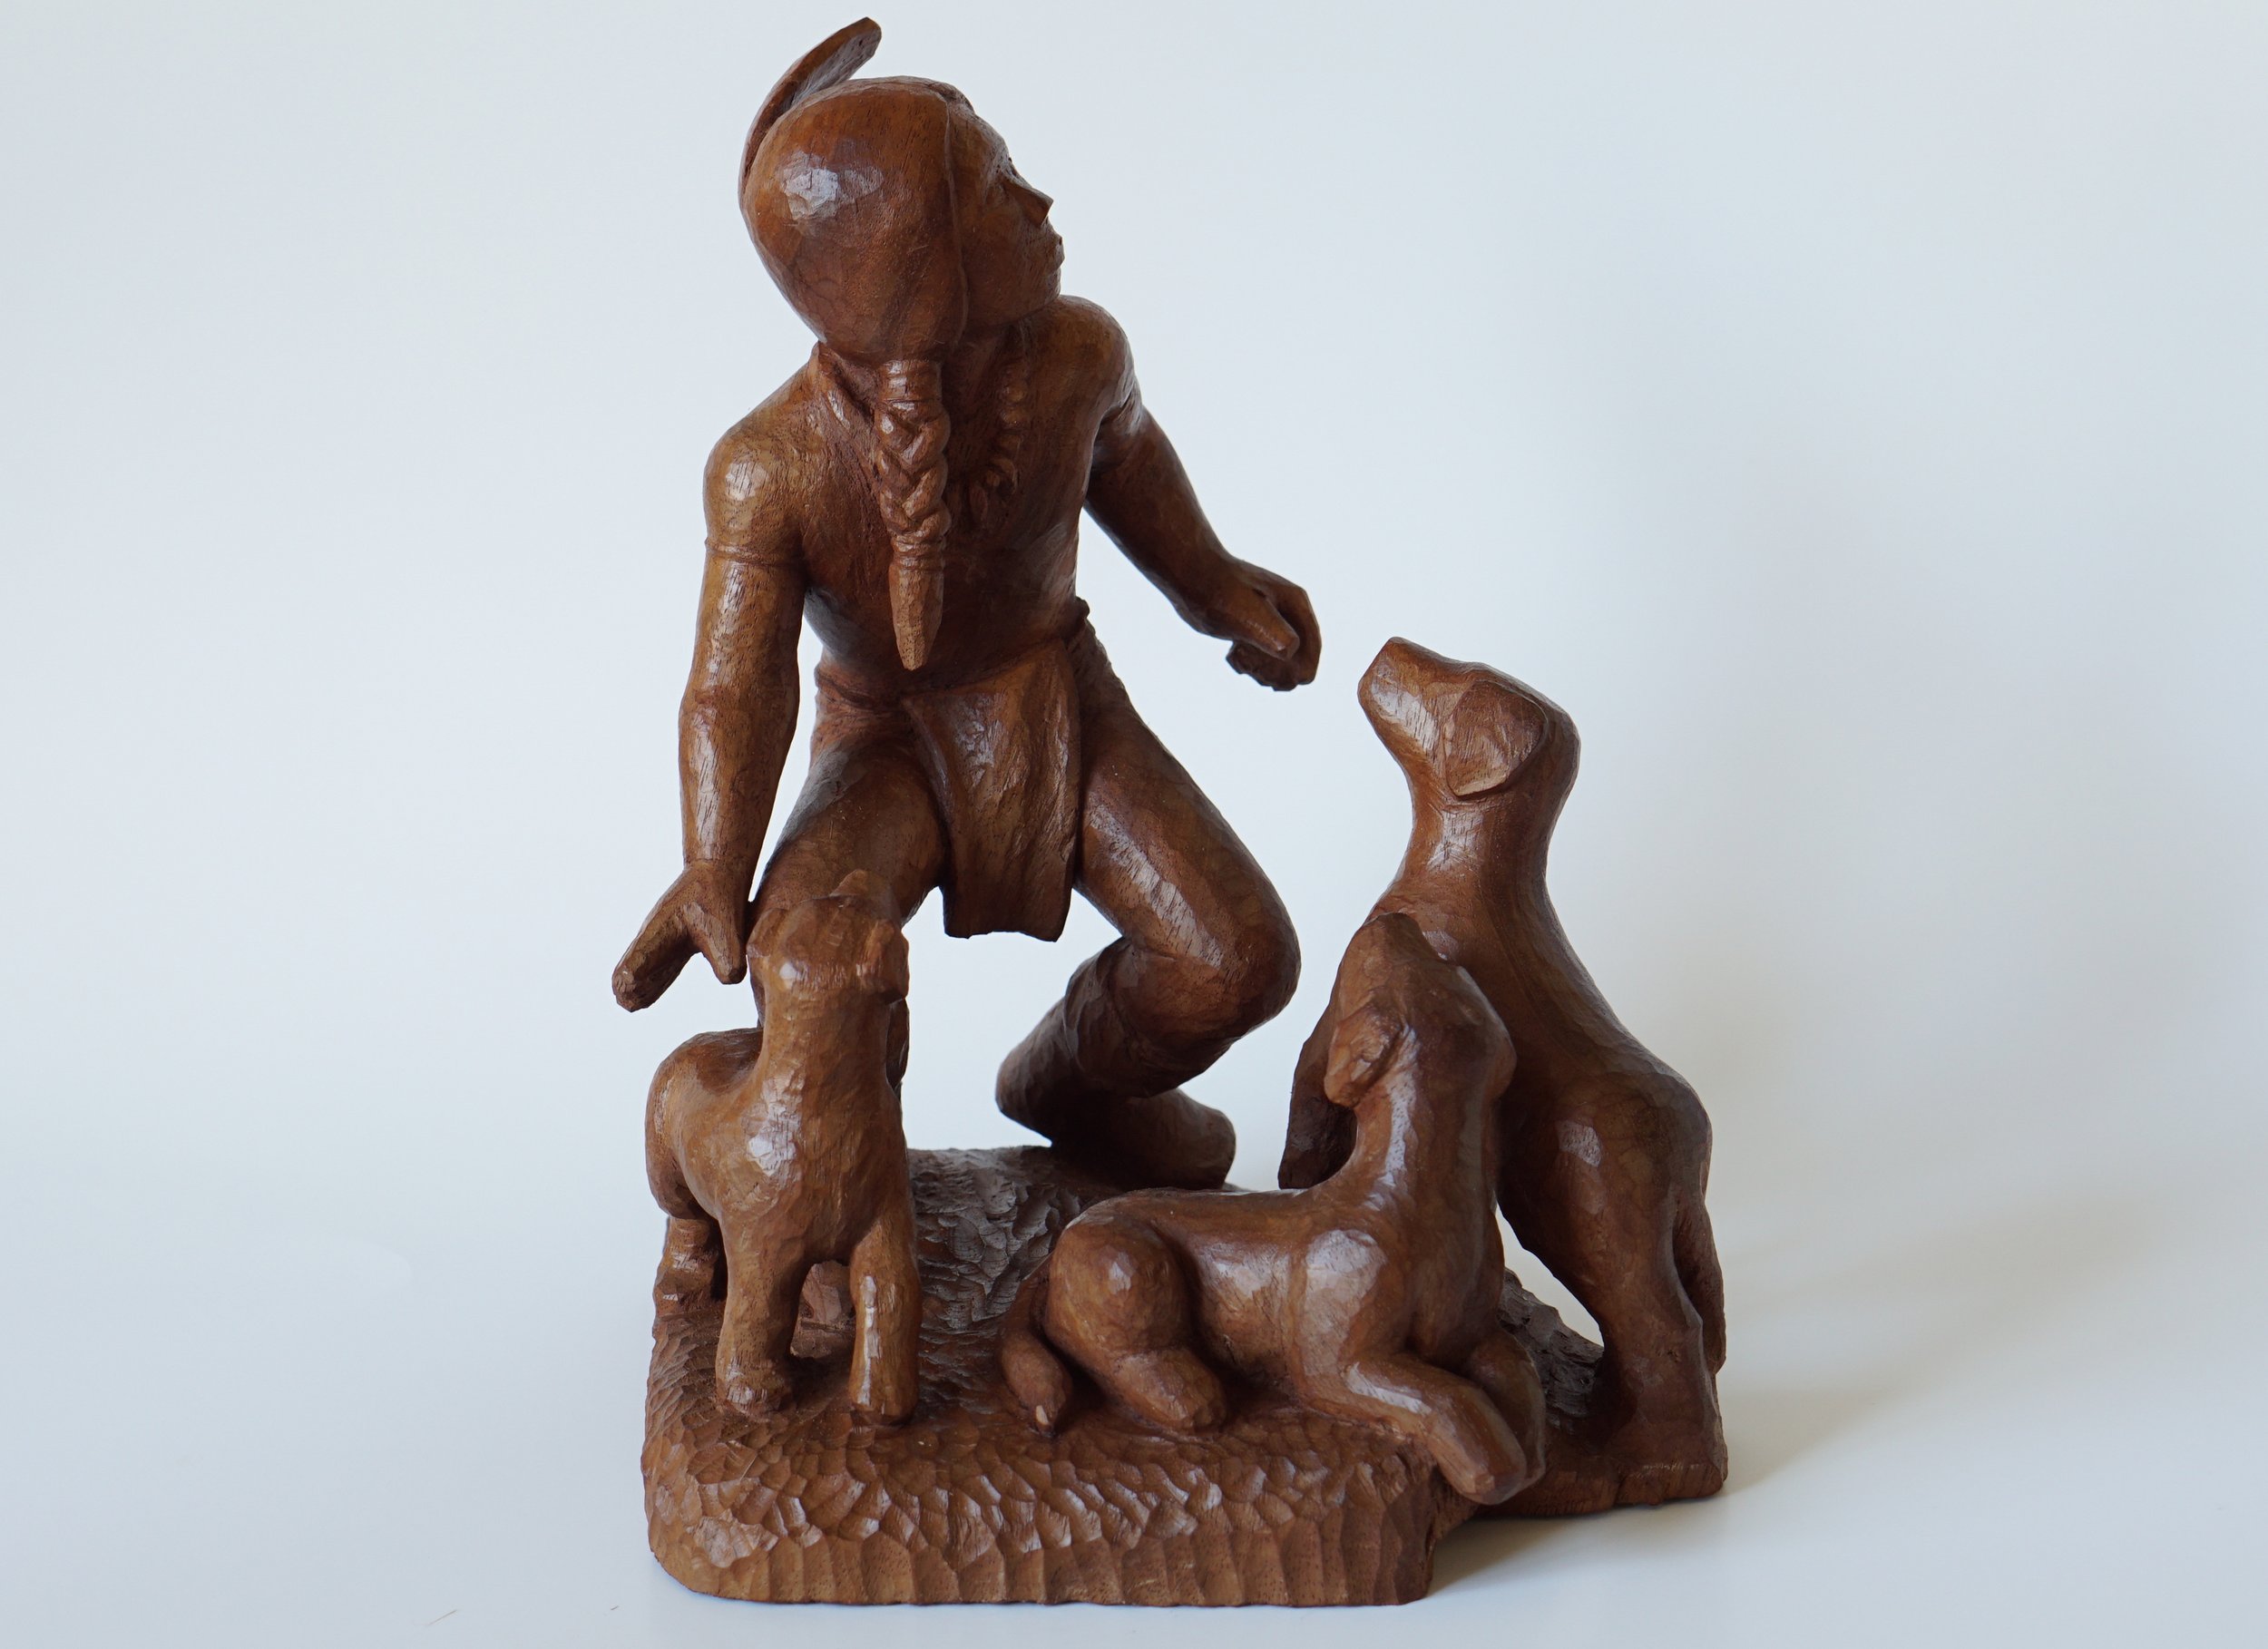
A fully restored piece, the front view.
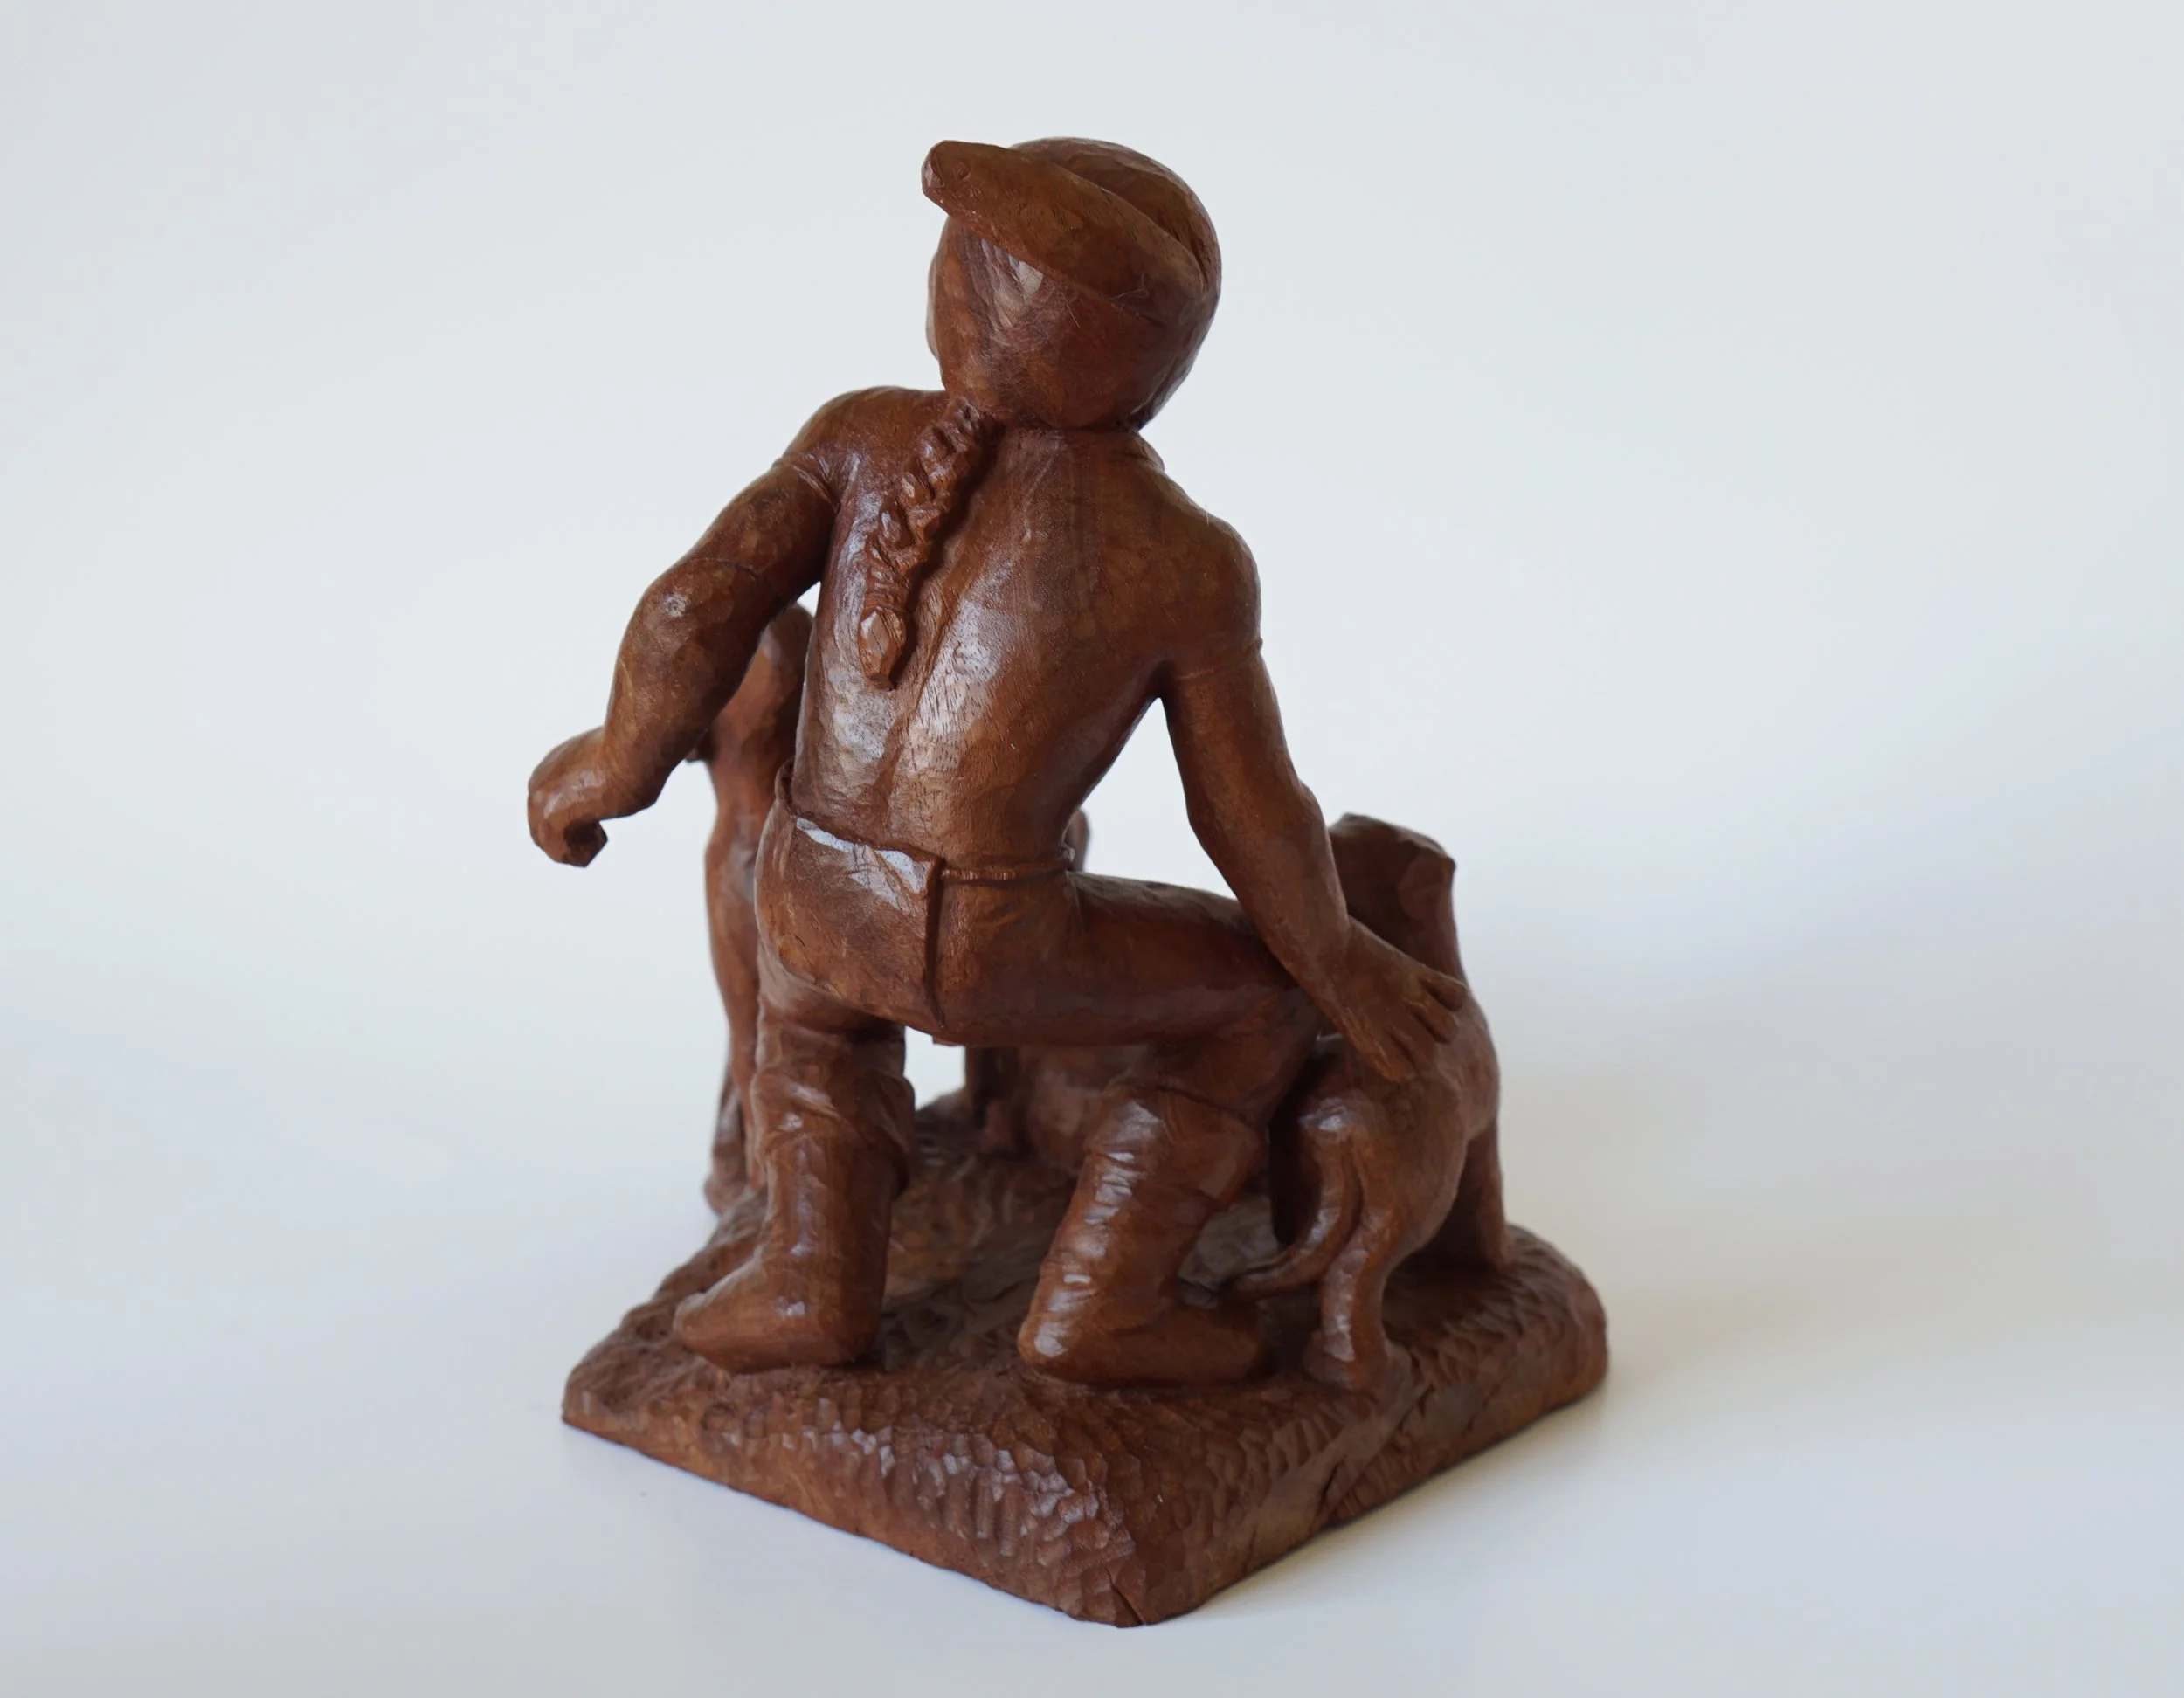
A fully restored piece, the back view.

The “Warrior” carving is 10.5 inches tall and was generally in a pretty good shape, I spent the least time on this piece.
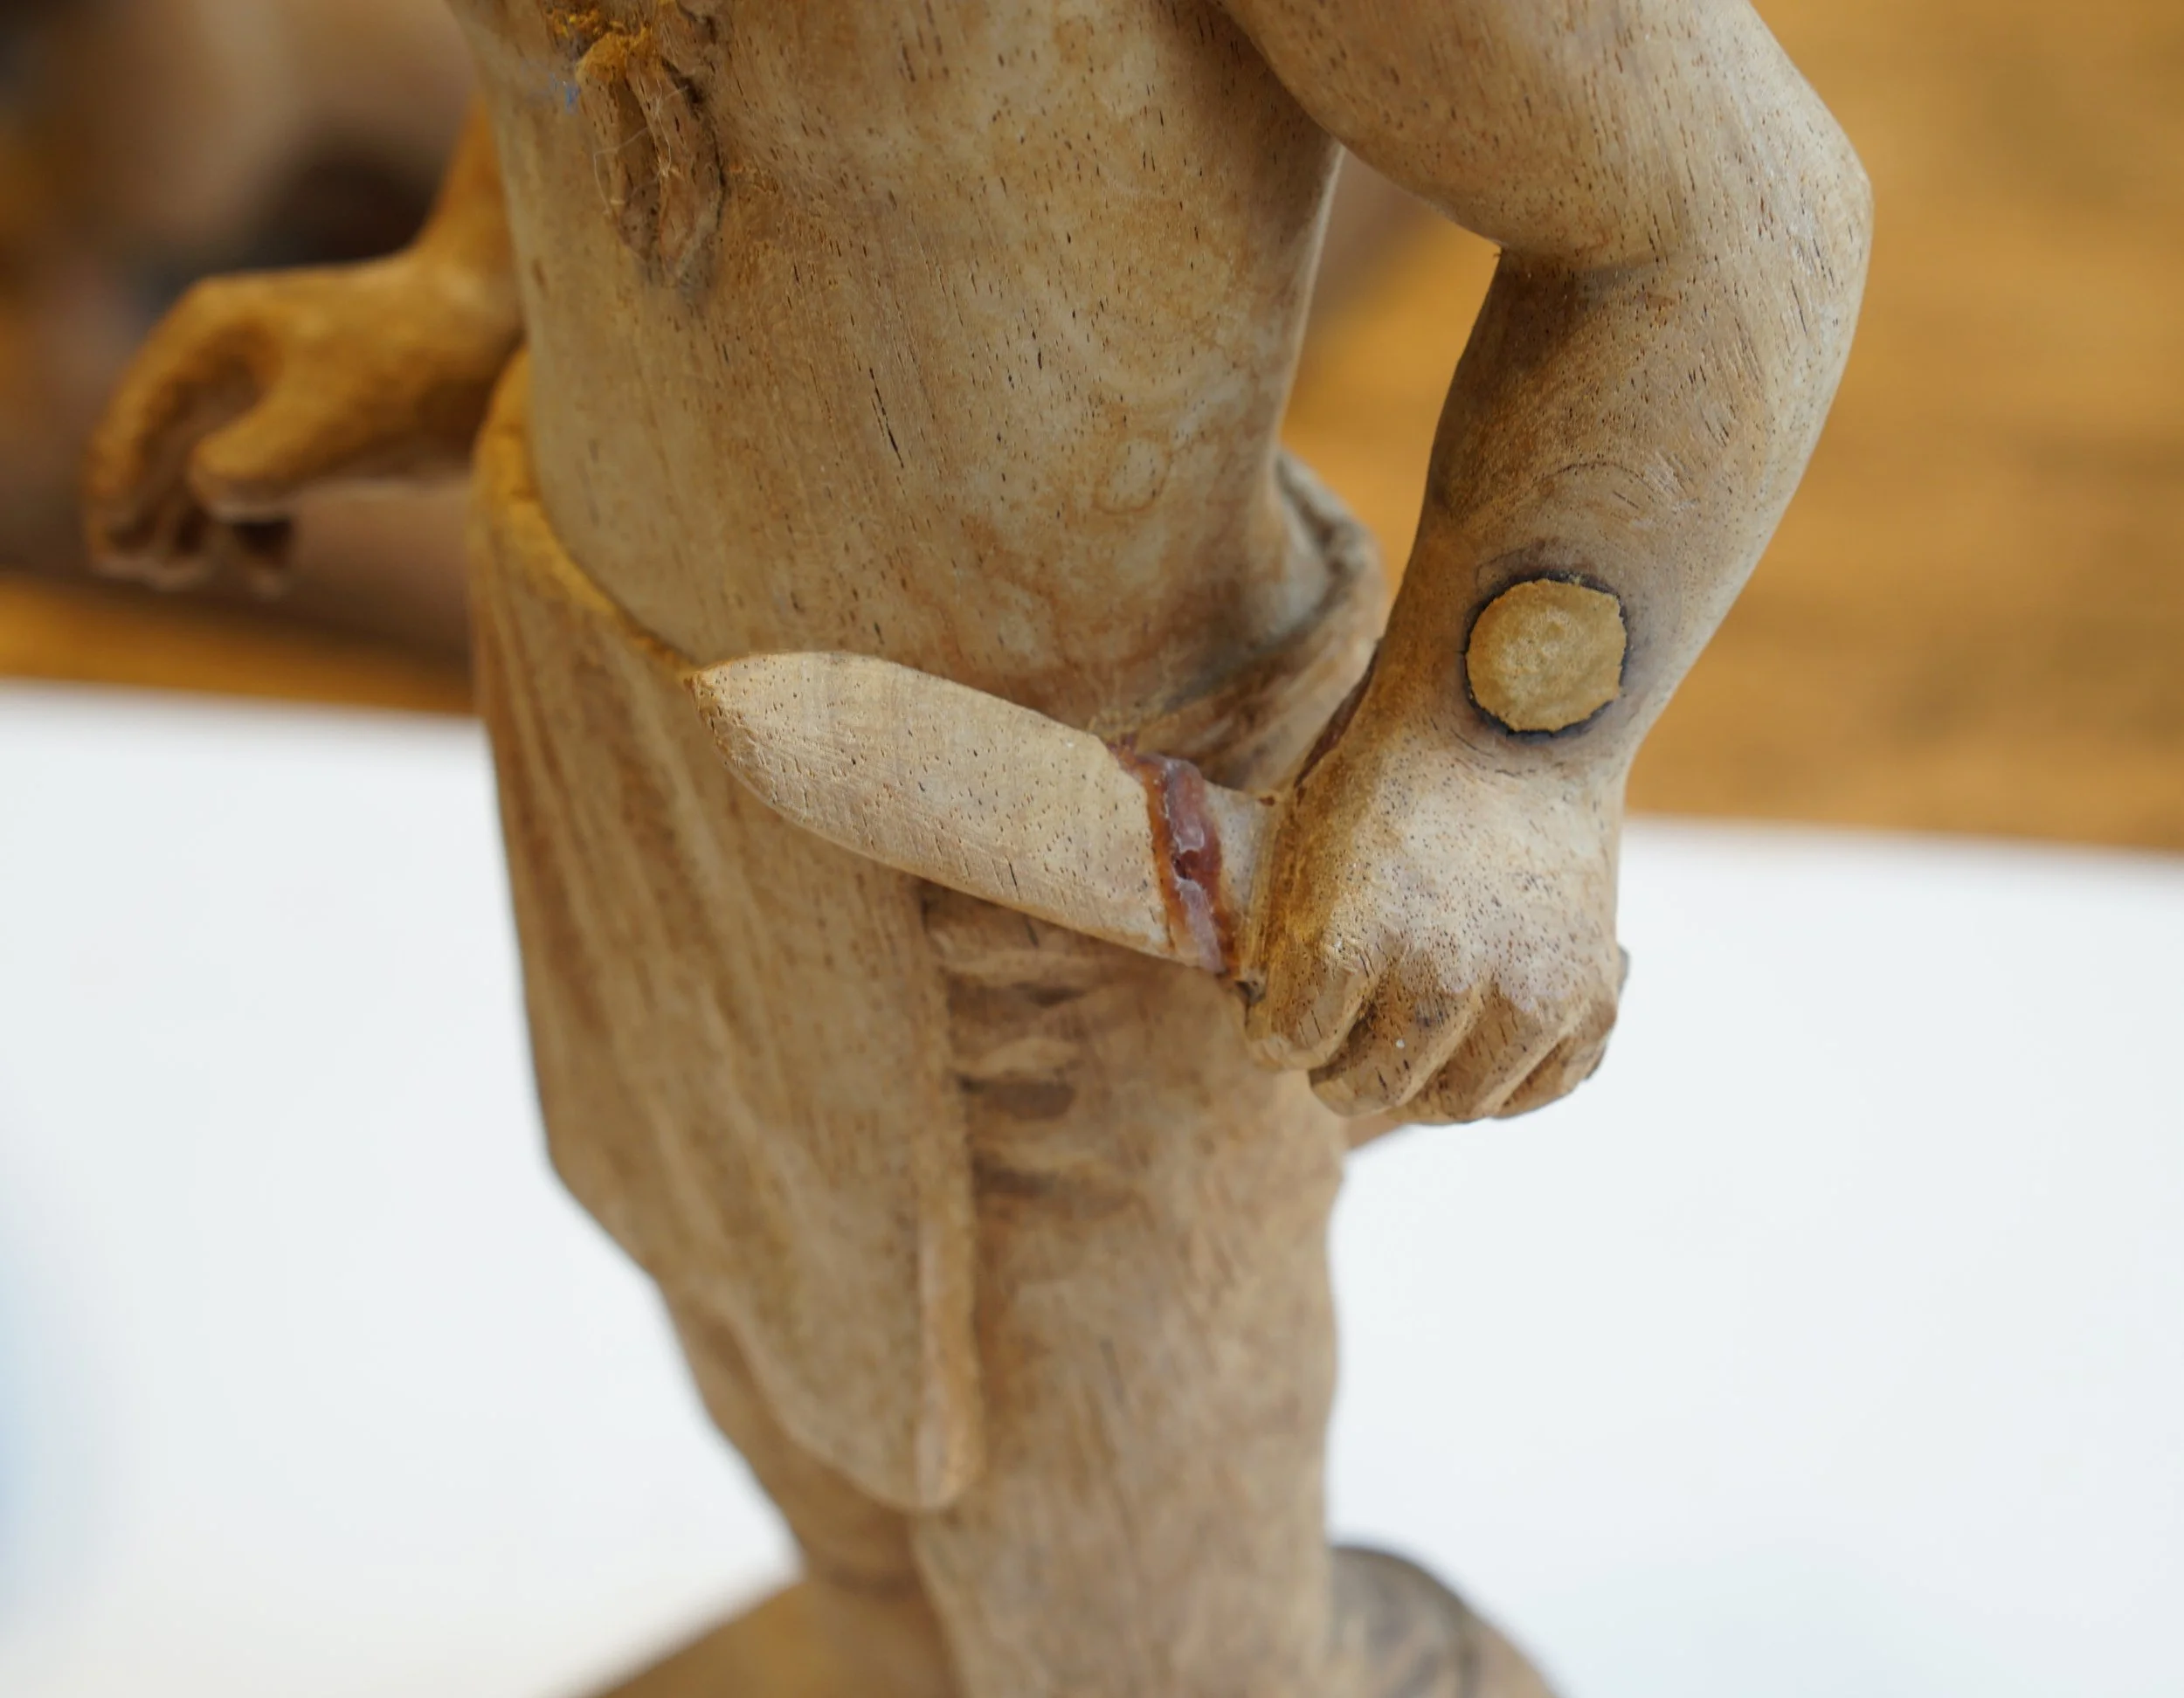
There was some gluing done in the past that had to be fixed. Unfortunately the glue soaked through the wood all around and permanently stained it.

I learned a lot from this process and I am looking forward to work on more of Beverly’s pieces. I spent quite a bit of time looking for advice on how to restore old carvings so I hope somebody else might find this post useful in future.